I’m back sharing two more cards I created using the Hero Arts August 2023 My Monthly Hero kit. Like I said in my previous post, I had such a blast with the premium kit because it includes so many different types of products. I love that all the products work together so you can use them on one project or you can use them separately, picking and choosing which elements to use. The cards I’m sharing today are so different than the cards I shared previously, those were mostly die cutting. These cards feature very different techniques, one, the images are stamped and colored with watercolor markers and the other I used rub-on transfers! Yes, rub-on transfers! Do you remember those? The quality of these is definitely of a higher caliber than what we used back in the day but the nostalgia of it all! And, I know Hero Arts has featured these transfers before but it’s the first time I’ve used them and I couldn’t be happier with the results. They transfer beautifully and the colors are clean and vibrant. All the details are listed below. If you like the cards I’m sharing, please hit the like button below! And thanks for stopping by!
STEPS
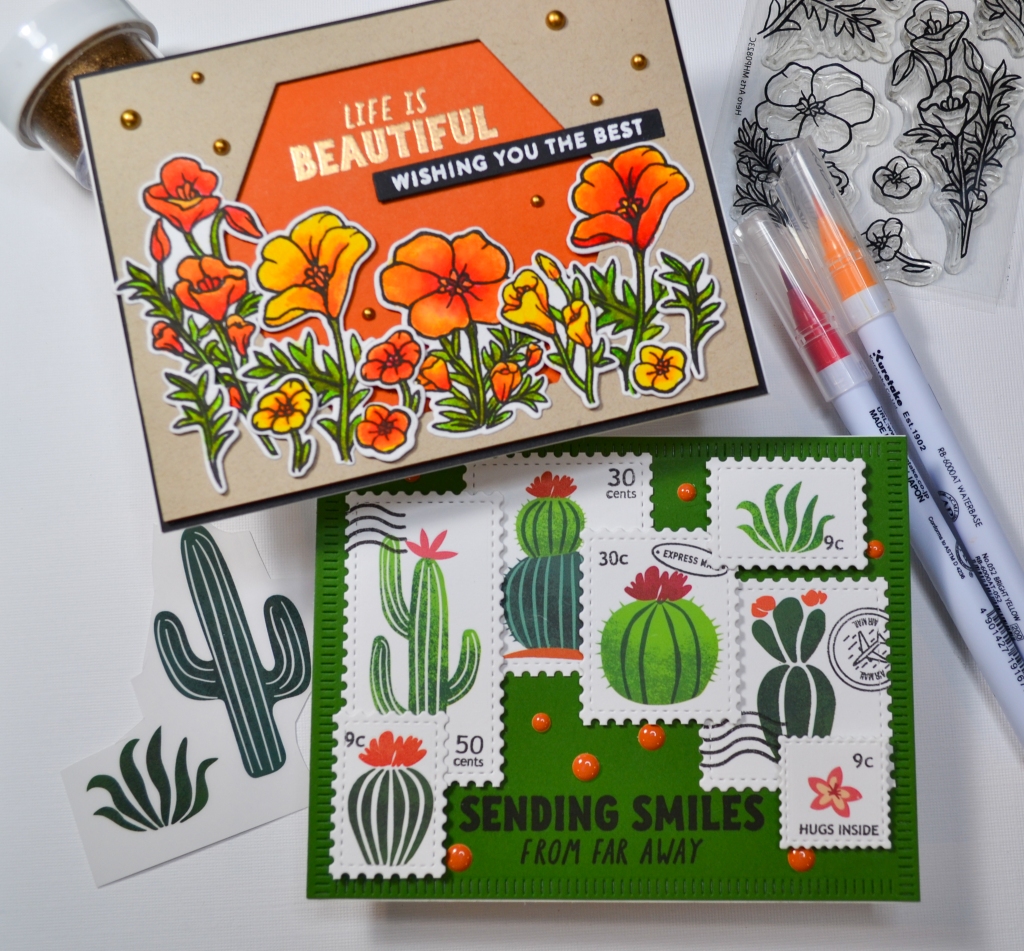
1.) For the floral card, I started with stamping the poppy images on Strathmore Mixed Media paper with Hero Arts Intense Black ink, which is watercolor friendly. Then, I colored the images with watercolor markers, using a water brush to blend some areas and then die cut all the images.
2.) Next, I die cut a hexagon from kraft cardstock and trimmed it to slightly smaller than A2 sized. Then, using the brass embossing powder included with the kit, on Hero Arts Pumpkin cardstock, I heat embossed one of the sentiments. I also heat embossed a smaller, secondary sentiment in white on black cardstock.
3.) Using thin foam squares, I attached the kraft cardstock piece to the orange cardstock. Then, I attached the poppies and the secondary sentiment with glue and foam squares where needed. Lastly I adhered everything to a black A2 card panel to provide a thin frame and then embellished the card with some matte gold baubles.

SUPPLIES
Hero Arts My Monthly Hero Premium August 2023
Neenah Desert Storm 100# Cardstock
Strathmore Mixed Media Paper
Hero Arts White Detail Embossing Powder
Versamark Clear Embossing and Watermark Ink
Hero Arts Intense Black Ink
Spellbinders Platinum Die Cutting And Embossing Machine
We R Makers Quickstik Precision Pickup and Placement Tool
Sizzix Curved Fine-Tip Tweezers
Tim Holtz Tonic Craft Mini Snips
Waffle Flower 6.5×8.5 Grip Mat
Bearly Art Precision Craft Glue
Lawn Fawn Bone Folder
Scotch 3M Post-It Masking Tape
Simon Says Stamp White A2 Side Fold Scored Cards 120#
Trinity Stamps Gold Satin Baubles
STEPS
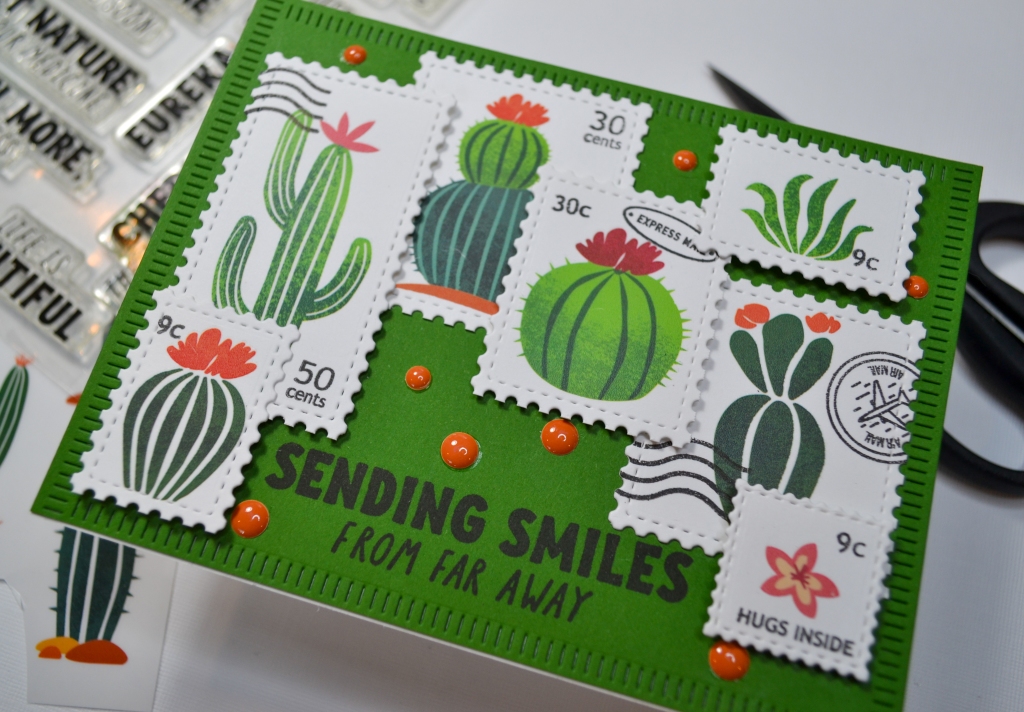
1.) This is a super quick and easy card to make. First, I die cut the Waffle Flower Postage Collage from white cardstock and then cut the stamps apart for individual stamps. Then, I applied the Hero Transfers to each one. I added some of the postage icons and rates from the Postage Collage Stamp set too.
2.) Next, using a Blanket Stitched Die from Pinkfresh Studio, I die cut green cardstock for the background. I stamped the sentiment at the bottom in black. Then, I arranged the postage stamps around the sentiment, using glue for some and foam squares for others.
3.) Finally, I attached the panel to a side fold card base and added coral colored enamel dots from The Stamp Market.
SUPPLIES
Hero Arts My Monthly Hero Premium August 2023
Hero Arts Intense Black Ink
Waffle Flower Postage Collage Bundle
Pinkfresh Studio Blanket Stitched Rectangles
Spellbinders Platinum Die Cutting And Embossing Machine
We R Makers Quickstik Precision Pickup and Placement Tool
Sizzix Curved Fine-Tip Tweezers
Tim Holtz Tonic Craft Mini Snips
Waffle Flower 6.5×8.5 Grip Mat
Bearly Art Precision Craft Glue
Lawn Fawn Bone Folder
Scotch 3M Post-It Masking Tape
Simon Says Stamp White A2 Side Fold Scored Cards 120#
The Stamp Market Enamel Dots Collection 3
