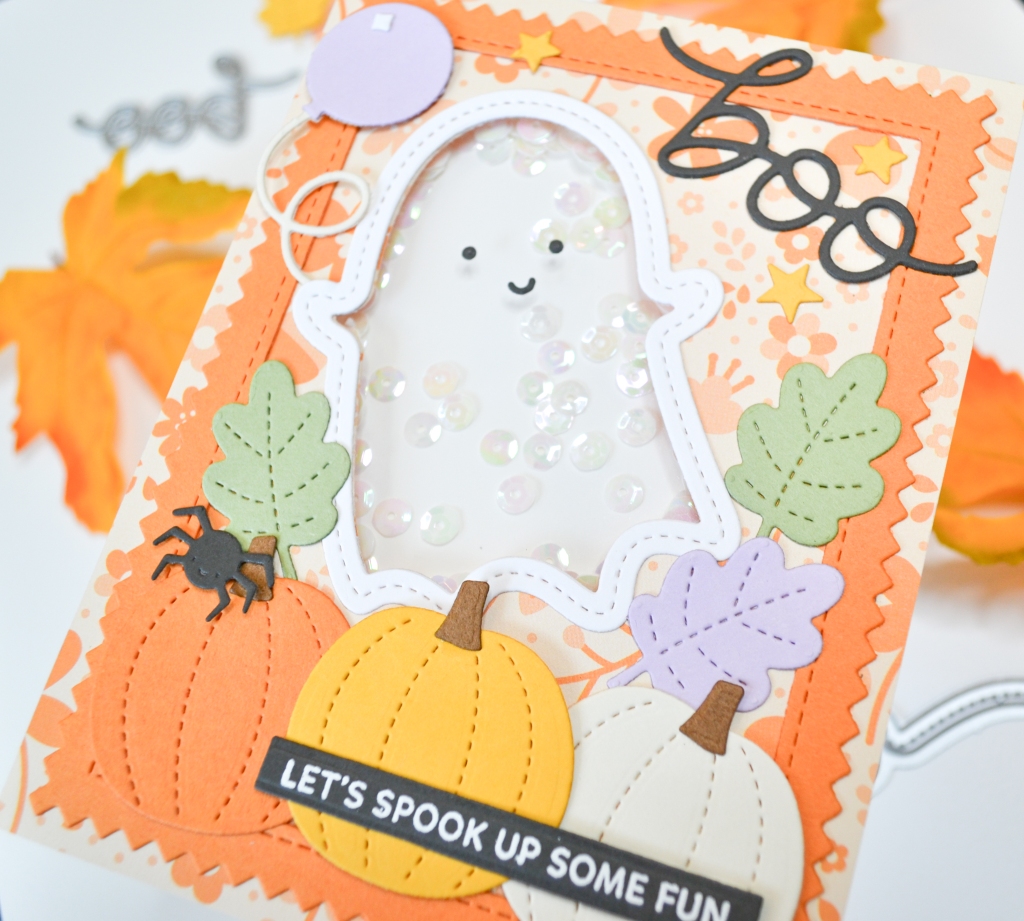
Eeek! This might be the cutest little ghost you ever did see! I paired Pretty Pink Posh’s ghost shaker die with some trendy pastels for this adorable pumpkin patch scene card. Using multiple Pretty Pink Posh die sets along with some Lawn Fawn patterned paper and a frame from Hello Bluebird Designs, this card came together in no time. Plus, I used colored cardstock for everything, with no inking or stencils or coloring, so clean up was super quick too. I couldn’t be happier with my first Halloween card of the season and I hope you like it as much as do. All the details are listed below. Thanks for stopping by my happy place!
STEPS
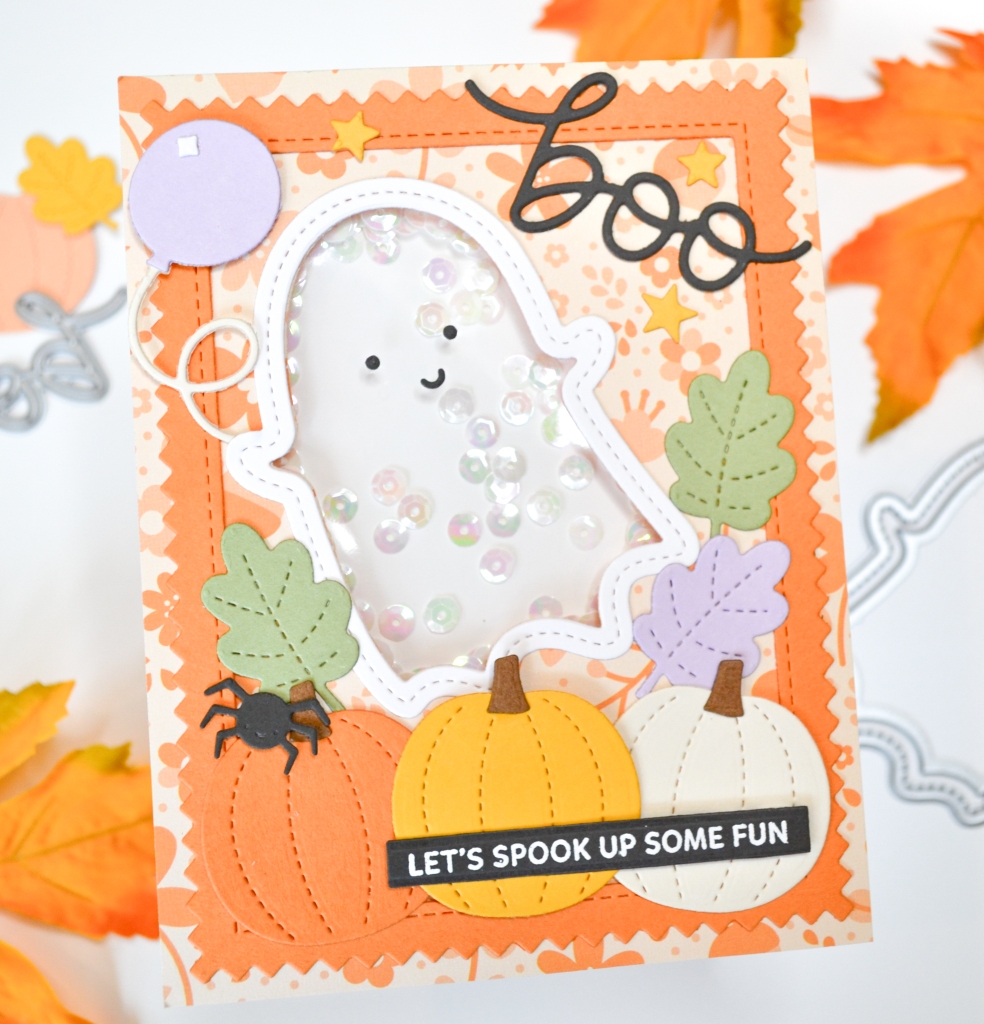
1.) To get started, I die cut the elements I knew I wanted to use with scrap paper and fiddled with everything until I was happy with the layout. Then, for the background panel, I used some Lawn Fawn patterned paper cut down to 4 1/4 x 5 1/2 inches. In coordinating orange cardstock, I die cut a frame with a stitched zig zag detail to layer on top. I love to use this frame for Halloween cards.
2.) Now for the shaker element. Since I knew where I wanted the ghost positioned, I die cut the smaller, interior ghost piece in the background panel. Then, I die cut both shaker pieces of the ghost in white cardstock to get the outside, stitched frame piece. I adhered this to the background panel, outlining the ghost. On the backside of the panel, I used strong double-sided tape to attach a small piece of clear packaging that some stamps had come packaged in. This is our clear window for the shaker. After that, still on the backside of the background panel, I used Waffle Flower’s foam strips to outline the ghost, close to the edge of the die cut shape, creating a well for the shaker material (white iridescent sequins in this case) that I added. I wish I would have added more sequins but he’s still pretty cute. Then, I used more foam tape across the rest of the backside panel before adhering a piece of white cardstock cut to size on top. I used the corner of my Misti to help me align the white cardstock with the background panel. I used white because you will see the cardstock through the ghost die cut in the background panel. Flip it over and we now have a shaker on the front of our card.
3.) With the shaker element finished, it was time to add all the other elements to make this into a pumpkin patch scene. I die cut almost everything in pretty, muted pastel colors. The spider, the ghost features, the Boo script and the sentiment strip are all a dark grey cardstock. I tried using black cardstock but I thought it was too much of a contrast with the rest of the design. I heat embossed the sentiment strip with white embossing powder. I glued everything in place and only used foam squares behind the middle, yellow pumpkin and the left side of the sentiment strip for some support.
4.) Lastly, I glued everything to an A2 top-fold card base. I didn’t add any other embellishments or glitz or glitter! I didn’t think the card needed anything else. So, that’s it for this super cute shaker card!
SUPPLIES
Spellbinders Platinum Die Cutting And Embossing Machine
We R Makers Quickstik Precision Pickup and Placement Tool
Sizzix Curved Fine-Tip Tweezers
Bearly Art Precision Craft Glue
Lawn Fawn Bone Folder
Tim Holtz Tonic Craft Mini Snips
Scotch 3M Post-It Masking Tape
Scrapbook Adhesives Thin 3D White Foam Squares
Waffle Flower Foam Strips 1/16″
Misti Precision Stamper Tool
Waffle Flower 6.5×8.5 Grip Mat
Hero Arts White Detail Embossing Powder
Versamark Clear Embossing and Watermark Ink
Simon Says Stamp White A2 Top-Fold Card Base
Neenah 110# Classic Crest Cardstock Solar White
Hello Bluebird Designs Gallery Frame #3
Pretty Pink Posh Ghost Shaker Dies
Pretty Pink Posh Winter Mug Dies
Pretty Pink Posh Birthday Mug Addition Dies
Pretty Pink Posh Halloween Mug Addition Dies
Pretty Pink Posh Scripty Boo Die
Pretty Pink Posh Sentiment Strips: Halloween Stamp Set
Cardstock and sequins from my stash
