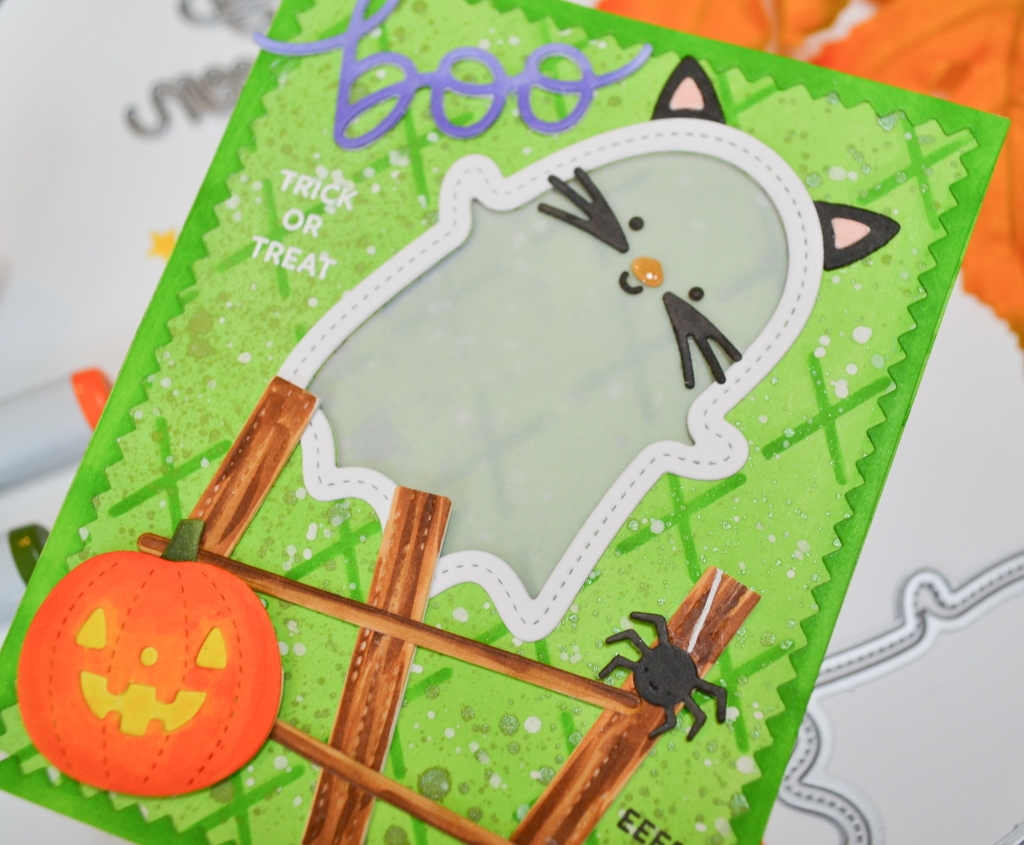
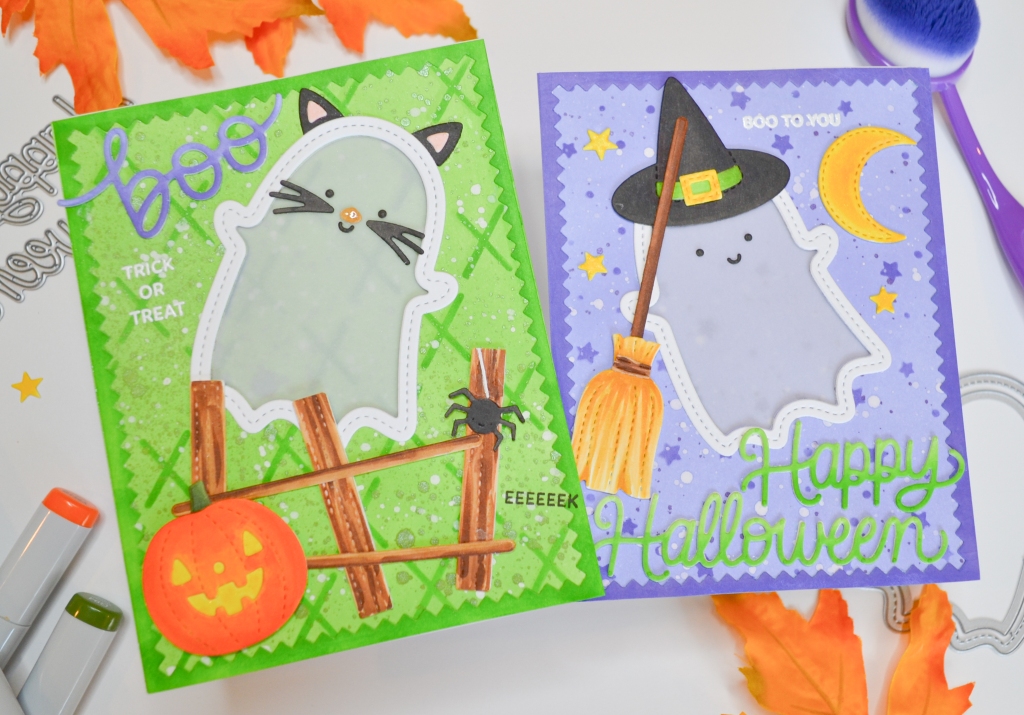
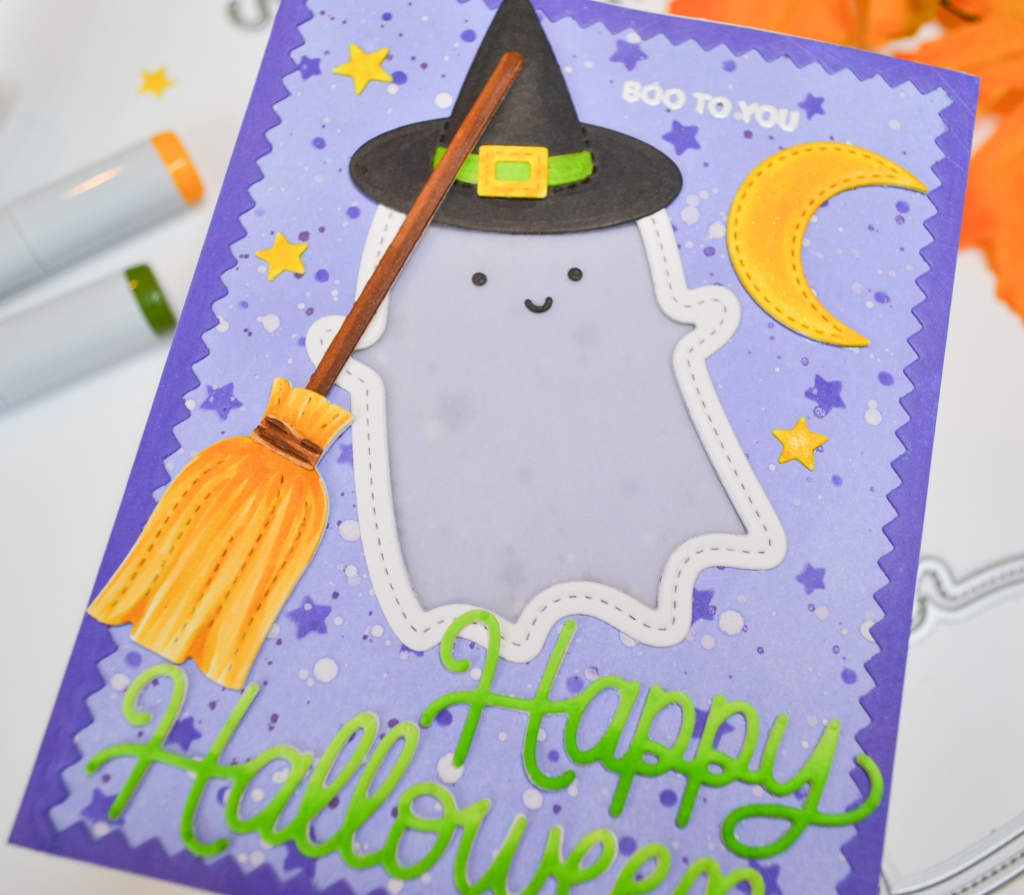
I couldn’t make just one card with this adorable ghost so I made two more! These were so much fun to put together. I used elements from the Pretty Pink Posh Halloween Mug Additions to dress up these vellum cuties instead of the mug. And for one of the scenes, I got a little creative and used what I think are mummy wraps and the broomstick handle to create a spooky fence. Both cards feature some older Pretty Pink Posh stencils, (the green one is actually from a Valentine’s Day stencil!) and die cuts colored with Copic markers. All the details are listed below. Thanks for stopping by!
STEPS
1.) Lets start with the backgrounds. I used A2 sized white cardstock panels and inked one in a lavender. Then, using slightly darker inks, I stenciled some background designs using stencils from Pretty Pink Posh. I splattered each one with some coordinating Mica stains that are very shimmery and beautiful in real life. I also added some thinned gouache paint splatters as well.
For the frames, I used the negative pieces left from die cutting the Hello Bluebird Designs Gallery Frame. The frame itself didn’t leave enough space for my scenes so I decided to use these. I then inked them in the coordinating colors to match the backgrounds.
2.) Next, I die cut all the elements I wanted to use in white cardstock. I layered two pieces of vellum behind each stitched ghost frame and glued them in place. I love that you can see through the ghosts to the backgrounds! I colored all the remaining elements with Copic markers and then attached everything.
3.) I inked both scripty sentiments in the coordinating background colors, creating an ombre effect. I doubled these up with cardstock for a little more weight and glued them in place. For the secondary sentiments, I heat embossed them in white and stamped the eeeeeek in black.
4.) For embellishments, I added Glossy Accents to the cat nose and added some sparkle to the stars and moon with a glitter marker. The last thing was to attach the panels to A2 top-fold card bases.
SUPPLIES
Spellbinders Platinum Die Cutting And Embossing Machine
We R Makers Quickstik Precision Pickup and Placement Tool
Sizzix Curved Fine-Tip Tweezers
Bearly Art Precision Craft Glue
Lawn Fawn Bone Folder
Tim Holtz Tonic Craft Mini Snips
Scotch 3M Post-It Masking Tape
Scrapbook Adhesives Thin 3D White Foam Squares
Misti Precision Stamper Tool
Waffle Flower 6.5×8.5 Grip Mat
Hero Arts White Detail Embossing Powder
Versamark Clear Embossing and Watermark Ink
Simon Says Stamp White A2 Top-Fold Card Base
Neenah 110# Classic Crest Cardstock Solar White
Hello Bluebird Designs Gallery Frame #3
Pretty Pink Posh Ghost Shaker Dies
Pretty Pink Posh Halloween Mug Addition Dies
Pretty Pink Posh Scripty Boo Die
Pretty Pink Posh Happy Halloween Script Die
Pretty Pink Posh Sentiment Strips: Halloween Stamp Set
Pretty Pink Posh Layered XOXO Stencils
Pretty Pink Posh Starry Background Stencil
Simon Says Stamp Vellum
Tim Holtz Distress Bubbling Cauldron Mica Stain
Tim Holtz Distress Hocus Pocus Mica Stain
Simon Says Stamp Pawsitively Saturated Inks – Heather, Violet, Sprout, Fairway
Copic Sketch Markers YR68, YR24, YR16, Y17, Y15, Y13, Y21, Y26, BG96, G94, YG05, YG17, YG25, R01, E55, E59, E57, W7, W9