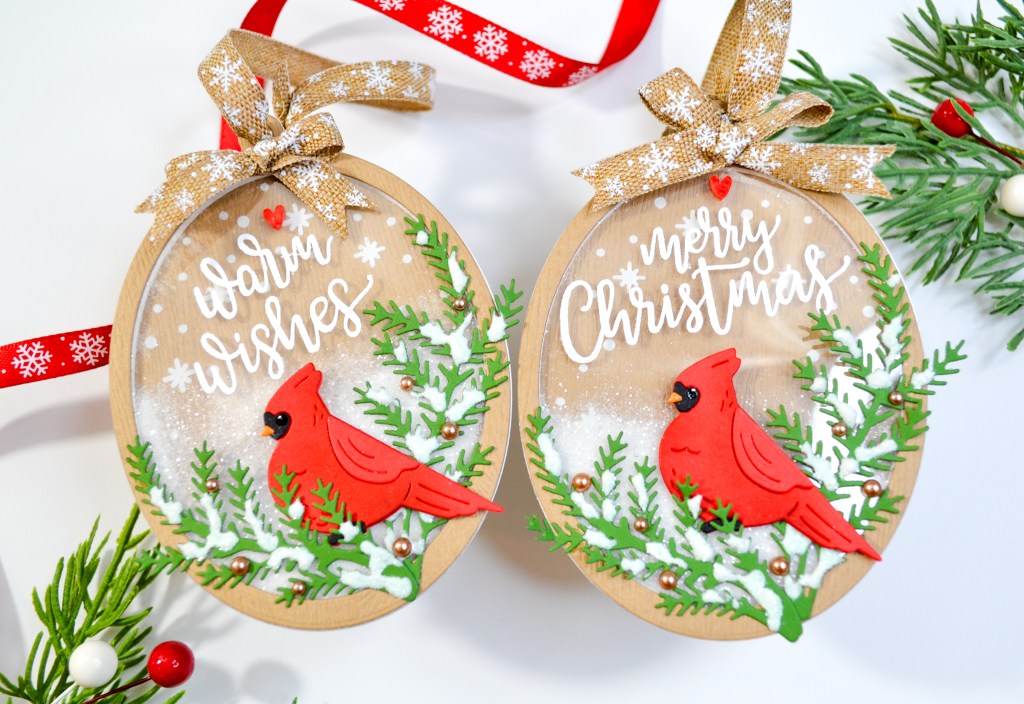
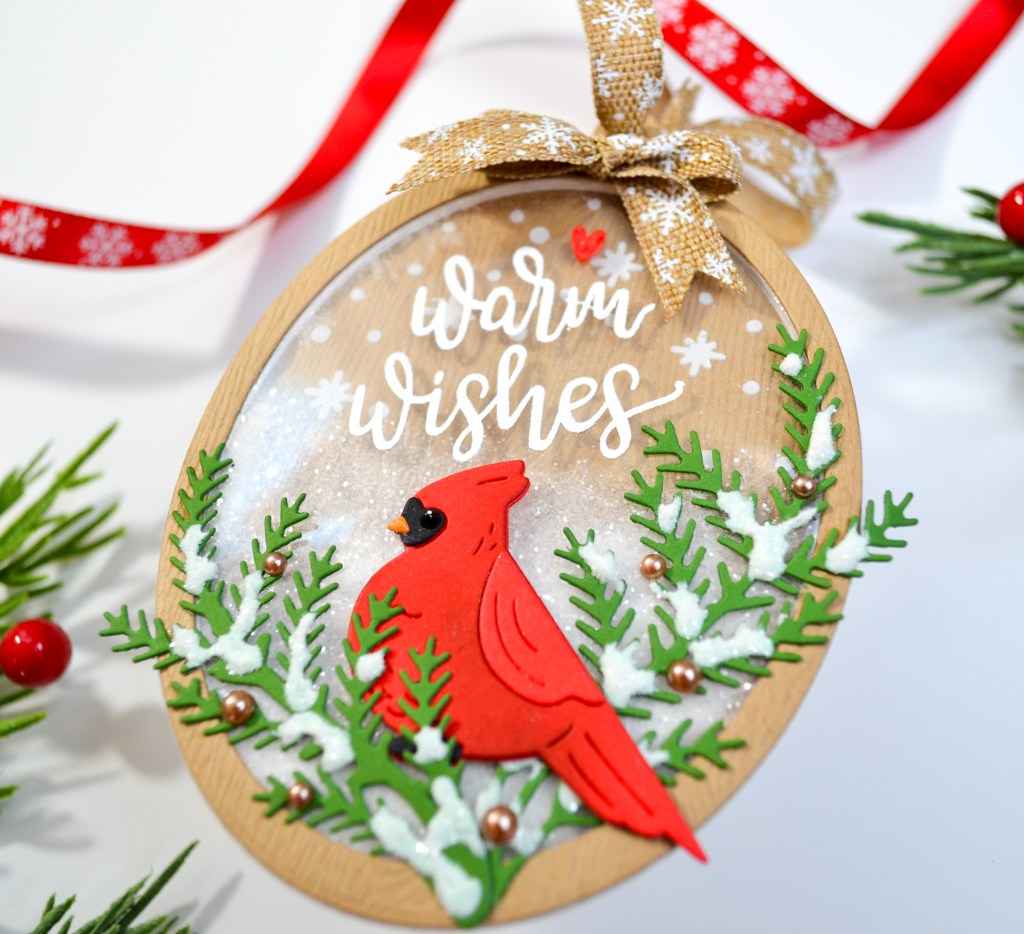
Making holiday tags, especially shaker tags, is one of my very favorite crafty things. I make them every year and I’m excited to share the first of the season with you today! I fell in love with this little cardinal from Waffle Flower Crafts and thought he would be perfect for some holiday tags. Although, these really are large enough that if you wanted, they could easily be hung on a tree. I started with woodgrain cardstock and two nesting ovals for the basic construction of the tags. The background is stenciled with white stencil paste, I love the dimension this gives compared to ink, and the sentiment is heat embossed on heat-resistant acetate. For lots of glittery sparkle, I added Distress Rock Candy Glitter, inside the shaker and on the greenery. And, everything sits on the outside of the acetate so the snow can move freely behind the scene. To finish these shaker tags, I added a few embellishments and a coordinating ribbon. These came together quickly and were easy to construct – no foam tape! I listed all the details below. As always, thanks for stopping by my little blog!
STEPS
1.) I started with the frame by taping two nesting oval dies together. This way I could die cut the frame many times and they would be exactly the same each time. I die cut one frame from the woodgrain cardstock and then four from white, heavyweight cardstock. The white frames I stacked together and glued to create the walls of the shaker.
2.) Next, I used the smaller oval to die cut a piece of woodgrain cardstock and used stencil paste to stencil the snowy design. I set this aside to dry. Then, using the larger oval, I die cut an oval from white cardstock and a piece of heat-resistant acetate. On the acetate, I heat-embossed my sentiment with white embossing powder, and set this aside. On the large white oval, I attached the stacked white frames that I glued together earlier, creating the walls and base of the shaker. Then, when the stenciled woodgrain oval was dry, I glued that inside the frames for the background. I glued the stacked frames to the white oval because gluing them right to a textured woodgrain oval wouldn’t be secure enough for shaker material. Then, I attached the acetate oval behind the one woodgrain frame I die cut earlier, placing a few acrylic blocks on top while the glue dried.
3.) With the walls and background of the shaker in place, I added the Rock Candy Glitter inside the shaker walls and then attached the acetate and woodgrain frame piece to the top with glue, again weighing it down with acrylic blocks.
4.) With the shaker complete, I added the rest of my elements. I started with die cutting the greenery from green cardstock. For the snow, I added white Nuvo Crystal Drops as the base before sprinkling with the Rock Candy Glitter. Once it dries, the glitter will stay put and wont leave a glitter trail when the recipient receives them. I then die cut the layering pieces for the cardinal in colored cardstock. I applied a little distress ink to the body pieces for some shading and dimension and used liquid adhesive to assemble him. For a glossy effect on his eye, I added a drop of black Nuvo Crystal Drops.
Once all the elements were dry and assembled, I used liquid adhesive to attach them to the front of the tag.
5.) I forgot to add the tag topper or hanger piece, like I always do. I would have sandwiched it between the white cardstock frames that made the shaker walls if I would have remembered. I die cut the little piece from woodgrain cardstock and white cardstock to double them up for extra strength. I then decided to attach it to the back and sandwich it between the backside and another oval die cut from kraft cardstock. I stamped the kraft oval with a “To” and “From” before using liquid adhesive to adhere everything.
6.) Finally, I was ready for the embellishments. I added some champagne pearls and a red heart. I threaded ribbon through the hanger and made a little bow for the front.

SUPPLIES
Waffle Flower Crafts Layered Winter Bird Die
Waffle Flower Crafts Folk Art Bird Die
Waffle Flower Crafts Folk Art Framed Bird Stencil
Neenah 110# Classic Crest Cardstock Solar White
Simon Says Stamp Kraft Woodgrain Cardstock
Bazzill Card Shoppe 100lb Cardstock Peanut Cluster
Lawn Fawn Yeti Ink Pad
Simon Says Stamp Premium Heat Resistant Clear Acetate
We R Makers Quickstik Precision Pickup and Placement Tool
Sizzix Curved Fine-Tip Tweezers
Spellbinders Platinum Die Cutting And Embossing Machine
Bearly Art Precision Craft Glue
Tim Holtz Tonic Craft Mini Snips
Misti Precision Stamper Tool
Waffle Flower 6.5×8.5 Grip Mat
Scotch 3M Post-It Masking Tape
Simon Says Stamp Blending Brushes Small
Hero Arts White Detail Embossing Powder
Versamark Clear Embossing and Watermark Ink
Simon Says Stamp Brush Powder Tool
Honey Bee Stamps Holiday Pearls
Tim Holtz Distress Rock Candy Glitter
Tonic Gloss Simply White Nuvo Crystal Drops
Tonic Ebony Black Nuvo Crystal Drops
Tim Holtz Distress Ink Gathered Twigs
Trinity Stamps Candy Apple Heart Sprinkle Embellishments
Hero Arts Hero Paste
Cardstock and Ribbon from my stash