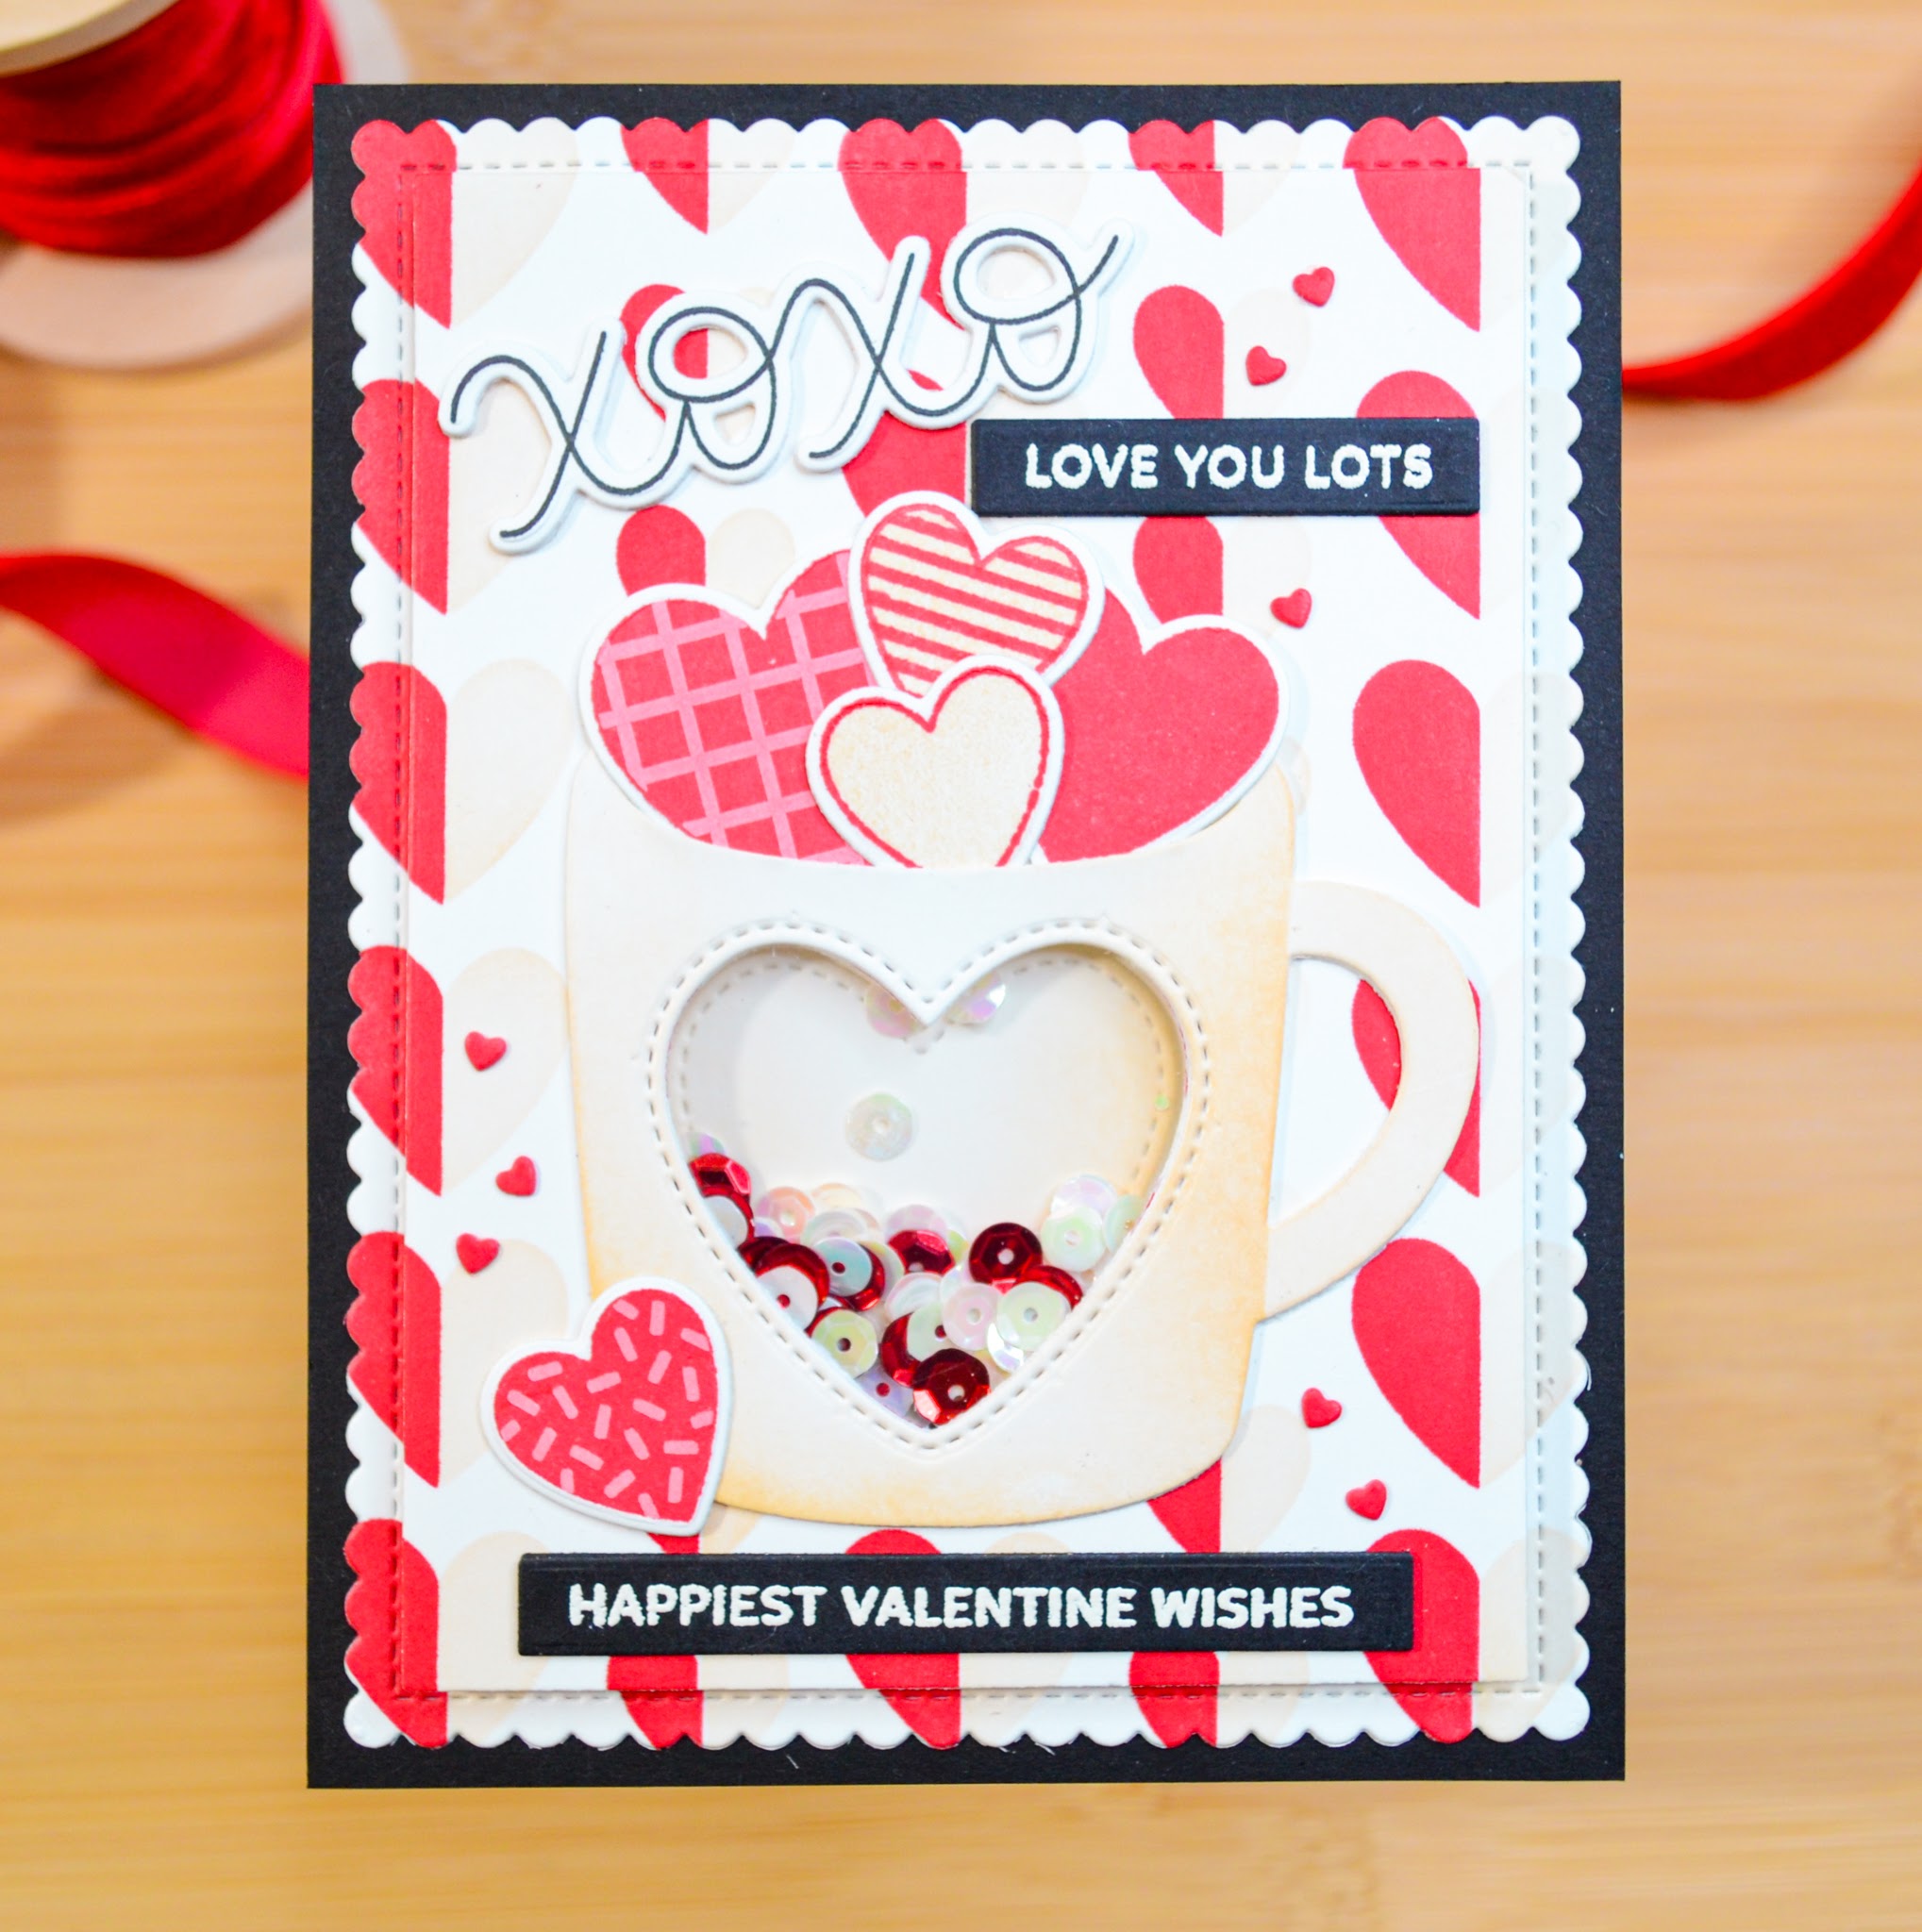
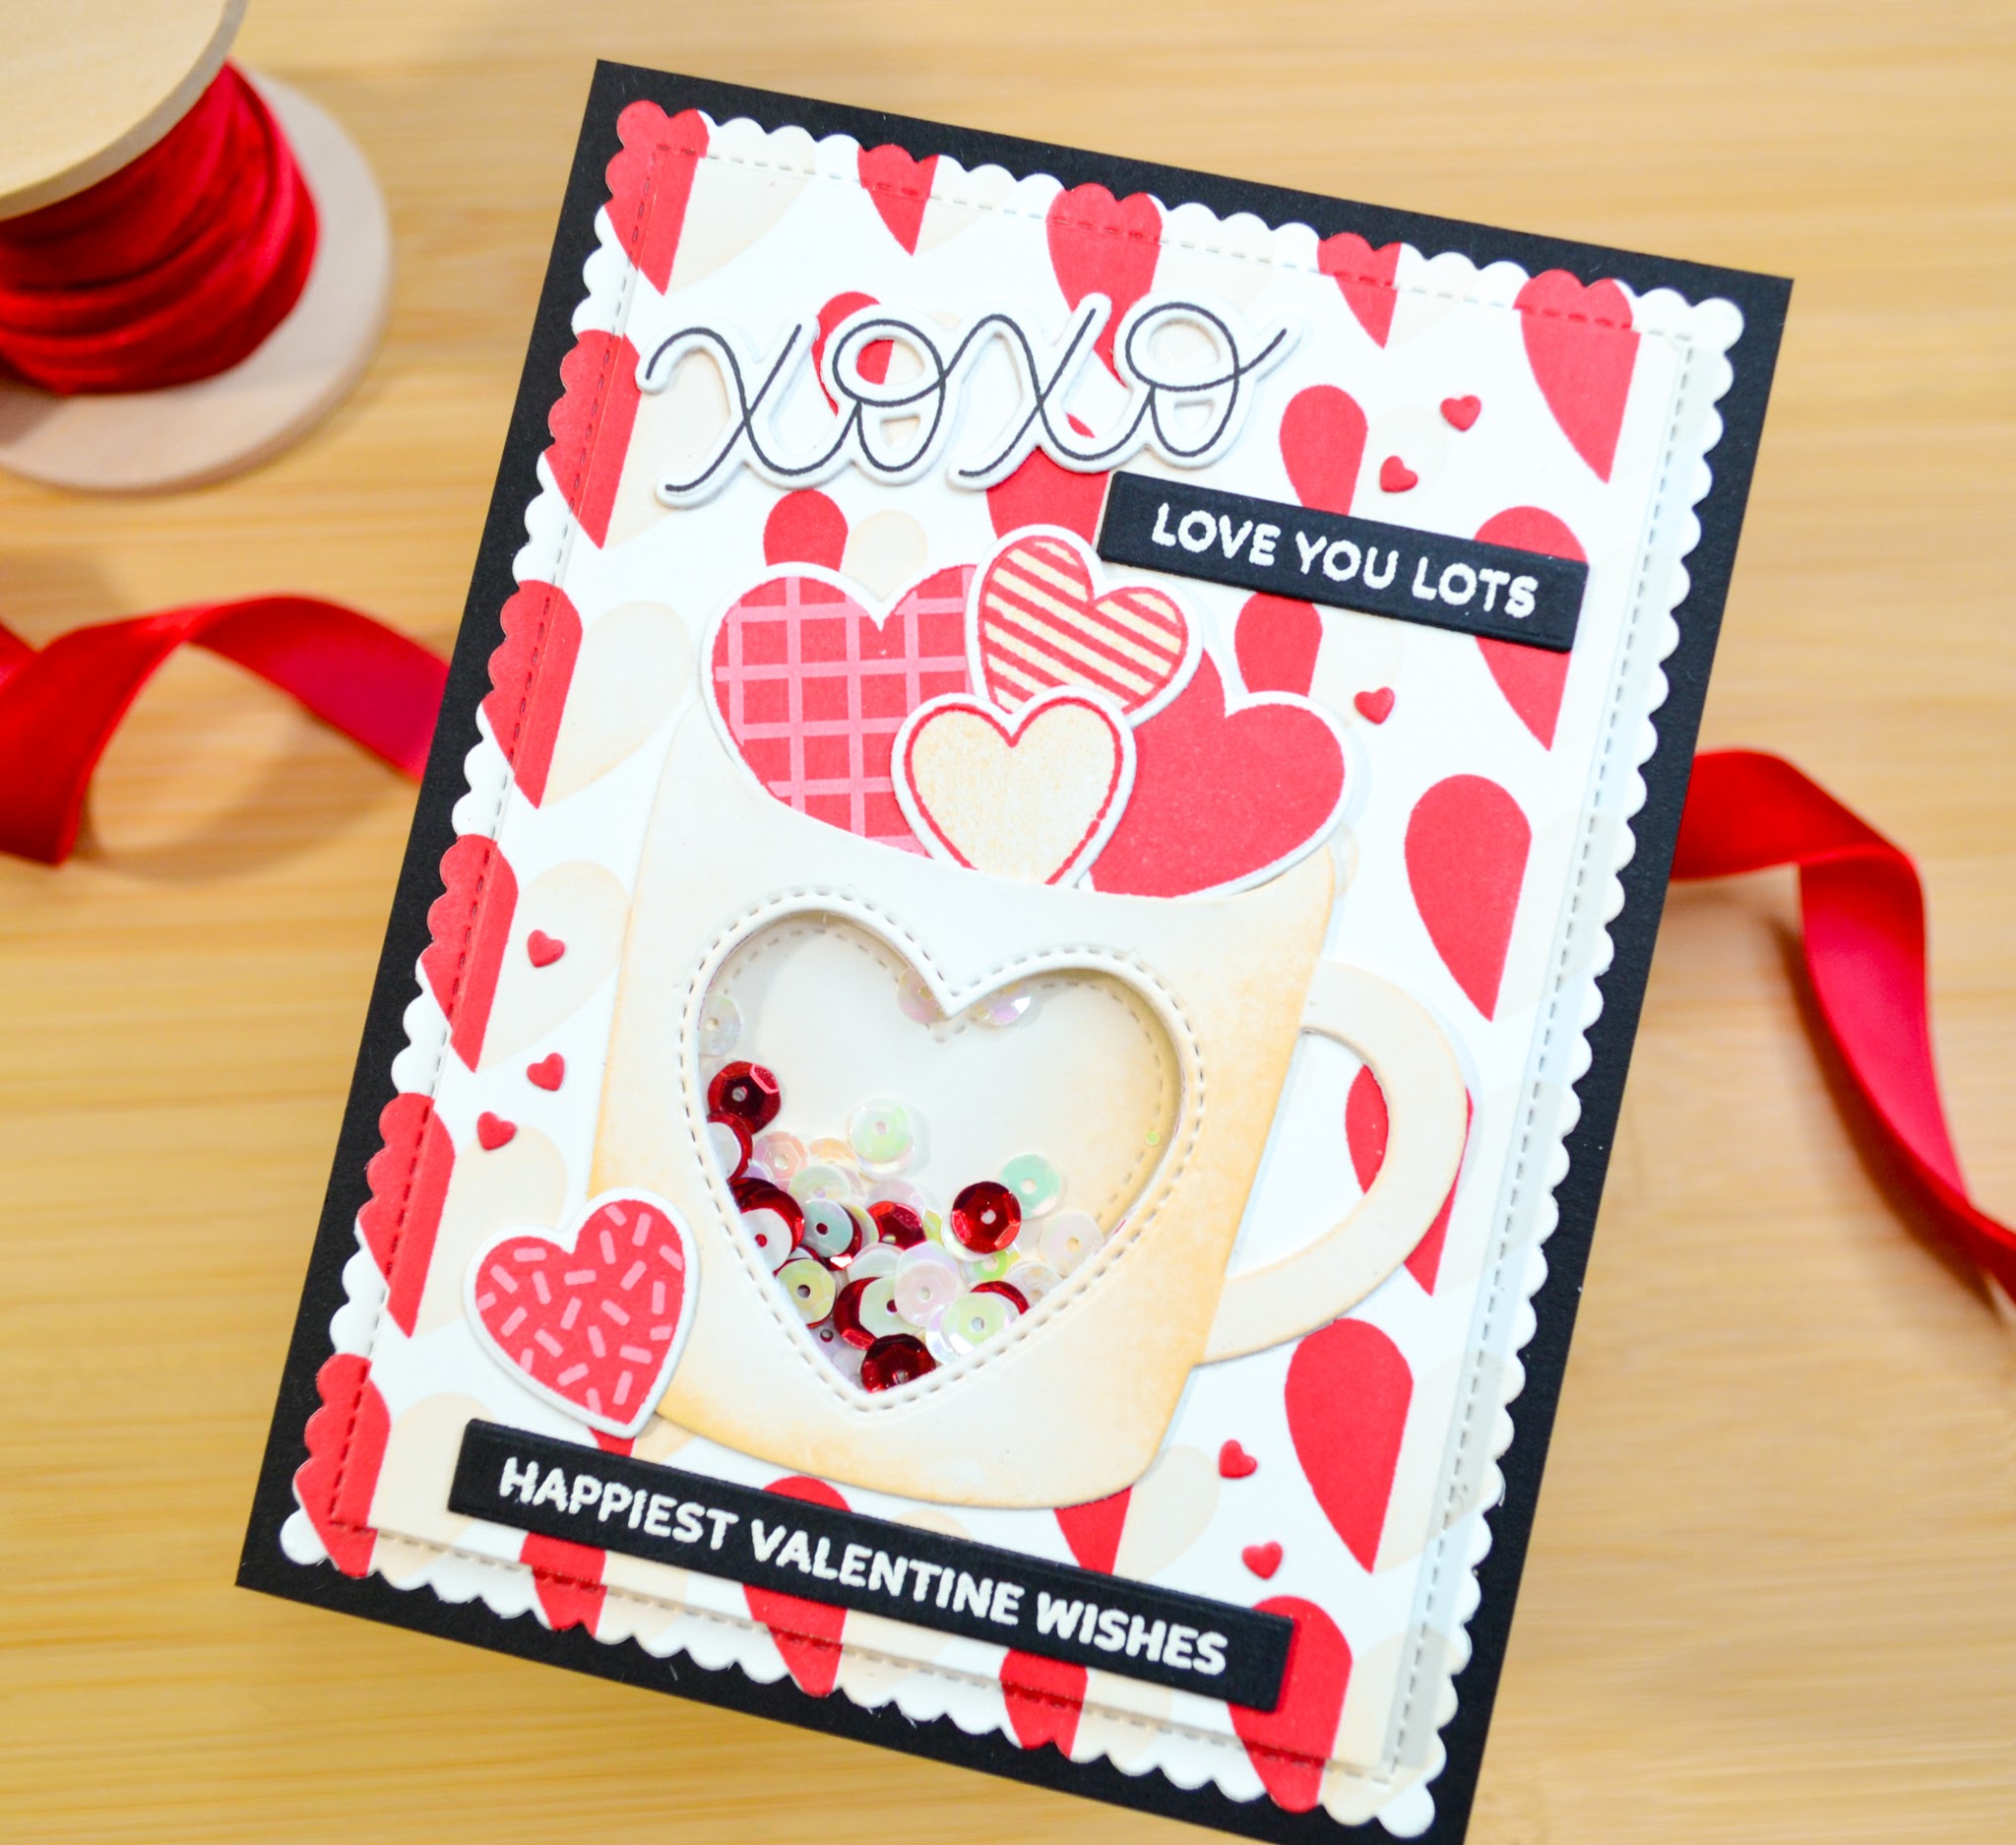
Toady I’m sharing more goodies from the Pretty Pink Posh January 2024 release! I paired the new Decorative Hearts with everyone’s favorite Winter Mug, and made it into a shaker using the Valentine Mug Addition Dies. I stamped and die cut the fun, patterned hearts and tucked them in and around my mug. These hearts were so much fun to make, you can mix and match the different patterns with solid hearts for endless possibilities. My favorite is that little striped heart, it just makes my heart happy ❤️ I added the most perfect, scripty “XOXO” sentiment included in the Decorative Heart set and put everything on a background made with another new favorite, the Half Heart Stencils. I chose a couple of sentiments from the new Sentiment Strips: Valentine Stamps to complete my Decorative Hearts Shaker Mug!
Pretty Pink Posh Supplies:
❤️Decorative Hearts Stamp Set
❤️Decorative Hearts Coordinating Dies
❤️Half Heart Stencils
❤️Sentiment Strips: Valentine Stamps
❤️Valentine Mug Addition Dies
❤️Winter Mug Dies
❤️Sentiment Strips Dies
STEPS
1.) On a white A2 card panel, stencil the background with the Half Hearts Stencil using Lumberjack Plaid and Antique Linen Distress Inks. Then die cut the background with a scallop frame (that will die cut the center panel from the frame) and set aside.
2.) Die cut the mug from white cardstock and blend Antique Linen around the edges with a blending brush. Then, using the heart from the Valentine Addition Dies, die cut the mug creating the shaker window.
3.) Using the mug as a template, lightly trace an outline of the heart onto the center background panel where the mug will be placed. Die cut the heart from the background. Now, there is a negative heart shape in the background that will line up with negative heart space of the mug. Attach the mug to the stenciled background with glue, aligning the two negative heart spaces. This is the front panel.
4.) For this card, the scallop frame piece is attached to the bottom background panel while the front panel is raised with foam strips. to do this, center and attach the scallop frame piece from step 1 to an A2 black card panel with glue. Glue a piece of white cardstock inside this frame. This is optional, but, once the front panel is popped up and attached with foam strips, this inside piece is slightly visible. I just preferred the white panel over the black. Use the front panel from step 3 as a template for placing the positive heart piece die cut from the mug in step 1 (this will be the inside of the shaker window), and glue in place.
5.) Across the entire back side of the front panel, attach foam strips, going around the heart window, creating the well for the shaker material. Remove the release paper from the foam strips. I placed the shaker material on the positive heart piece, instead of inside the well, and carefully brought the front panel down on top of the bottom panel, lining everything up.
6.) Stamp and die cut a variety of hearts and the “XOXO” from white cardstock. For the hearts, I used the same distress ink colors plus a white pigment ink and black for the “XOXO”. Tuck some of the hearts into the slit of the mug, trimming if necessary, and around the bottom of the mug, securing with glue. I stacked the “XOXO” with another die cut and glued in place.
7.) With cream embossing powder, heat emboss the sentiments on black cardstock. Die cut with a sentiment strip die and glue in place. For a little more embellishment, I added tiny red hearts, die cut from white cardstock, that I had inked with Lumberjack Plaid. Attach the panel to an A2 top-fold card base.
ADDITIONAL SUPPLIES
My Favorite Things Stitched Rectangle Scallop Edge Frames
Simon Says Stamp Black Cardstock
Distress Ink Lumberjack Plaid
Distress Ink Antique Linen
Hero Arts Unicorn White Pigment Ink
Hero Arts Intense Black Ink
Neenah 110# Classic Crest Cardstock Solar White
We R Makers Quickstik Precision Pickup and Placement Tool
Simon Says Stamp Place and Score Embellishment Wand
Sizzix Curved Fine-Tip Tweezers
Spellbinders Platinum Die Cutting And Embossing Machine
Misti Precision Stamper Tool
Bearly Art Precision Craft Glue
Tim Holtz Tonic Craft Mini Snips
Lawn Fawn Bone Folder
Simon Says Stamp Anti Static Powder Brush Tool
Versamark Clear Embossing and Watermark Ink
Simon Says Stamp Embossing Powder Cream Fine Detail
Simon Says Stamp Blending Brushes Small
Scotch 3M Post-It Masking Tape
Waffle Flower Foam Strips 1/8″
Simon Says Stamp White A2 Top Fold Scored Cards 120#
Sequins from my stash
