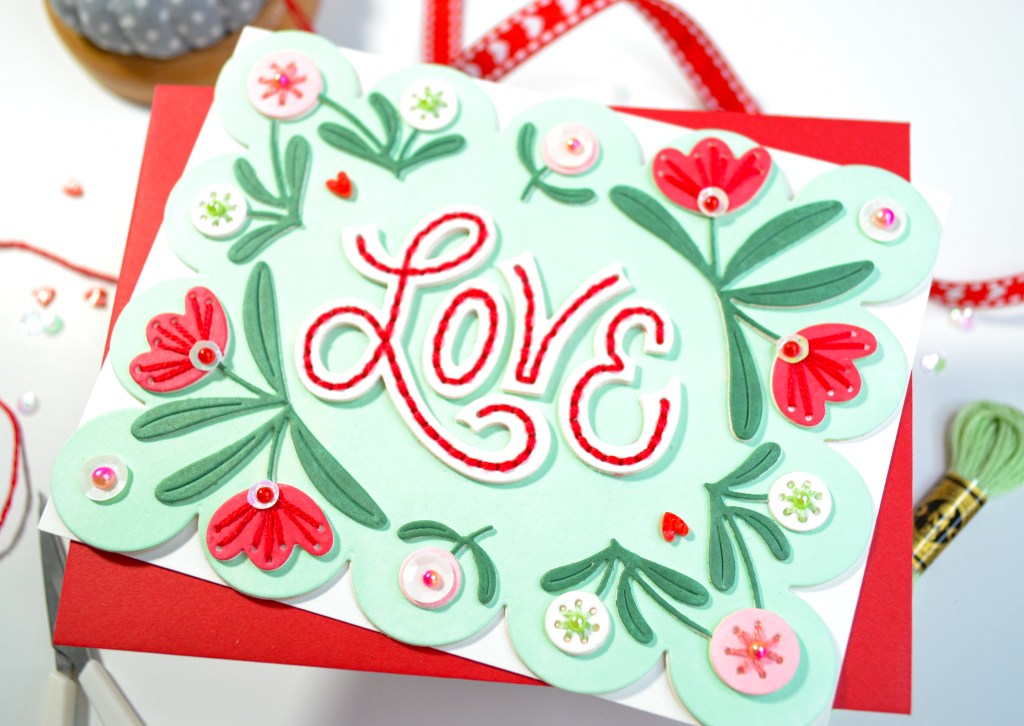
Love. When you marry your two favorite crafty things, paper crafting and stitching! I’m not sure why I waited so long to try stitching dies. I love the texture and interest the stitching gives this card and now I can’t wait for this month’s stitching die to arrive.
I will say that I think stitching on paper is much different than stitching on fabric. It’s a little more fussy. Like, trying to hold onto the small die cuts, deciding how to finish your stitching without too much bulk, and choosing whether to stitch or just glue your embellishments. Spoiler: I ended up gluing my embellishments. It was just easier and I don’t think it took away from the stitching concept of the design.
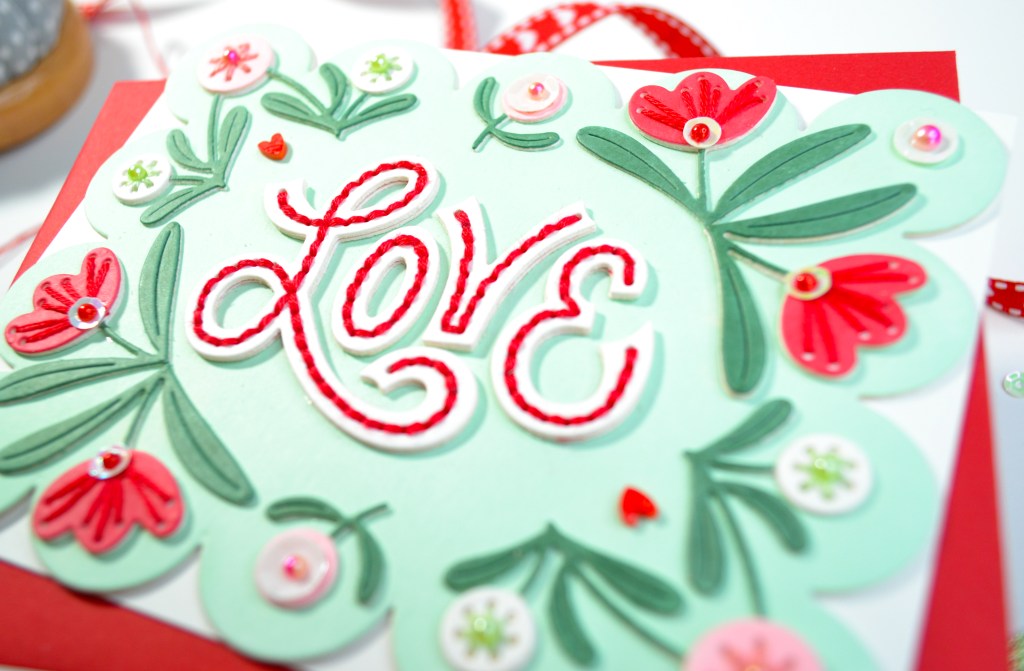
It did get easier as I moved through the different flowers, finding the techniques that worked for me. I used two strands of floss for the flowers and four for the letters. I used a cross stitch needle since I always have a cross stitch project in the works and had a needle close by. I tried the loop method to start stitching but that wasn’t working, so I just stitched over the floss end to start and ended by running the needle under the stitching a couple of times. Then, I glued another die cut to the back to secure the stitches and provide a little more stability to the die cuts.
I chose a landscape orientation for my design and put everything on my favorite green to pair with Valentine’s Day motifs, Lawn Fawn’s Minty Fresh. All the details, including supplies, are listed below, thanks for visiting my post!
STEPS
1.) Die cut all the elements from heavyweight white cardstock. You will need two or three per die cut so you can stack them. I used two for the leaves and the scallop background panel, and three for the flowers and the letters.
2.) Ink the background in light green. Ink the leaves in a darker green and the flowers in red and pink. I left some of my flowers and the letters white.
3.) With 4 strands of red floss, backstitch the letters. Secure two more die cuts to each of the stitched letters with liquid adhesive. Lay something heavy on top of the die cuts or secure with a reverse tweezers as the glue dries.
4.) Stitch the flowers with coordinating floss, using 2 strands of floss. Stack additional die cuts with the stitched flowers and the leaves. Secure with liquid adhesive and place something heavy on the die cuts as they dry.
5.) Glue sequins and/or beads, pearls, gems to the flower centers.
6.) Arrange your design on the background and glue in place. I trimmed some of my flower die cuts to make things work for my design. Attach the letters with liquid adhesive and add heart embellishments. Finish by adhering to an A2 side-fold card base with glue.

SUPPLIES
Spellbinders Stitching Die of the Month December 2023
Lawn Fawn Minty Fresh Ink Pad
Distress Ink Lumberjack Plaid
Distress Ink Spun Sugar
Simon Says Stamp Pawsitively Saturated Ink Kale
Neenah 110# Classic Crest Cardstock Solar White
We R Makers Quickstik Precision Pickup and Placement Tool
Simon Says Stamp Place and Score Embellishment Wand
Sizzix Curved Fine-Tip Tweezers
Spellbinders Platinum Die Cutting And Embossing Machine
Bearly Art Precision Craft Glue
Tim Holtz Tonic Craft Mini Snips
Lawn Fawn Bone Folder
Scotch 3M Post-It Masking Tape
Simon Says Stamp Blending Brushes Large
Simon Says Stamp Blending Brushes Small
Simon Says Stamp White A2 Side Fold Scored Cards 120#
Trinity Stamps Candy Apple Heart Sprinkle Embellishments
Floss, sequins and pearls from my stash
