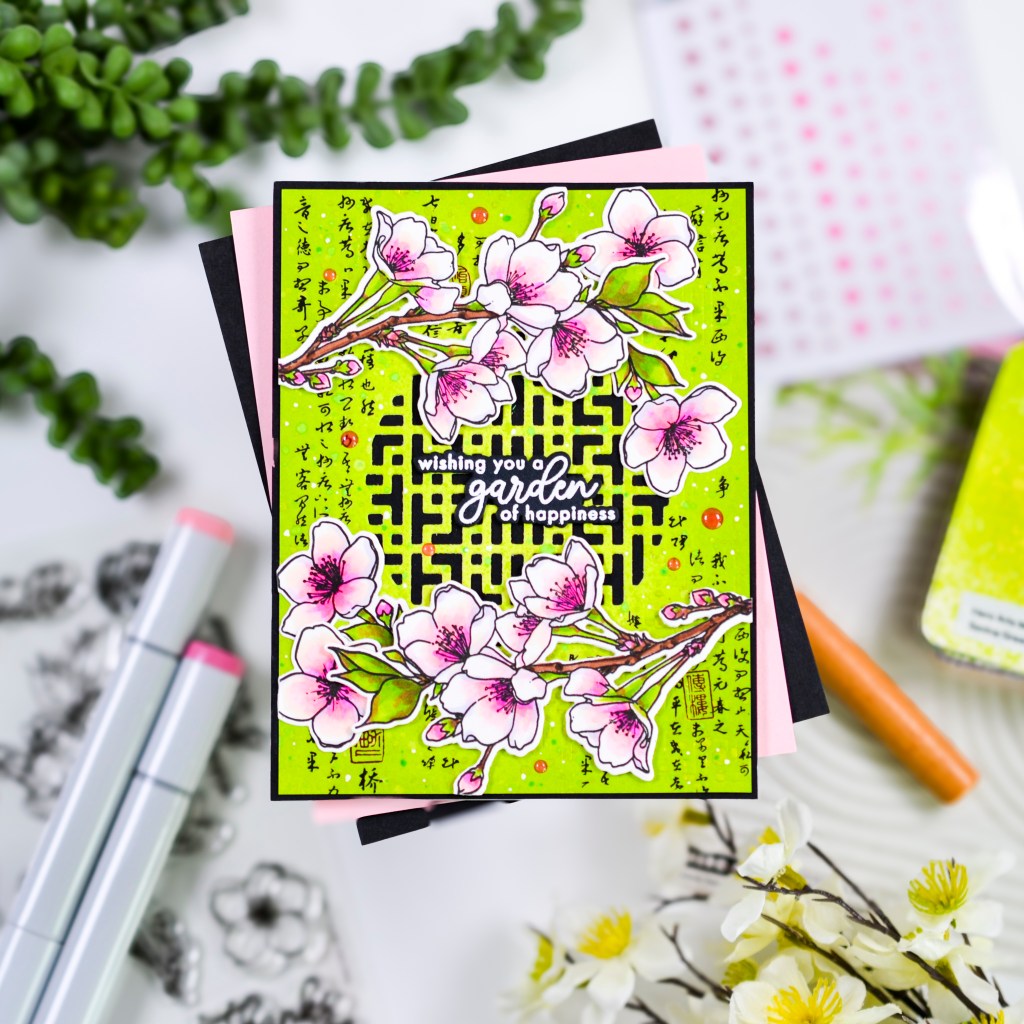
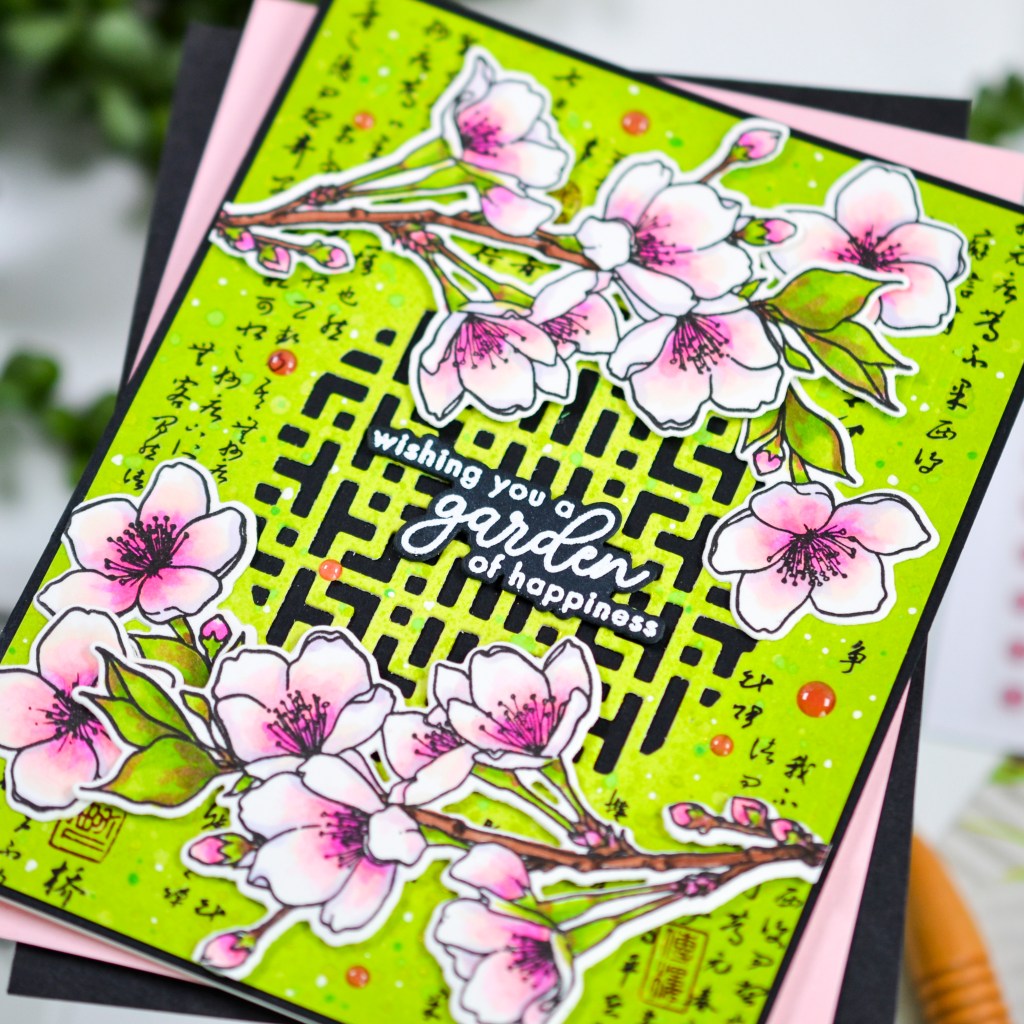
I’m excited to be sharing my second card featuring the Hero Arts March My Monthly Hero kit. This time, I chose to use the delicate cherry blossom stamp set and colored the images with Copic markers. I layered the images on a background panel made with the cover plate from the kit and used the center design cutout for a little texture. I had so much fun making this background panel, and I love how it turned out. After die cutting the cover plate, I used Simon Says Stamp Pawsitively Saturated Inks for the vibrant lime green colors and then did some distressing with Hero Arts Spring Green and Gold Two-Tone Metallic Spray, white gouache, and a few ink splatters. I also added some of the gorgeous rub-on transfers included in the kit here and there to contrast the background color and provide some visual interest. I heat embossed a sentiment in white on black cardstock and added the beautiful Translucent Pink Enamel Dots, also in the kit, for embellishment.
Step by step instructions and a supply list can be found below. Thanks for visiting today!
STEPS
1.) Create the background.
▪️ On a 4″ x 5 1/4″ white cardstock panel, use Celery, Limelicious, and, Pearfection Pawsitively Saturated Inks to ink the panel. Start with the lightest tone in the center and gradually blend out to the edges, using the medium tone and then the darkest tone.
▪️ Die cut the cover plate and the center design element from the inked panel.
▪️ Distress the panel by splattering Two Tone Metallic Spray, thinned white gouache, and thinned inks. I used the darkest background color, Pearfection and Dublin. Let inks and paint dry.
▪️ Add rub-on transfers to the background panel.
2.) Create the stamped images.
▪️ Stamp each cherry blossom image twice with black ink on white cardstock.
▪️ Color the images with alcohol ink markers and die cut with the coordinating dies.
Leaves: YG03, YG21, YG25, YG1, R55
Branches: E25, E27, E49, R55
Flowers: RV21, RV06, RV13, RV10, E000, BV000
3.) Create the sentiment by stamping in clear embossing ink on black cardstock and heat set with white embossing powder. Die cut with coordinating die.
4.) Assemble the card elements.
▪️ Attach the background panel to a black A2 card panel with liquid adhesive.
▪️ Attach colored images with thin foam squares and glue. Trim any areas overhanging the background panel.
▪️ Attach the sentiment with thin foam squares.
▪️ Add enamel dot embellishments.
▪️ Attach everything to an A2 side-fold card base.
SUPPLIES
- Hero Arts My Monthly Hero March 2024
- Hero Arts Spring Green + Gold Two-Tone Metallic Spray
- Simon Says Stamp Pawsitively Saturated Ink Trio 2
- Simon Says Stamp Pawsitively Saturated Ink Dublin
- Neenah 110# Classic Crest Cardstock Solar White
- We R Makers Quickstik Precision Pickup and Placement Tool
- Simon Says Stamp Place and Score Embellishment Wand
- Simon Says Stamp Place and Pierce Embellishment Wand
- Sizzix Curved Fine-Tip Tweezers
- Spellbinders Platinum Die Cutting And Embossing Machine
- Misti Precision Stamper Tool
- Waffle Flower 6.5×8.5 Grip Mat
- Bearly Art Precision Craft Glue
- Tim Holtz Tonic Craft Mini Snips
- Lawn Fawn Bone Folder
- Scotch 3M Post-It Masking Tape
- Simon Says Stamp Blending Brushes Large
- Simon Says Stamp Anti Static Powder Brush Tool
- Simon Says Stamp Embossing Ink Clear
- Hero Arts White Detail Embossing Powder
- Scrapbook Adhesives Thin Foam Squares
- Simon Says Stamp White A2 Side Fold Scored Cards 120#
- Winsor Newton Zinc White Gouache
- Copic Sketch Markers
