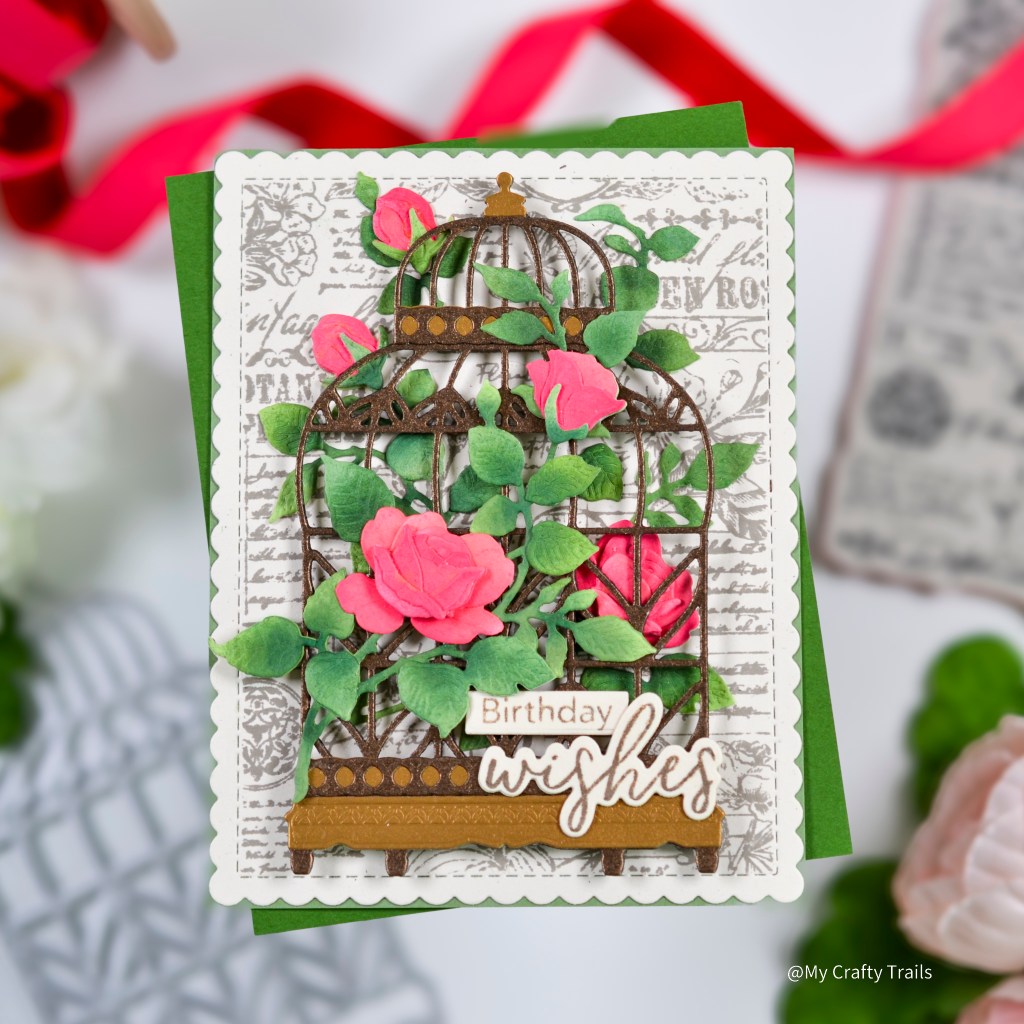
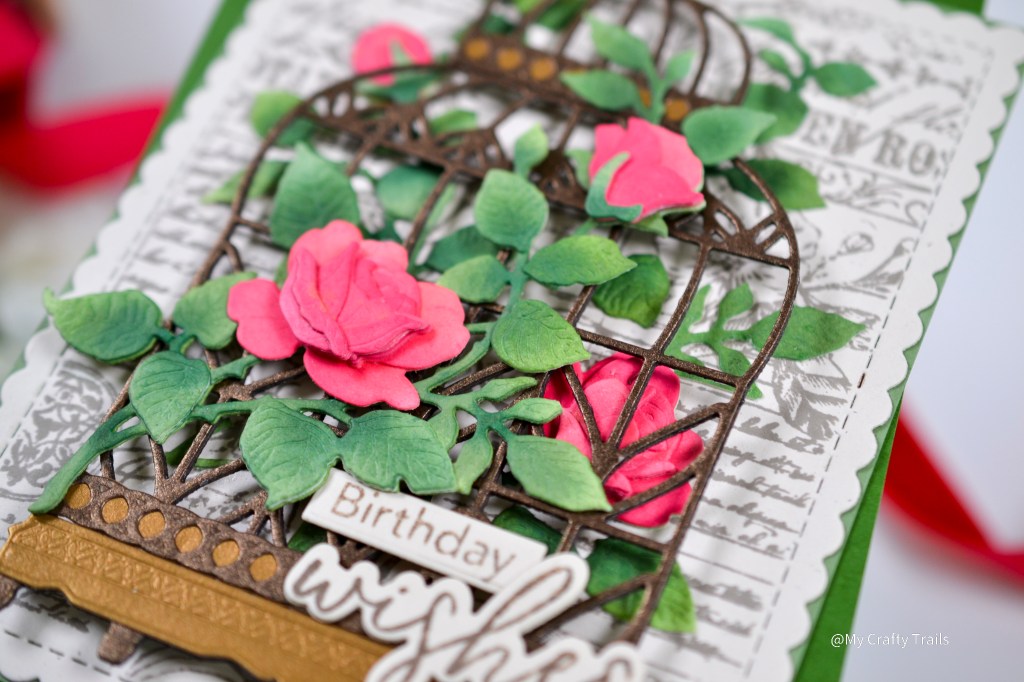
Hello friends! I’m a huge fan of Honey Bee Stamps’ Lovely Layers dies, or Honey Cuts, and I was fortunate enough to add quite a few of them to my stash lately, including the Bird Cage and the Sweetheart Roses from the recent Vintage Love Release. All of the Lovely Layers sets are, of course, full of dimensional layers and are incredibly intricate and detailed, and these sets are no exception. I just can’t get over the realistic, dimensional roses that slowly take shape when assembling the small, often arbitrary die cut pieces until they bloom into focus. I’m amazed every time. And the bird cage is just as impressive with its delicate design and debossing details. There’s also a hoop swing for the bird cage that I didn’t use this time but can’t wait to pair with a bird from the Lovely Layers collection.
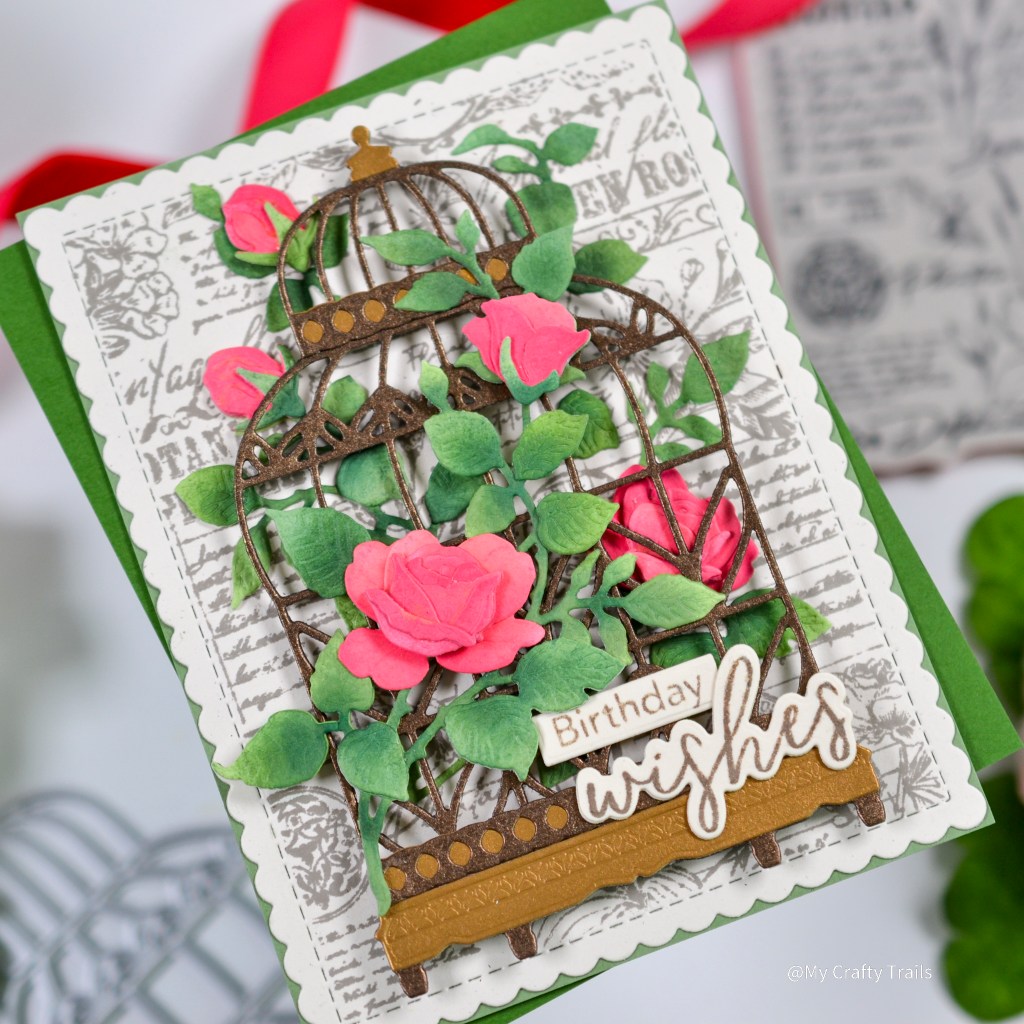
For the roses, I used Simon Says Stamp Pawsitively Saturated Ink trios to add color and shading to white die cuts. The bird cage is die cut from specialty metallic papers for a little shimmer, and then everything is popped up on a background stamped with the gorgeous Vintage Flora Background Stamp. I masked the edges of a Scallop A2 Card Frame before stamping the background and added a sentiment using the October 23 Free Bee Stamp set. By the way, I love these little gifts with purchase from Honey Bee Stamps. I use them all the time.
More details for this card design can be found below, including all the supplies I used. Thanks for stopping by!
STEPS
1.) Create the background.
▪️ Die cut the largest Scallop A2 Card Frame from Lawn Fawn’s Speckled Eggshell cardstock.
▪️ Mask the scallop edge with low tack tape and then stamp using the Vintage Flora Background Stamp and Pumice Stone Distress Ink.
2.) Create the birdcage.
▪️ Die cut the elements for the birdcage from copper and bronze metallic papers.
▪️ Metallic papers are a lighter weight so die cut the main body of the bird cage again but from at least an 80# darker colored cardstock. Attach the metallic die cut to the heavier weight cardstock with liquid adhesive giving it more stability.
▪️ Attach the decorative die cut elements to the birdcage with liquid adhesive.
3.) Create the sweetheart roses.
▪️ Die cut the elements for the roses twice from white cardstock. You will need some extra leaves and an extra rose or two.
▪️ Use a sticky mat and keep the pieces in the negative spaces of the die cuts while inking the die cuts for easier application. I used small and detail blending brushes to apply SSS Pawsitively Saturated Inks in Cheeky, Blush, and Punch for the roses and Cabbage, Artichoke, and Kale for the leaves.
▪️ Use the layering guide included with the set to assemble the roses using liquid adhesive to secure the pieces.
4.) Create additional elements for the card.
▪️ Create the card base by inking a white A2 card panel with SSS Artichoke ink. Attach the stamped scallop panel to this with liquid adhesive.
▪️ Stamp the sentiments on ivory cardstock with Pumice Distress Ink. Die cut with the coordinating die and a sentiment strip die.
5.) Assemble the card.
▪️ Plan the layout of the roses with the birdcage on the scallop panel. Plan for some leaves and roses to be inside (behind) the birdcage, cutting the rose swag where necessary. Attach the leaves and roses that will be inside (behind) the birdcage to the scallop panel with liquid adhesive.
▪️ Attach the birdcage over these leaves and roses with foam squares placed along the wider portions of the birdcage.
▪️ Use liquid adhesive to attach the remaining leaves and roses to the front of the birdcage.
▪️ Attach the sentiments with liquid adhesive.
▪️ Attach the card front to an A2 side-fold card base.
SUPPLIES
- Honey Bee Stamps Lovely Layers: Sweetheart Roses
- Honey Bee Stamps Lovely Layers: Birdcage
- Honey Bee Stamps Scallop A2 Card Frames
- My Favorite Things Skinny Strips Die-namics
- Honey Bee Stamps Vintage Flora Background Stamp
- Neenah 110# Classic Crest Cardstock Solar White
- Lawn Fawn Speckled Eggshell Cardstock
- We R Makers Quickstik Precision Pickup and Placement Tool
- Simon Says Stamp Place and Score Embellishment Wand
- Simon Says Stamp Place and Pierce Embellishment Wand
- Sizzix Curved Fine-Tip Tweezers
- Spellbinders Platinum Die Cutting And Embossing Machine
- Misti Precision Stamper Tool
- Waffle Flower 6.5×8.5 Grip Mat
- Bearly Art Precision Craft Glue
- Tim Holtz Tonic Craft Mini Snips
- Lawn Fawn Bone Folder
- Scotch 3M Post-It Masking Tape
- Simon Says Stamp Blending Brushes Large
- Simon Says Stamp Blending Brushes Small
- Simon Says Stamp Blending Brushes Detail Round
- Waffle Flower Shader Brush 0+
- Scrapbook Adhesives Foam Squares
- Simon Says Stamp White A2 Side Fold Scored Cards 120#
- Simon Says Stamp Pawsitively Saturated Ink: Cheeky, Blush, Punch, Cabbage, Artichoke, Kale
- Tim Holtz Distress Ink Pad Pumice Stone
