Hi friends! After closing on our new house the day that Hurricane Helene made landfall in Georgia and dealing with a host of other delays and issues, I’m happy to say that we fared very well. So well, that I’m already set up and back in my craft room trying to get my crafty groove back. Which is good because I have plenty of Halloween-themed cards to catch up on!
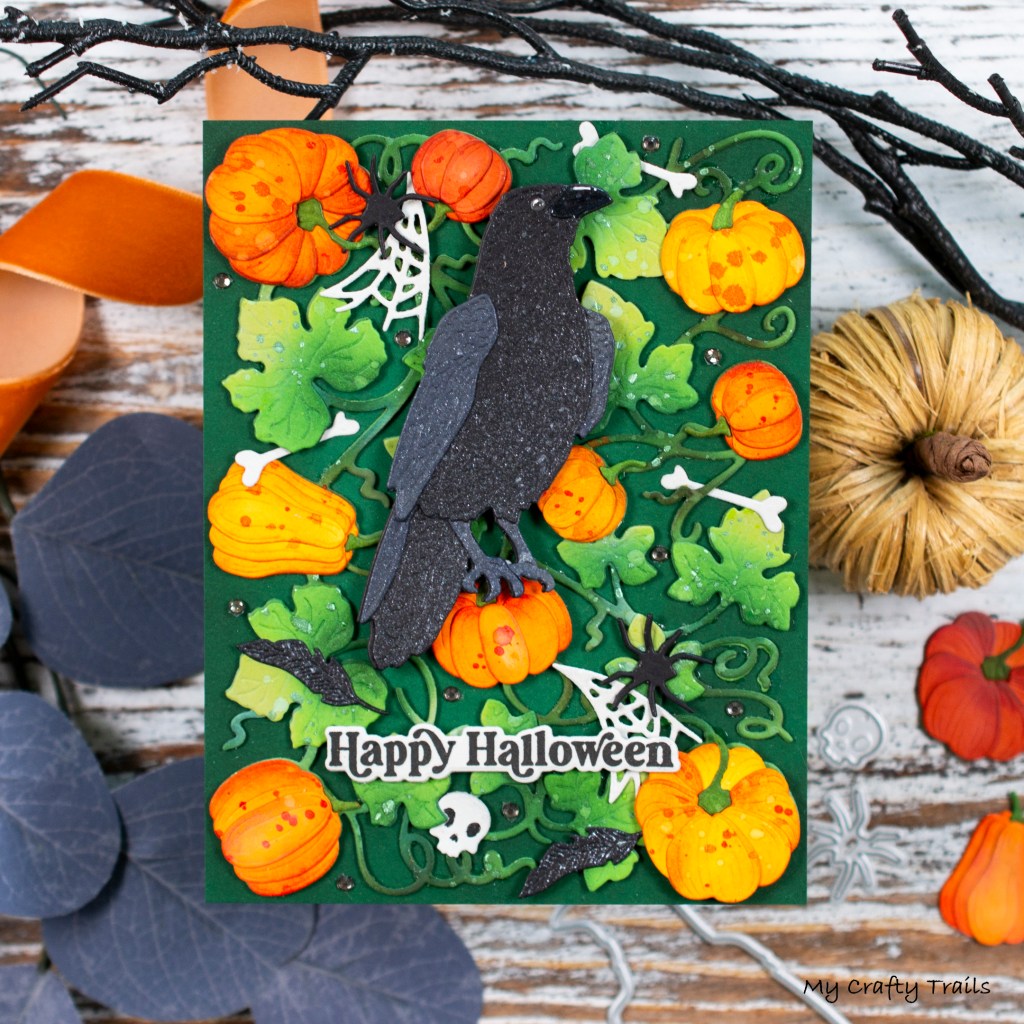
I’m starting with this spooky pumpkin patch scene featuring some fabulous Honey Bee Stamps products. I started with the new Bold Background: Pumpkin Patch Honey Cuts, added the Lovely Layers: Crow, and then finished by tucking some of the spooky Halloween icons from the Lovely Layers: Toil and Trouble Honey Cuts set into the scene. Follow along as I walk you through the steps to creating this fun and spooky pumpkin patch scene!
To create the pumpkin patch background, I die cut the base plate, the layering leaves, and the pumpkin stems from a medium green cardstock. I used Lawn Fawn’s Noble Fir Cardstock and then added depth and dimension by shading with a variety of inks and a small blending brush. To add shading and interest to the base and the stems, I choose Pawsitively Saturated Ink in Kale, Walnut Stain Distress Ink, and Crushed Olive Distress Oxide Ink. To add shading to the leaves, I used a combination of the Kale ink and Mustard Seed Distress Oxide Ink before attaching them to the base die cut. With the leaves in place, I splattered the entire panel with plain water, and for a little sparkle, Bubbling Cauldron Mica Stain.
Next, I die cut the pumpkin layers from Buttercup yellow and Clementine orange cardstocks from Concord and 9th. I added shading with the following Distress Ink colors: Crackling Campfire, Wild Honey, Carved Pumpkin, Fired Brick, and Walnut Stain. Before assembling the layers, I splattered them with plain water, and for a little sparkle, Jack-o-Lantern Mica Stain. After assembling the pumpkins, I attached them to the base die cut. For the background of the completed base die cut, I applied Kale ink to the edges of a Rainforest cardstock panel trimmed to 4 1/4 x 5 1/2 before attaching the base.
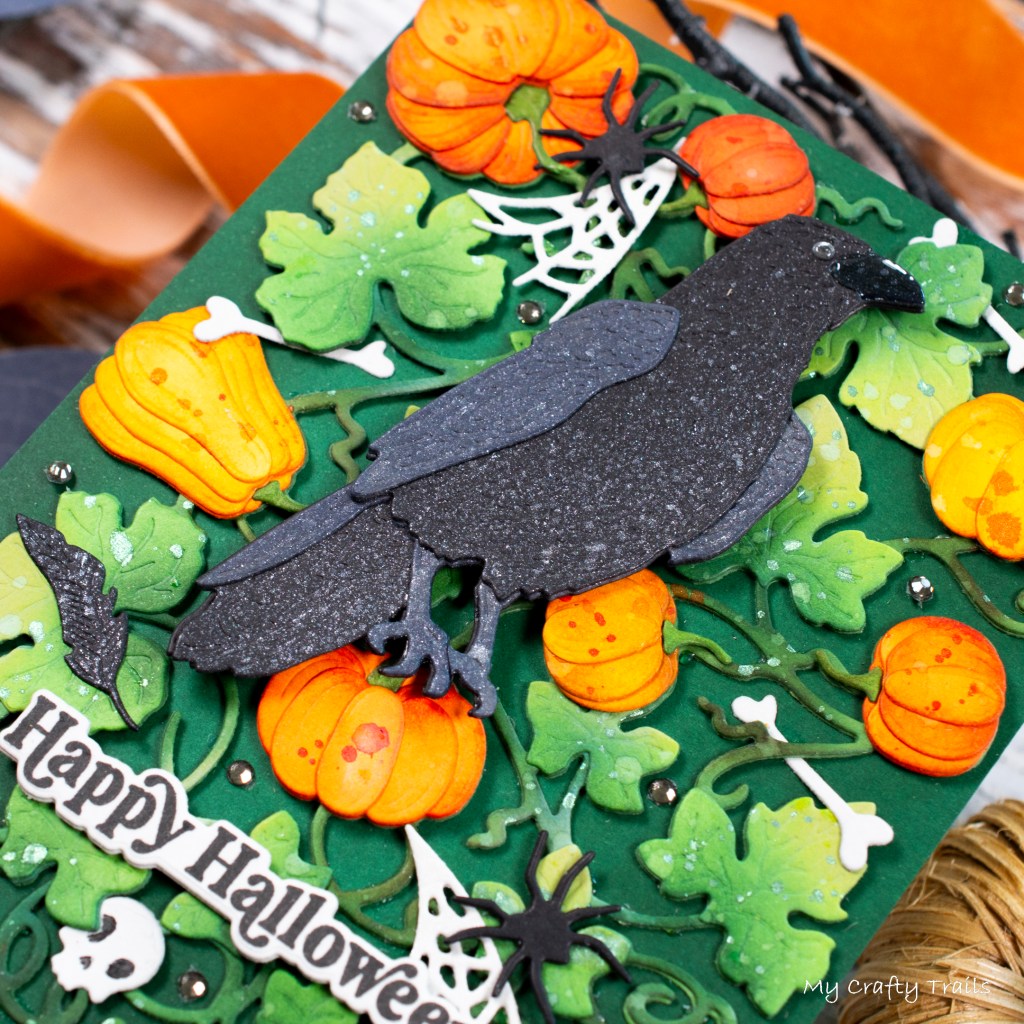
To create the crow, I die cut the layers from Black Licorice and Slate Gray cardstocks. I added a little Black Soot Distress Ink to the gray layers and then spritzed everything with a glitter spray before assembling them. After assembling the layers, I added white gel pen highlights to the eye and the beak before adding Glossy Accents. After letting the glossy accents dry, I attached the crow to the pumpkin patch with foam squares.
I die cut the remaining elements from Black Licorice and Fog Gray cardstocks, adding glitter spray to the feathers and spider webs before tucking all the elements into the pumpkin patch base. For the final details, I added some gemstones and a greeting from the SSS Friendly Ghosts Stamp Set, that I stamped in black on Fog Gray Cardstock and die cut with the coordinating die.
Thanks so much for stopping by and following along with the steps I took to create this spooky fun pumpkin patch scene. The supplies and products I used are linked above and my everyday supplies can be found here. Stay tuned for more Honey Bee Stamps Halloween projects!

