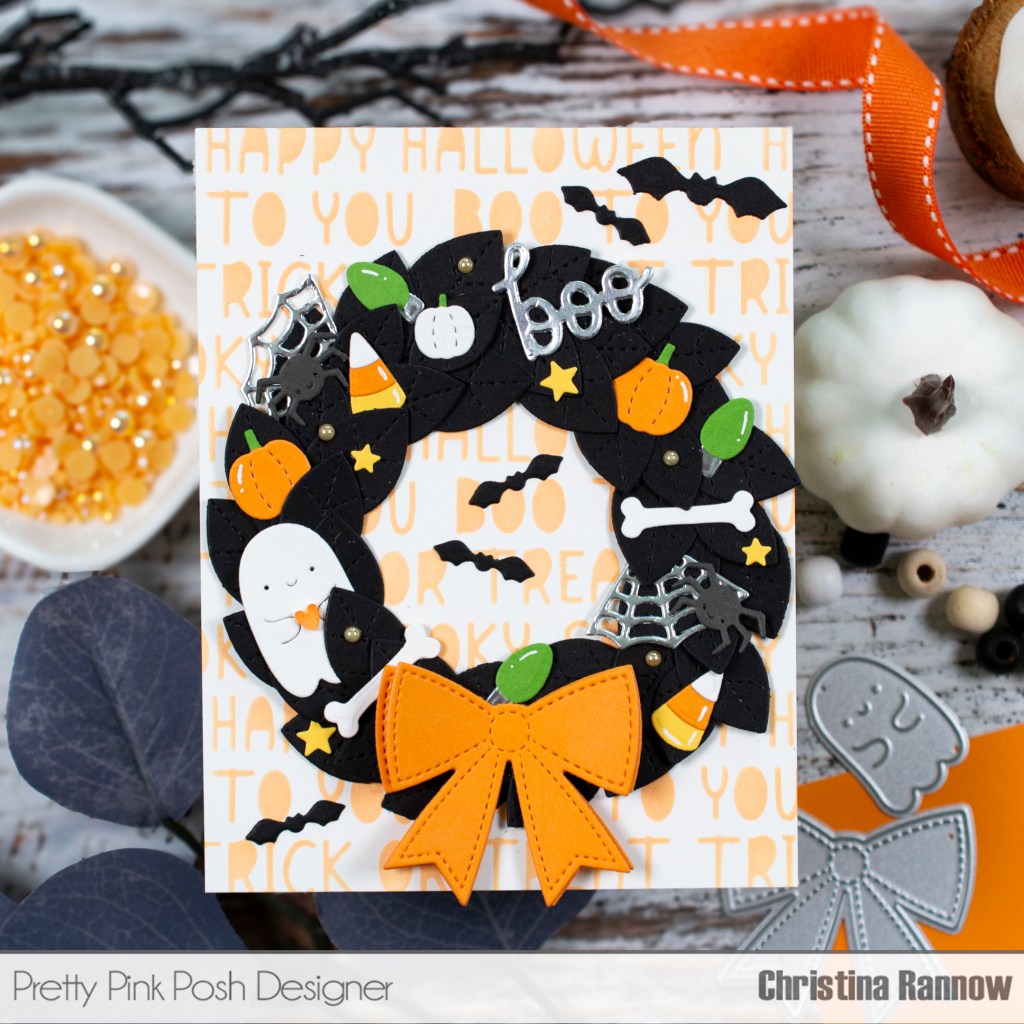
Happy Halloween, friends! This fun project features a variety of spooktacular Pretty Pink Posh products, along with a few products that I reimagined to be spooktacular. I used the new Holiday Wreath Builder and Christmas Lights Garland Dies in a totally unexpected way and created this Halloween Wreath that’s all gussied up for the spookiest night of the year. Other than the stenciled background, this project is all die cutting. So grab your favorite colored cardstock and let’s get started!
Pretty Pink Posh featured:
Holiday Wreath Builder Dies – leaves and bow
Big Halloween Cupcake – “boo”, spider webs, and bones
Christmas Lights Garland Dies – green lights
Ghost Holder Dies – bats
Spooky Mug Addition Dies – pumpkins, stars, spiders, and the little boo ghost
Halloween Words Stencil – background
Creamsicle Pearls – embellishment
White Hearts Clay Confetti – embellishment

My first step was to stencil the Halloween Words on an A2 white cardstock panel with orange ink. Next, I die cut all of my elements. I kept the color palette simple using classic Halloween colors, with pops of green and silver.
After die cutting all of my elements, I assembled the leaves of the wreath on the ring die cut and then attached the wreath to my stenciled background panel. I placed the big orange bow at the bottom of the wreath and then began tucking all the Halloween goodies into the leaves, first assembling anything that needed assembling. I used a copic marker to color a white clay heart and put it in the hands of the little ghost before adding white gel pen highlights to some of the elements and a few pearls as the finishing touches. And that’s it!
Thanks for stopping by on this spookiest day of the year and following along with the steps to creating this fun Halloween Wreath card. The project-specific supplies I used are listed in the description above, and my favorite everyday supplies can be found here. Have a hauntingly good Halloween, friends!

