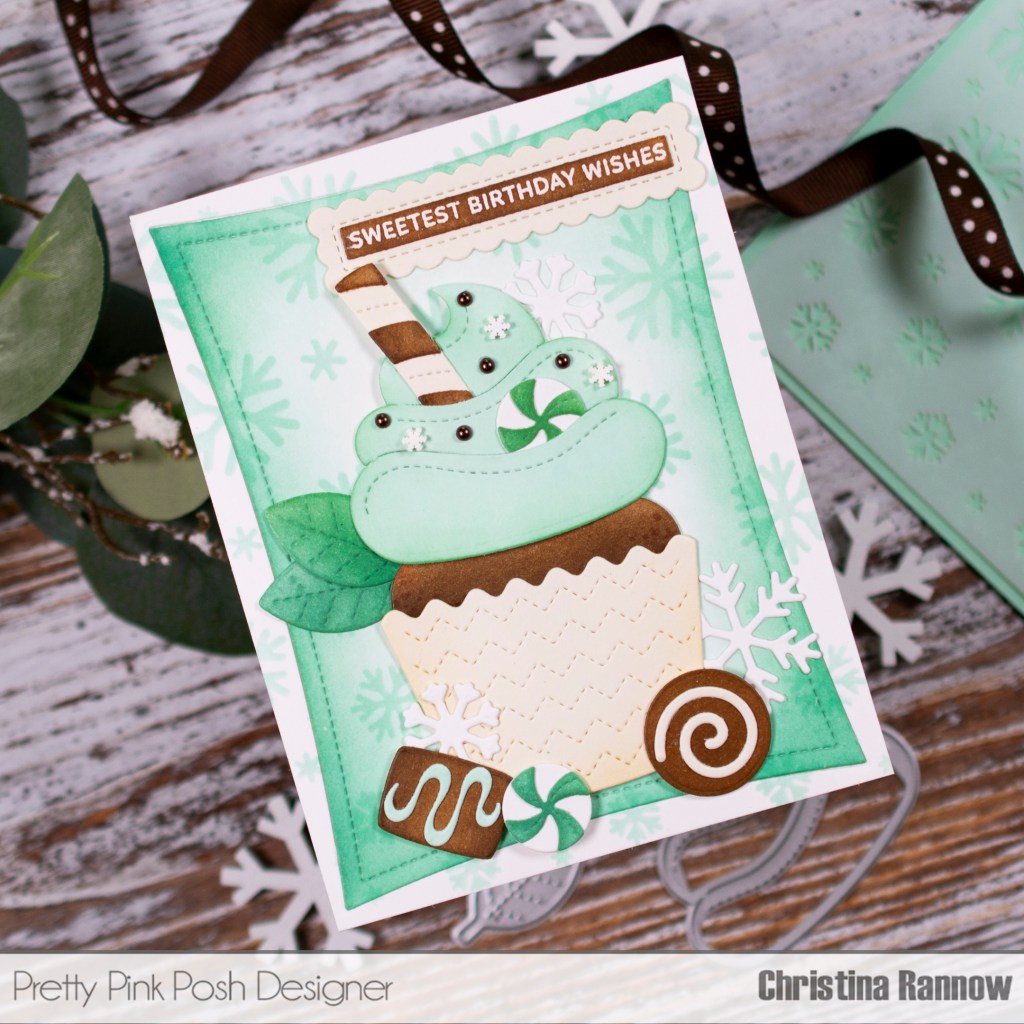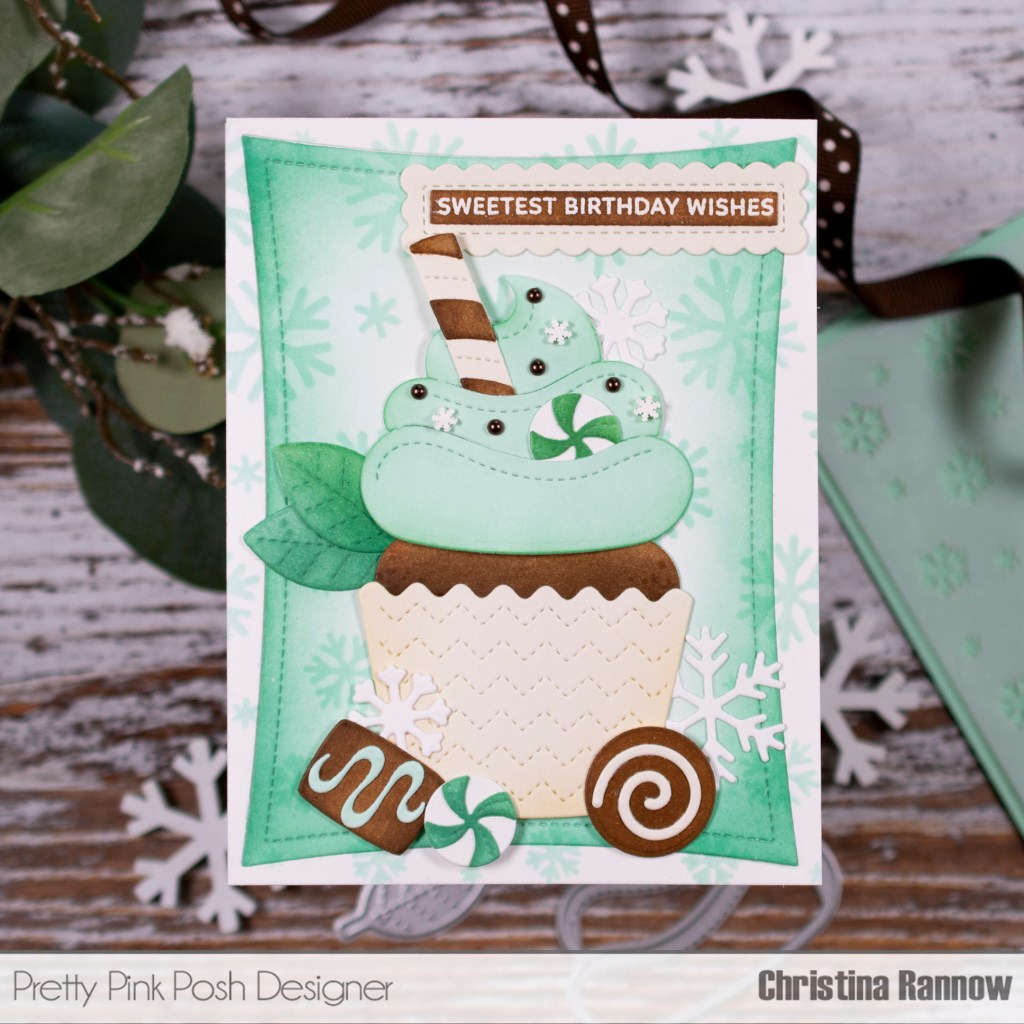
I have the sweetest mint chocolaty treat to share with you today, and it’s full of some of the best Pretty Pink Posh goodies. I mixed and matched multiple cupcake and mug sets to get the perfect combination for this winter birthday card created with inked die cuts. Keep reading to get all the minty fresh details on creating this card as well as the project-specific products I used. For my favorite everyday supplies, click here. Thanks so much for stopping by to read all about this sweet winter birthday card!
Pretty Pink Posh products featured:
Wonky Stitched Rectangles
Big Christmas Cupcake – cupcake base and snowflakes
Big Valentine Cupcake – cake and frosting
Big Fall Cupcake – “mint” leaves
Holiday Mug Addition Dies – peppermint candy
Winter Mug Dies – big snowflake and candy cane
Valentine Mug Addition Dies – chocolate candy
Candy Treats Dies – round chocolate candy
Sentiment Strips Dies
Sentiment Strips: Birthday Stamp Set
Cascading Snowflakes Stencil
Winter Wonders Clay Confetti – snowflake confetti
Espresso Pearls
Distress Inks:
Antique Linen – cupcake base
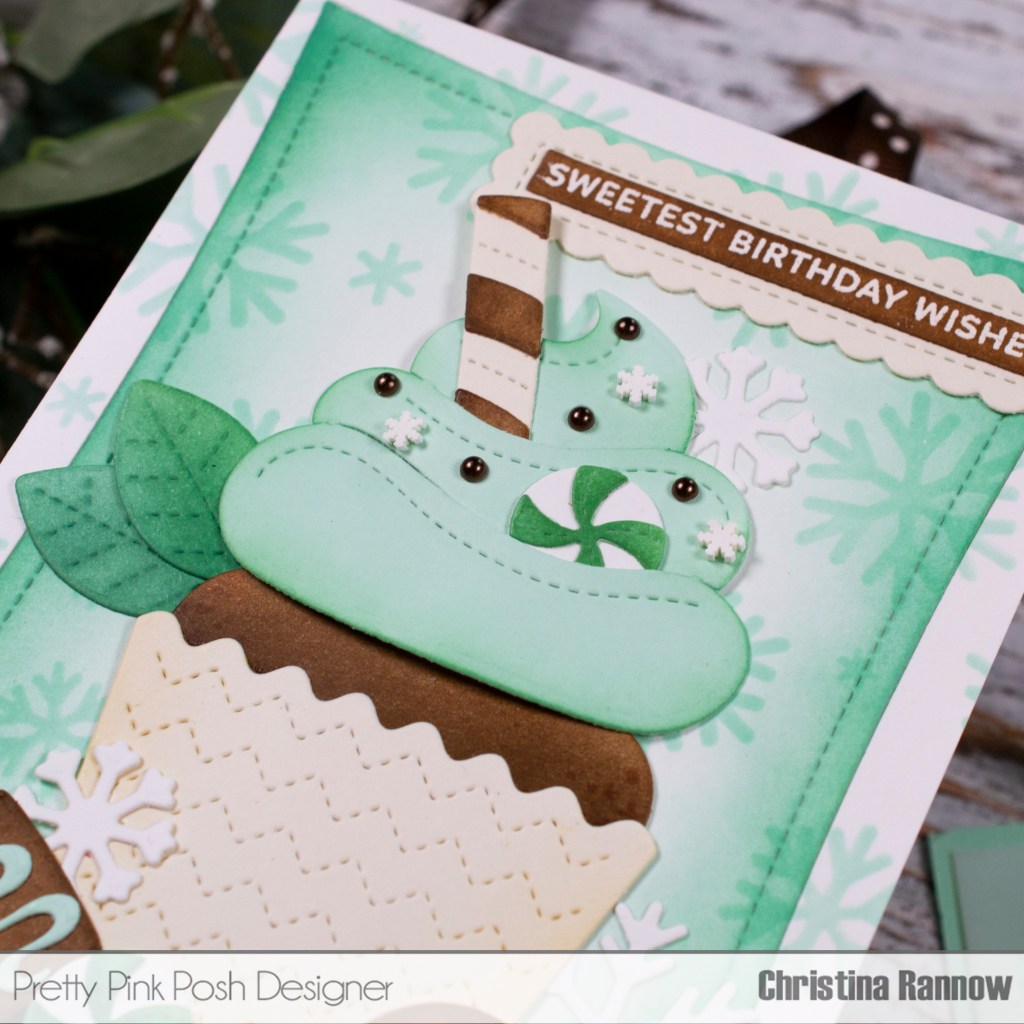
Evergreen Bough – leaves, peppermints, shading on frosting, edges of wonky rectangle
Gathered Twigs – all chocolate
Ground Espresso – chocolate shading
Lawn Fawn Minty Fresh Ink Pad – stencil and frosting
My first step was to stencil the cascading snowflakes on an A2 white cardstock panel with mint green ink. Then I die cut the panel with the largest wonky stitched rectangle and lightly inked the wonky edges with a darker green. I attached both the positive and the negative pieces from the wonky rectangle die cut to an A2 card base.
My next step was to die cut all the elements for my card design from mostly white cardstock and just a few die cut from vanilla cardstock. I inked all the pieces with small blending brushes, adding subtle shading to some of the larger die cuts. Then I assembled all the elements. and attached them to my stenciled background.
I attached the cupcake and frosting with foam squares, using regular foam squares for the center areas and thin foam squares for the sides. This gives the cupcake a rounded appearance. Then I tucked some of the elements into the frosting and behind the cupcake, using liquid adhesive and foam squares where needed. I attached the elements at the base of the cupcake with foam squares.
My final steps were to embellish the cupcake with snowflakes and pearls and add a sentiment heat embossed with white embossing powder and inked with brown ink to match the other elements.