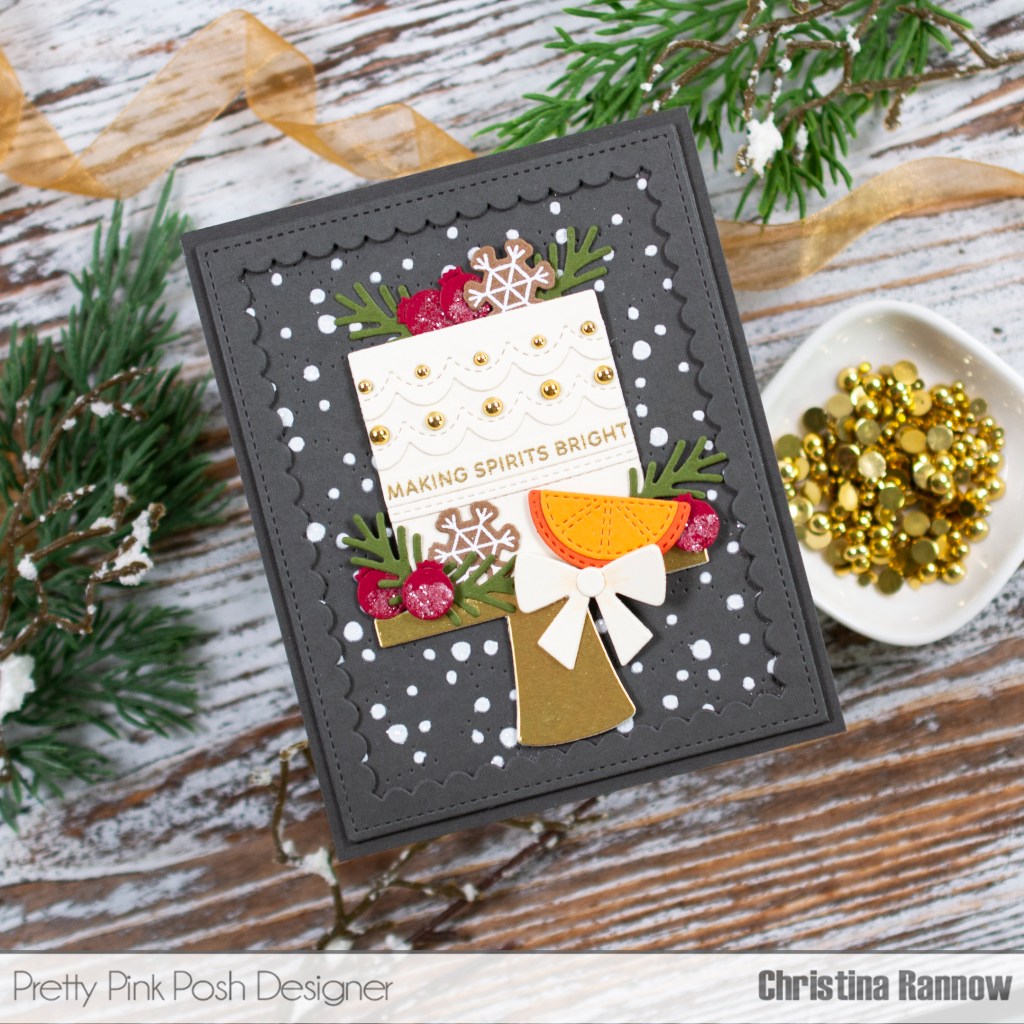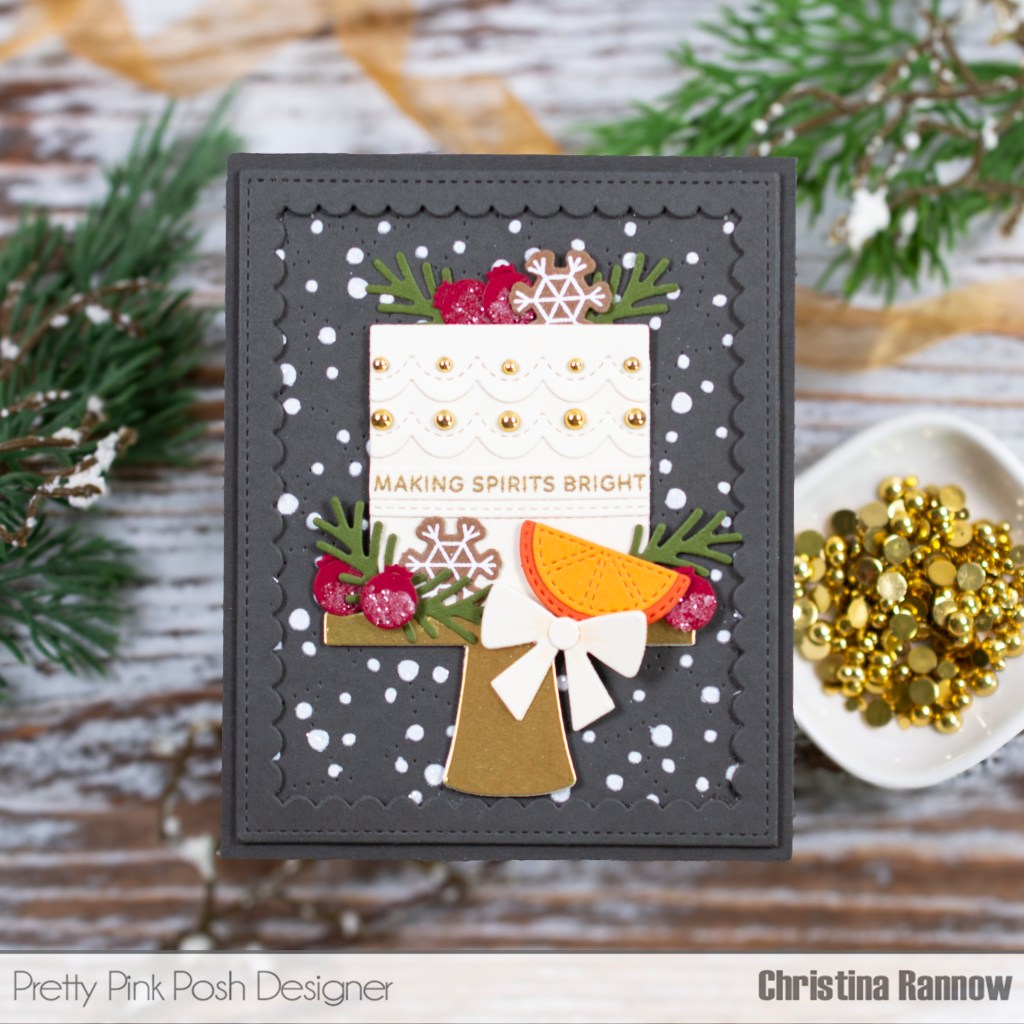
Hello friends! I am thrilled and extremely grateful to again be a part of the super talented Pretty Pink Posh Design Team! Creating inspiration projects with all the adorable and whimsical products in the Pretty Pink Posh Collection truly brings me so much joy. And to celebrate, I have a special project to share with you today featuring the Fancy Cake Dies that I adorned with some lush winter fruits and sparkling accents for an elegant card perfect for any winter celebration.
Keep reading to get more details about creating this card, including a list of the Pretty Pink Posh products I used. Any other project-specific products or supplies will be listed and linked in the instructions, and my favorite everyday supplies can be found here. Thanks so much for stopping by and celebrating my design team announcement with me! Stay tuned for the first Pretty Pink Posh release of the new year – you’re going to love it! ❤️
Pretty Pink Posh products featured:
Fancy Cake Dies
Pierced Stars Plate
Snowfall Stencil
Scallop Frames
Big Celebration Cupcake – orange slice and “cranberries”
Holiday Wreath Builder – greenery
Sentiment Strips Dies
Sentiment Strips: Christmas Stamp Set
Beautiful Bows Dies
Snowflakes Stamp Set – “ginger cookies”
Snowflakes Coordinating Dies
Metallic Gold Pearls

My first step was to create the background by die cutting Mushroom cardstock with the Pierced Stars Plate and then trimming it to 4 1/4 x 5 1/4 inches. Then I stenciled the panel using the Snowfall Stencil and Paper Glaze Velvet in Winter Snowfall, and before the glaze set, I sprinkled some Distress Rock Candy Glitter over the panel. I finished the panel with two scallop frames die cut from Mushroom cardstock that I stacked and attached with liquid adhesive.
My next step was to die cut all the remaining elements and assemble them. I used Vanilla Malt cardstock for the cake layers and the bow, Cranberry for the berries, Spiced Cider and Cayenne for the orange slice, Artichoke for the greenery, and Matte Gold cardstock for the platter. For the “iced ginger cookies,” I stamped a small snowflake on Wheat cardstock with clear embossing ink and heat embossed them with white embossing powder before die cutting them with the coordinating die. To add sparkle to the berries, I brushed a small amount of liquid glue on them and dipped them into the Distress Rock Candy Glitter.
My final steps were to attach the die cut elements to my background using liquid adhesive and foam squares, embellish the cake layers with gold pearls, and add a sentiment that I heat embossed with gold embossing powder and die cut with a sentiment strip before attaching it to the cake.