Happy Friday, friends! I have a pretty in pink card design to share with you today featuring the Postage Collage The Pond Stencil from Waffle Flower. I combined the stencil with gold accents and an embossed background of cascading hearts for a soft, feminine feel before finishing with a bold sentiment from Waffle Flower’s Print and Script Die set. I love this design for Valentine’s Day, but it could easily be used for another occasion, especially if you switch up the sentiments. Keep reading to find the project-specific supplies I used and the steps I took to create this pretty in pink card design. You can always find my favorite everyday supplies here. Thanks so much for stopping by!
Waffle Flower Crafts products
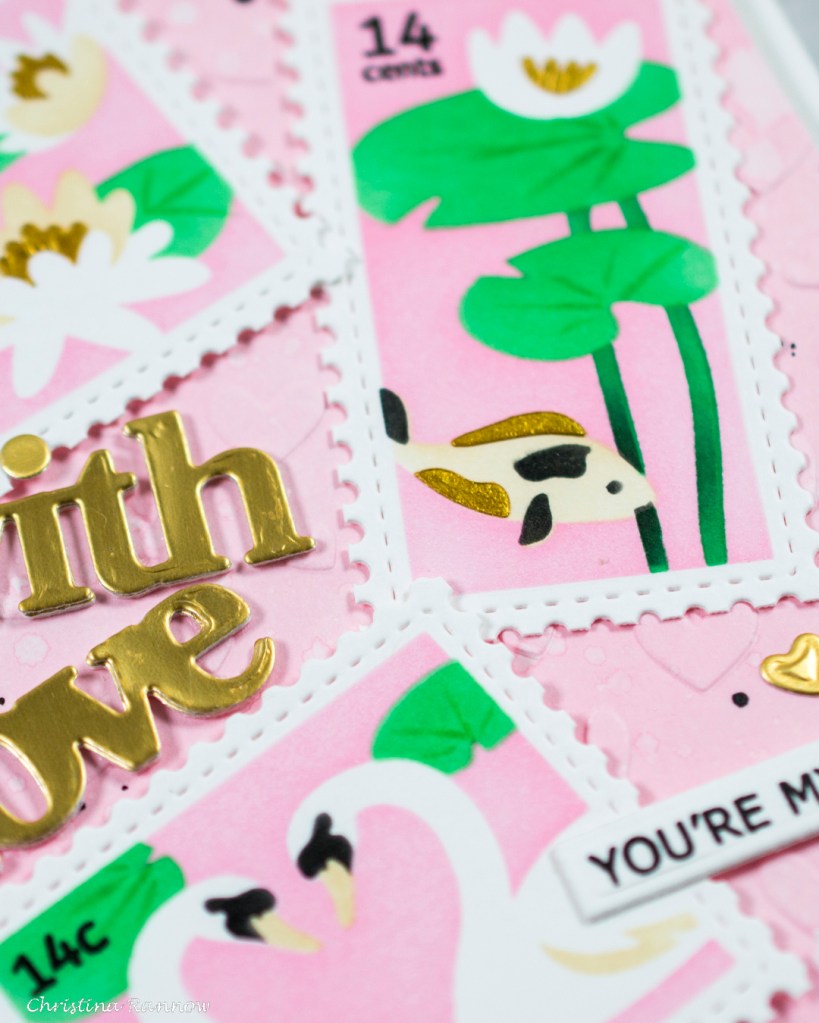
Postage Collage The Pond Stencil – main images
Postage Collage Love Stamp Set – stamp denominations & sub sentiment
Postage Collage Die
Postage Collage Stamp Set – Hugs Inside stamp
Print & Script With Love Die Set – sentiment
Other Products
Simon Say Stamp Rainbow Splash Embossing Folder Cascading Hearts
Spellbinders Onyx Silk – black splatter
Spellbinders Brushed Gold Cardstock – sentiment and hearts
Simon Hurley Lunar Paste Slippery When Wet – gold stencil paste
Ink Colors
Distress Ink Spun Sugar – background panel & stencil background
Distress Ink Antique Linen – koi, swan and water lily
Distress Ink Black Soot – swan and koi details
Pawsitively Saturated Ink Spring – lily pads
Pawsitively Saturated Ink Lucky – stems
Copic Marker G02 for lily pad detail
VersaFine Onyx Black Ink for stamping
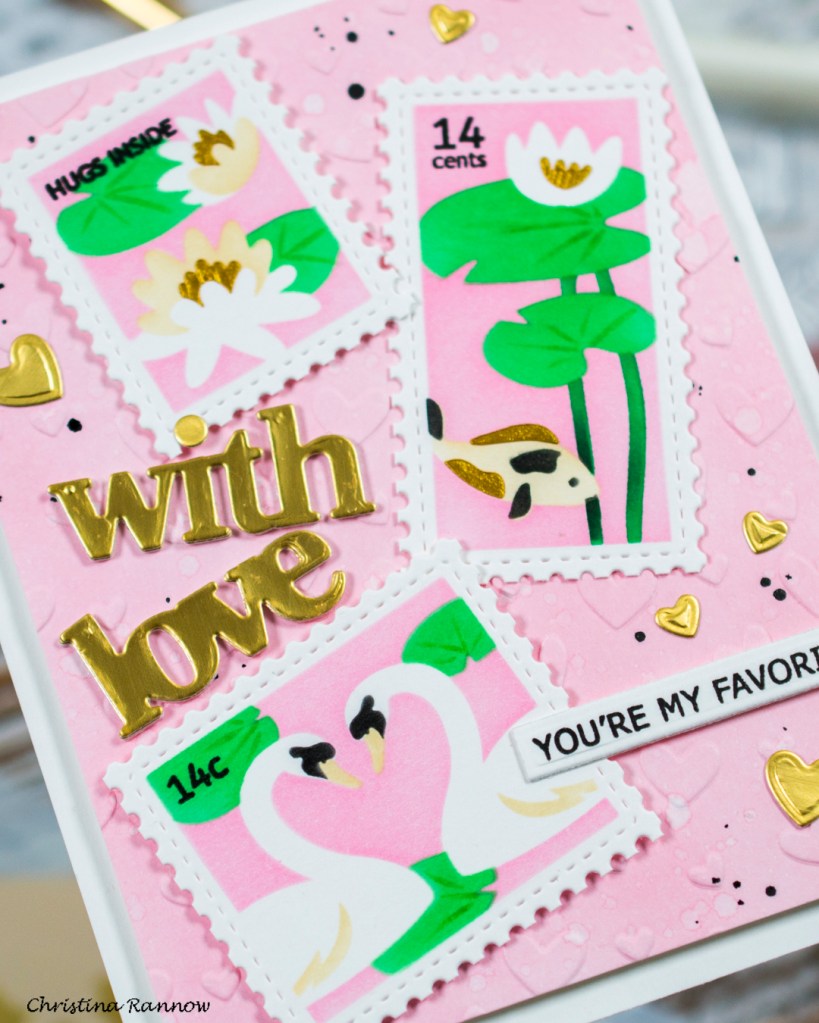
I started my project by die cutting the Postage Collage die from white cardstock and then stenciling it with the layered pond stencil using the ink colors listed above. I chose to use gold stencil paste for the flower centers and for some of the details on the koi fish. These elements are on two separate stencil layers, so I let one element dry before moving on to the other. I snipped the postage collage apart into individual stamps and added a small sentiment to one and denominations to the other two, and to finish them up, I added a simple veining to the lily pads with a Copic marker.
To create the background panel, I started with a white cardstock panel trimmed to 3 7/8 x 5 1/8 inches to allow for a substantial white border after it’s mounted. I inked this panel with Spun Sugar and then embossed it with the cascading hearts. The panel was slightly damp from inking, which is the perfect time to emboss for really crisp and clear results. Next, I spattered the background first with water and then with the Onyx Silk. Finally, I mounted the background to an A2 white cardstock panel with foam tape, centering it for a white border.
To finish things up, I attached the individual stamps to my background, one with liquid adhesive and the other two that overlap it I used thin foam squares. Then I added the brushed gold sentiment that I doubled up with plain white cardstock before attaching it with liquid adhesive. And lastly, I added a stamped sentiment die cut with a sentiment strip and a few brushed gold hearts.