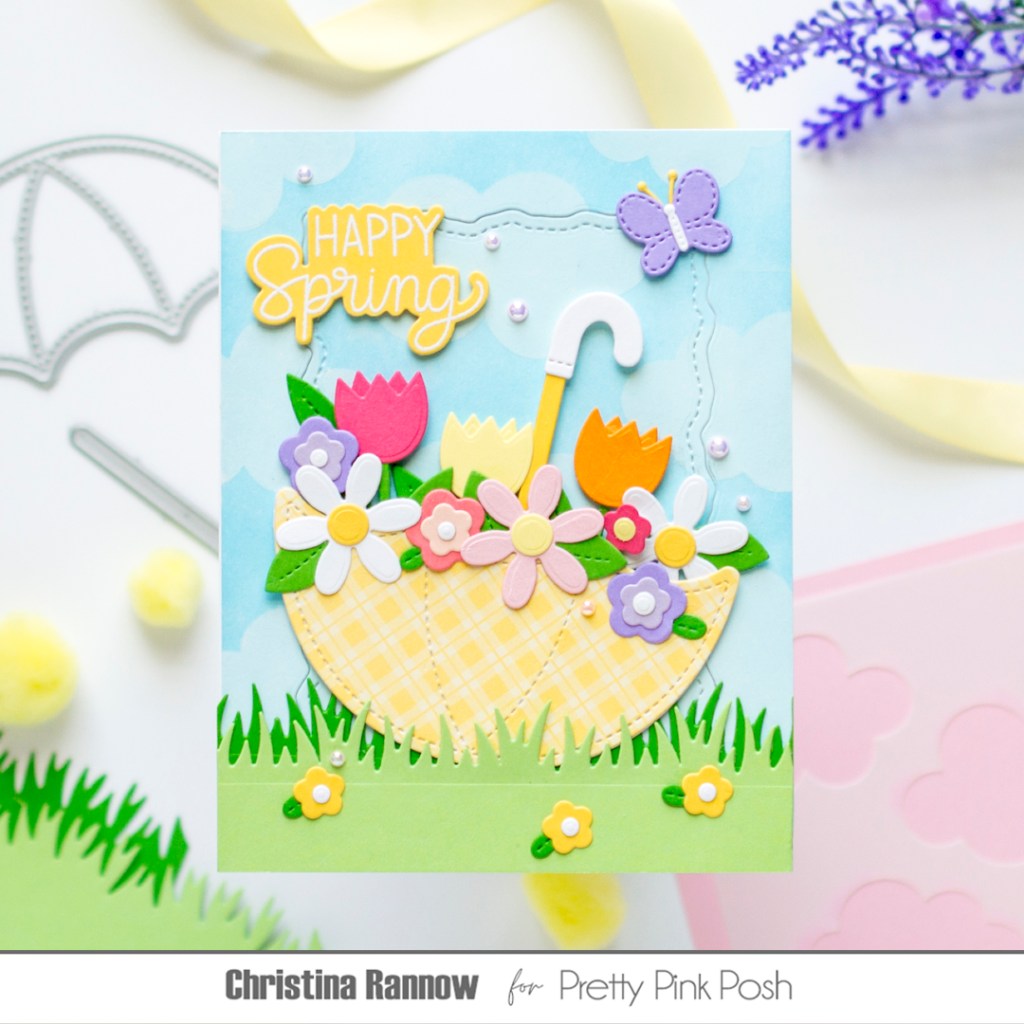
Hi, friends! Today I’m sharing a card bursting with all the signs of a Pretty Pink Posh spring: pretty flowers, a fluttering butterfly, and fresh green grass. To create this springtime scene, I used a combination of new and previously released die sets on a stenciled background of white puffy clouds. Keep reading to find a project-specific supply list and all the details on how I used those supplies to create this pretty springtime card.

Pretty Pink Posh Supplies
Umbrella Shaker Dies
Grass Border Die
Big Easter Cupcake Dies – small flowers
Spring Mug Additions Dies – butterfly
Easter Bucket Additions Dies – tulips and daisies
Easter Greetings Stamp Set
Easter Greetings Coordinating Dies
Stitched Torn Rectangles Dies – background detail
Layered Clouds Stencil – background
Pink Blush Pearls
Other Supplies
Doodlebug 6×6 Plaid-Polka Dot Paper Pad – umbrella
Distress Ink Tumbled Glass
Lawn Fawn Yeti Ink
Heat embossing supplies
Let’s get started!
I created the background first by inking a white A2 card panel with Tumbled Glass ink, letting it dry, and then stenciling one layer of clouds with white pigment ink. I let the pigment ink dry before I die cut the panel with the second-largest Stitched Torn Rectangle for a decorative detail and then attached it to my card base.
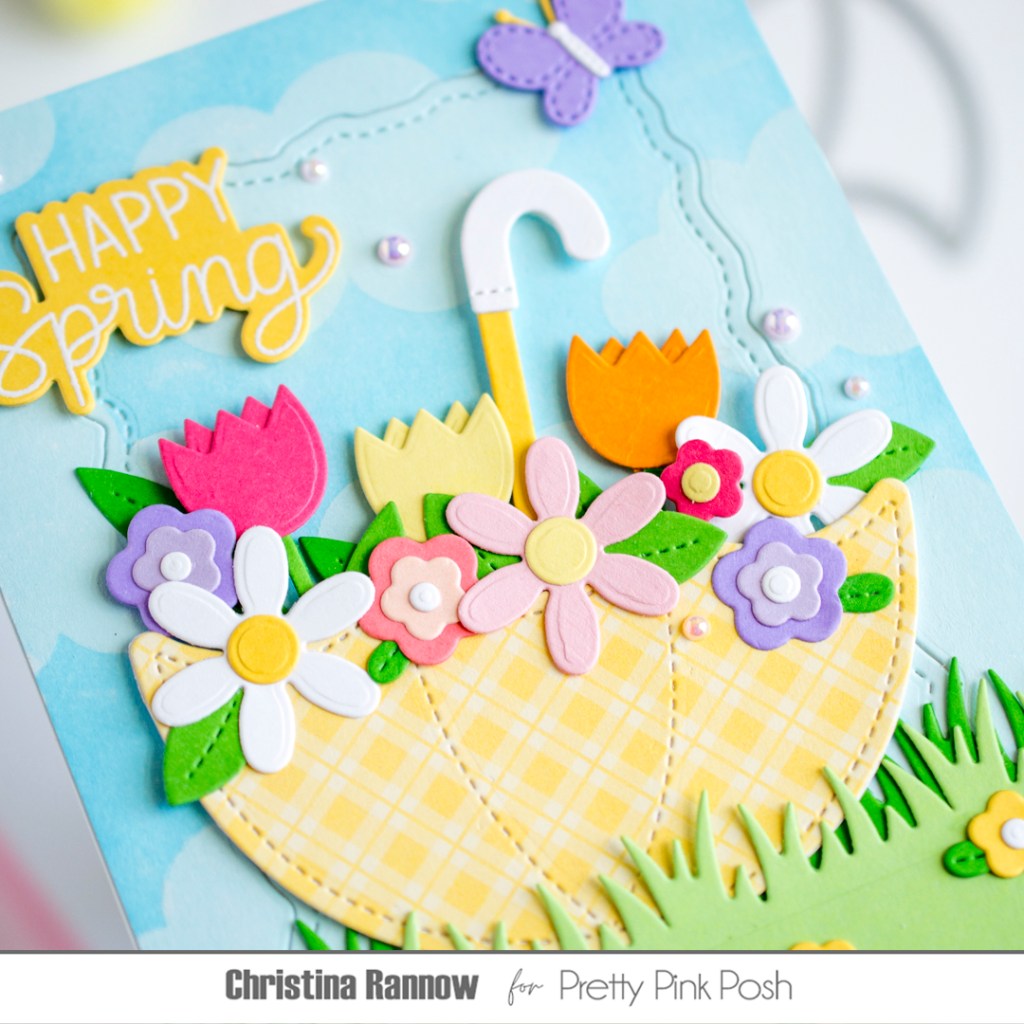
Next, I die cut all the elements for my card design. I used a yellow plaid for the umbrella and scrap pieces of colored cardstock for everything else. Then I assembled the die cuts and started layering them on my background panel. I tucked the umbrella between two grass layers, attaching it with thin foam squares so I could tuck some of the flowers inside.
To finish things up, I heat embossed a sentiment with white embossing powder on yellow cardstock, die cut it, and attached it to my card. The last detail was to add some pink blush pearls.
Thanks so much for stopping by today to read about my latest Pretty Pink Posh project! Happy crafting!

