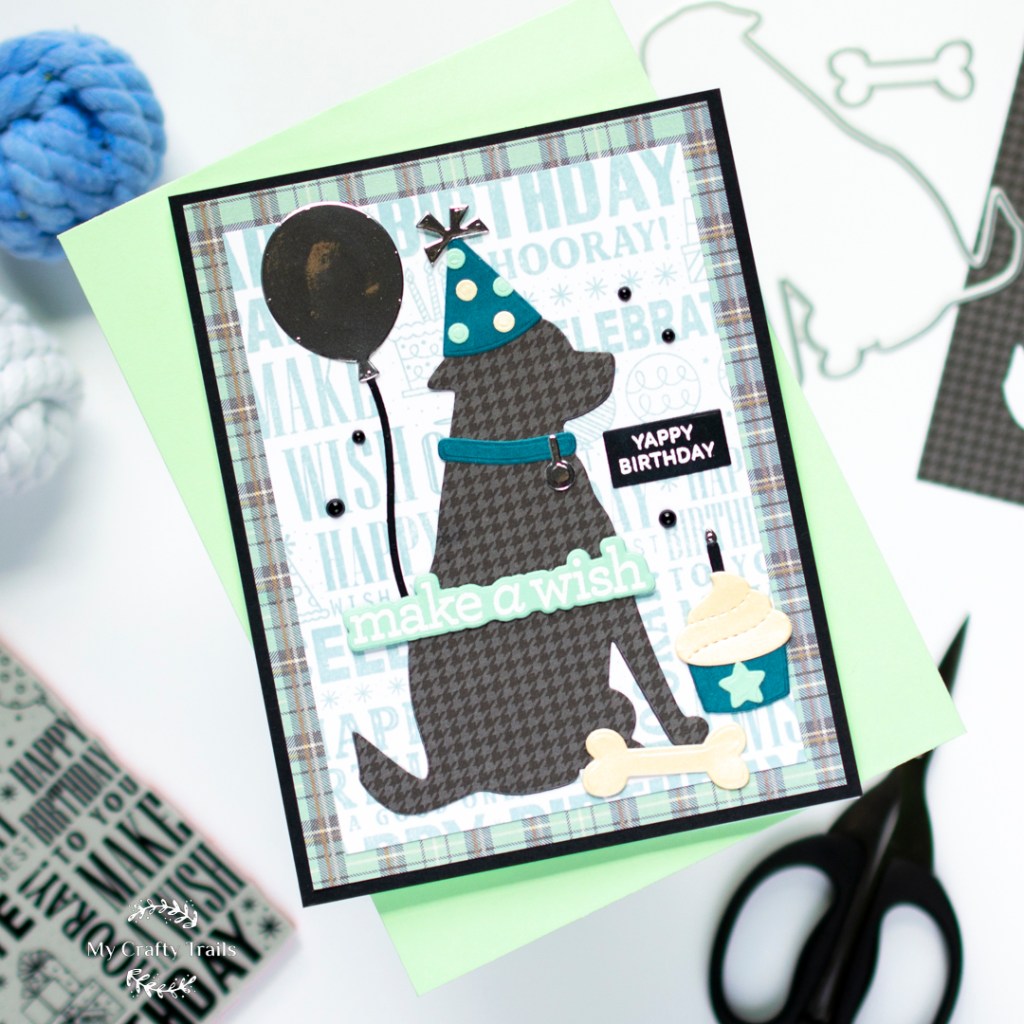
Hello! Today I’m sharing a birthday card for my great-nephew, who recently turned 10, using a mash-up of products from multiple companies. Not long ago they added a second puppy their family, and my great-nephew loves dogs, so I thought using the super cute new Dog Silhouette die from Waffle Flower would be the perfect focal point for his card. I pulled in supplies from some of my other favorite companies-Pretty Pink Posh, Honey Bee Stamps, and Simon Says Stamp-to play the supporting roles for this masculine card design. Below you’ll find a project-specific supply list and then all the details about how I used those supplies to create this birthday card mash-up. Let’s get started!
SUPPLIES
Waffle Flower Dog Silhouette Die
Honey Bee Stamps Celebrate Background Stamp
Simon Says Stamp CZ Design Birthday Basics Stamp Set & Coordinating Dies – larger sentiment
Simon Says Stamp Cloudy Sky Ink – background stamp color (I didn’t realize this is no longer available)
Pretty Pink Posh Birthday Dogs and Cats Stamp Set – small sentiment
Pretty Pink Posh Birthday Holder Additions Dies – party hat and cupcake
Pretty Pink Posh Party Balloons – balloon
Pretty Pink Posh Onyx Pearls – embellishments
Spellbinders Silver Mirror Cardstock
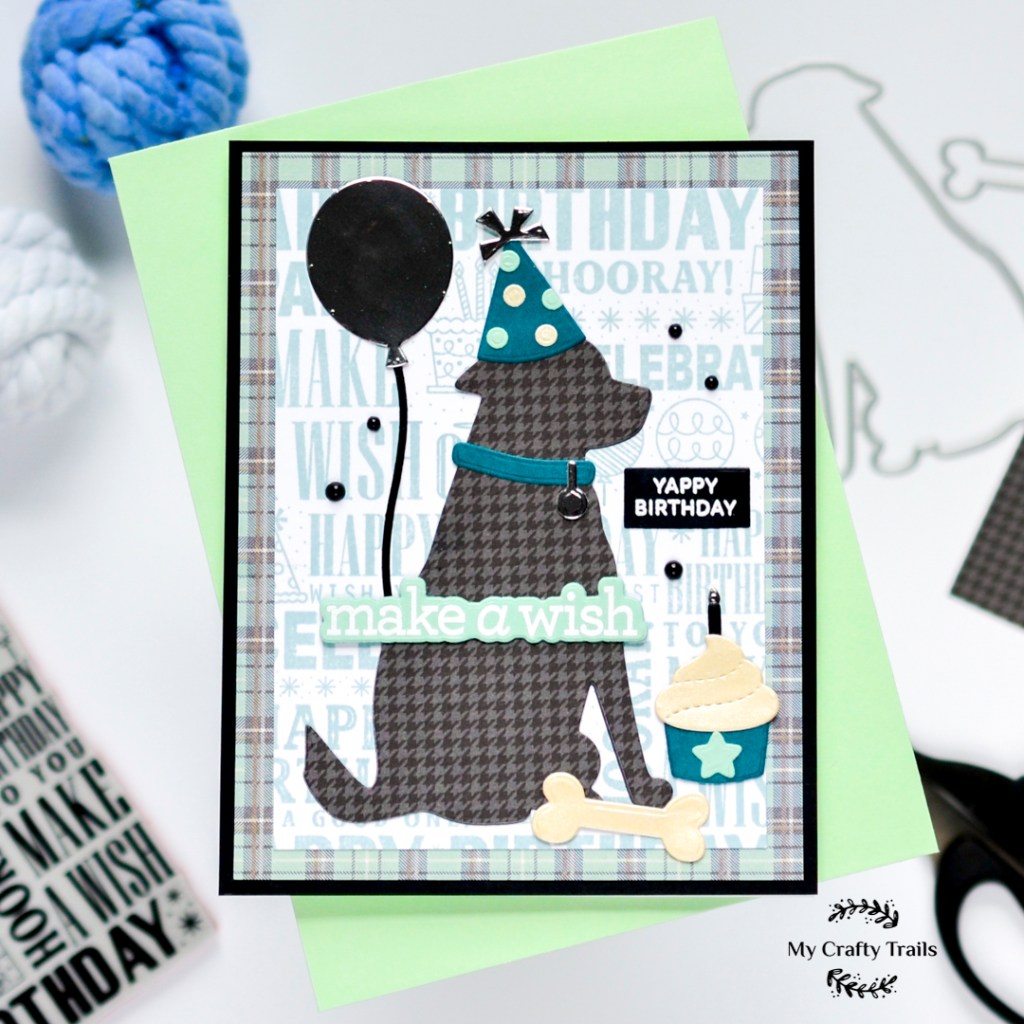
First things first, this card is an odd size. It’s not an A2, not an A6, and not even an A7-sized card. This card measures 5 x 6 1/4. Sometimes that’s how a card design just works itself out! To get to this final odd size, I started by stamping the Celebrate background on a white cardstock panel with Cloudy Sky ink. I trimmed this panel slightly larger than the dog silhouette die, leaving some space for the accessories, and layered it with a plaid patterned paper and a black cardstock panel.
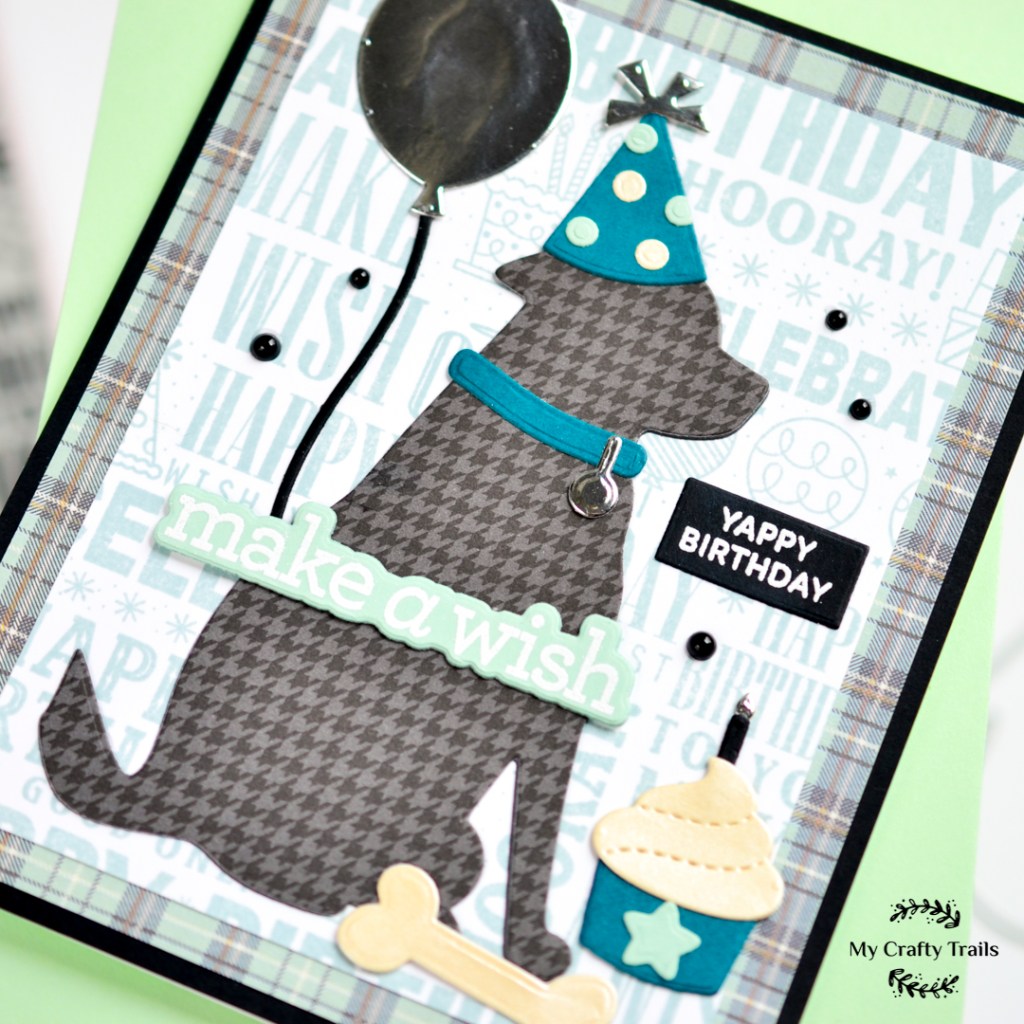
Next I did all my die cutting. I used a fun houndstooth (perfect, right?) patterned paper for the dog and some coordinating colored cardstock for most of the other elements. For some interest and texture variation, I chose a shiny silver cardstock for a few of the pieces-the balloon, the dog tag, the candle flame, and the party hat topper.
To finish up my card design, I assembled my die cuts and attached them to my layered background panel. I used glue for all the elements to keep the design as flat as possible. Finally, I added the sentiments, both of them heat embossed with white embossing powder. I die cut the larger “make a wish” sentiment with the coordinating die and used a large sentiment strip to die cut the smaller sentiment before attaching them to my card. The final touch was to add some black pearls for embellishment.
Thank you so much for stopping by to read about this fun birthday mash-up I created for my great-nephew! See you again soon!