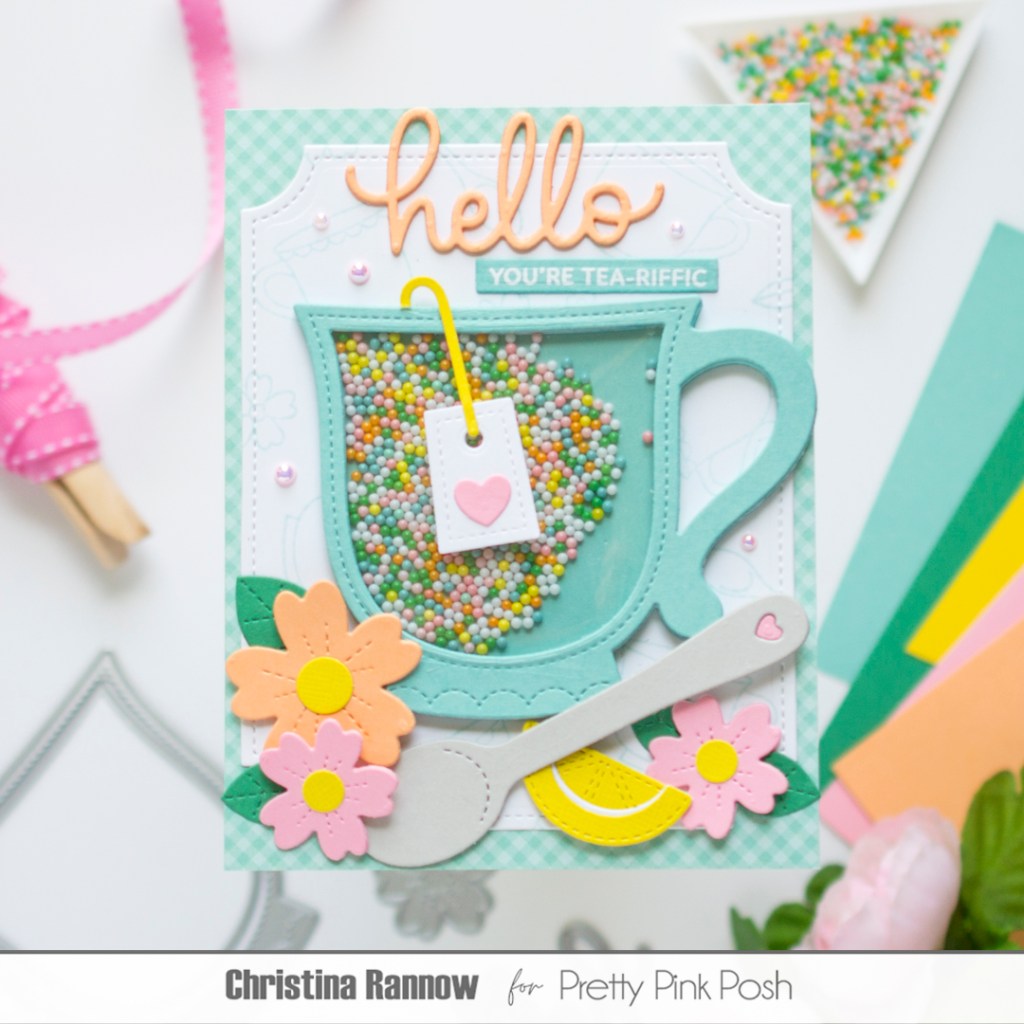
It’s day 3 of the Pretty Pink Posh Instagram Hop and Giveaway celebrating a GORGEOUS collection of new stamps, dies, stencils, and more! Join us for a week of inspiration and a chance to win the giveaway! For my inspiration project, I’m featuring the new Teacup Shaker die set that I filled with the beautiful new Enchanted Shaker Beads, and like I often do, I used the beads as color inspiration for my design. I pulled in shades of peach and pink for some florals from the new collection and teal for the teacup and a stamped background panel using images from the new Tea Time stamp set. Keep reading for a project-specific supply list as well as all the details about how I used those supplies to create this tea-riffic shaker card for Day 3 of the Pretty Pink Posh Instagram Hop & Giveaway!
PRETTY PINK POSH SUPPLIES
Teacup Shaker Dies
Floral Wreath Builder Dies – flowers
Notched Squares Dies
Hummingbird Floral Stamp Set – stamped background
Tea Time Stamp Set – stamped background & sentiment
Enchanted Shaker Beads
Big Celebration Cupcake Dies – lemon
Big Easter Cupcake Dies – heart
Valentine Mug Addition Dies – spoon
Hello Script Die
Sentiment Strips Dies
Pink Blush Pearls
OTHER SUPPLIES
Concord & 9th Cardstock – Tidepool, Pink Lemonade, Pebble, Juniper & Creamsicle
Doodlebug Design Gingham-Linen Rainbow Petite Prints
Lawn Fawn Kiddie Pool Ink
My first step was to create the notched background panel. I used the new Notched Squares and partially die cut the largest one from white cardstock before shifting the die down about an inch, keeping the stitching detail aligned, and then rotating it to finish die cutting the other end. This stretched the square into a rectangle that fit nicely on an A2 patterned paper panel but still left a border, giving it the look of a picture frame. Before attaching the notched background panel to the patterned paper, I stamped multiple images from the new stamp sets, at different angles and orientations, in a teal blue ink to create my own custom patterned paper to coordinate with my design.
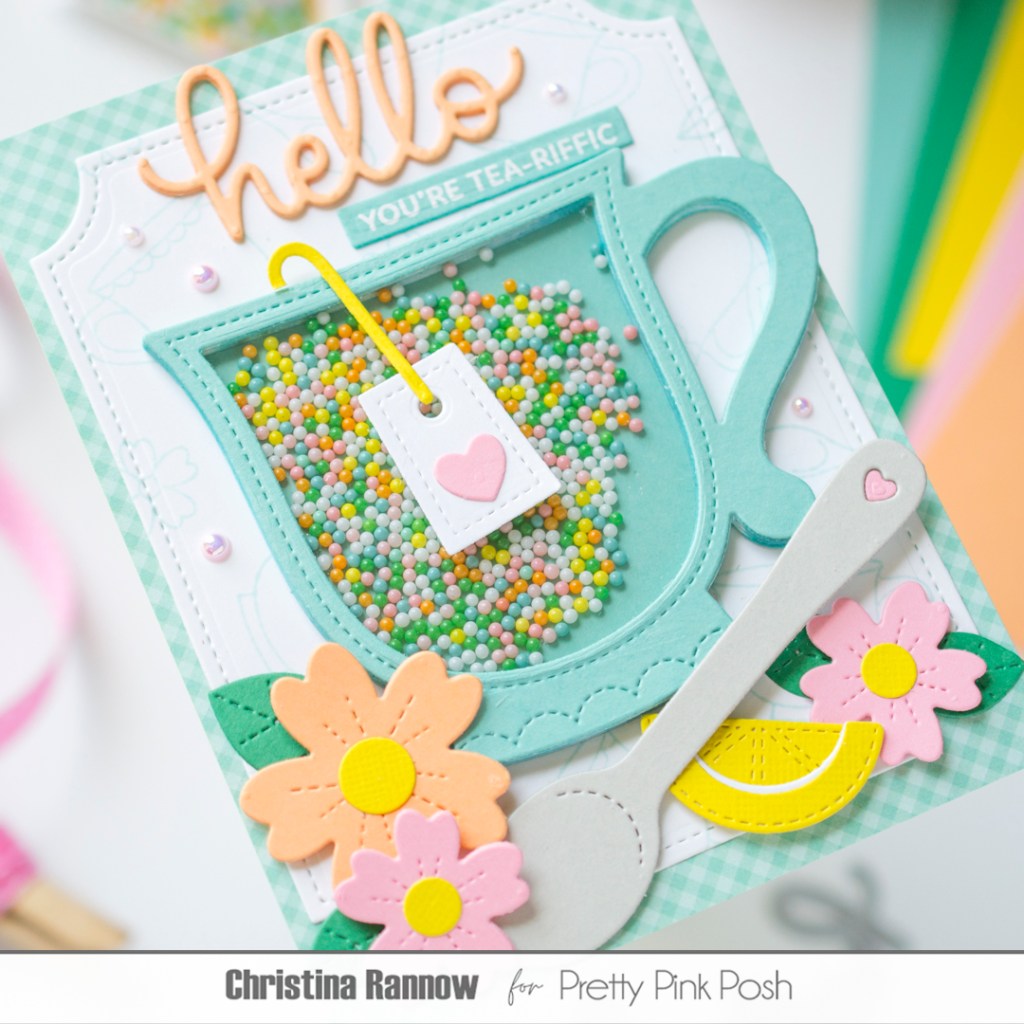
With the background panel completed, I moved on to the shaker component. I kept things simple by constructing the shaker separately from the card design and then attaching it to my background panel. To do this, I die cut the Teacup shaker frame 8 times from teal cardstock to create the shaker walls. I stacked them, sandwiching a piece of acetate between the top two frames, and secured them all with glue. Next, I die cut the main teacup piece from the same teal cardstock to be the base of the shaker, and before attaching it to the walls with glue, I added the shaker beads. Now the shaker component is done!

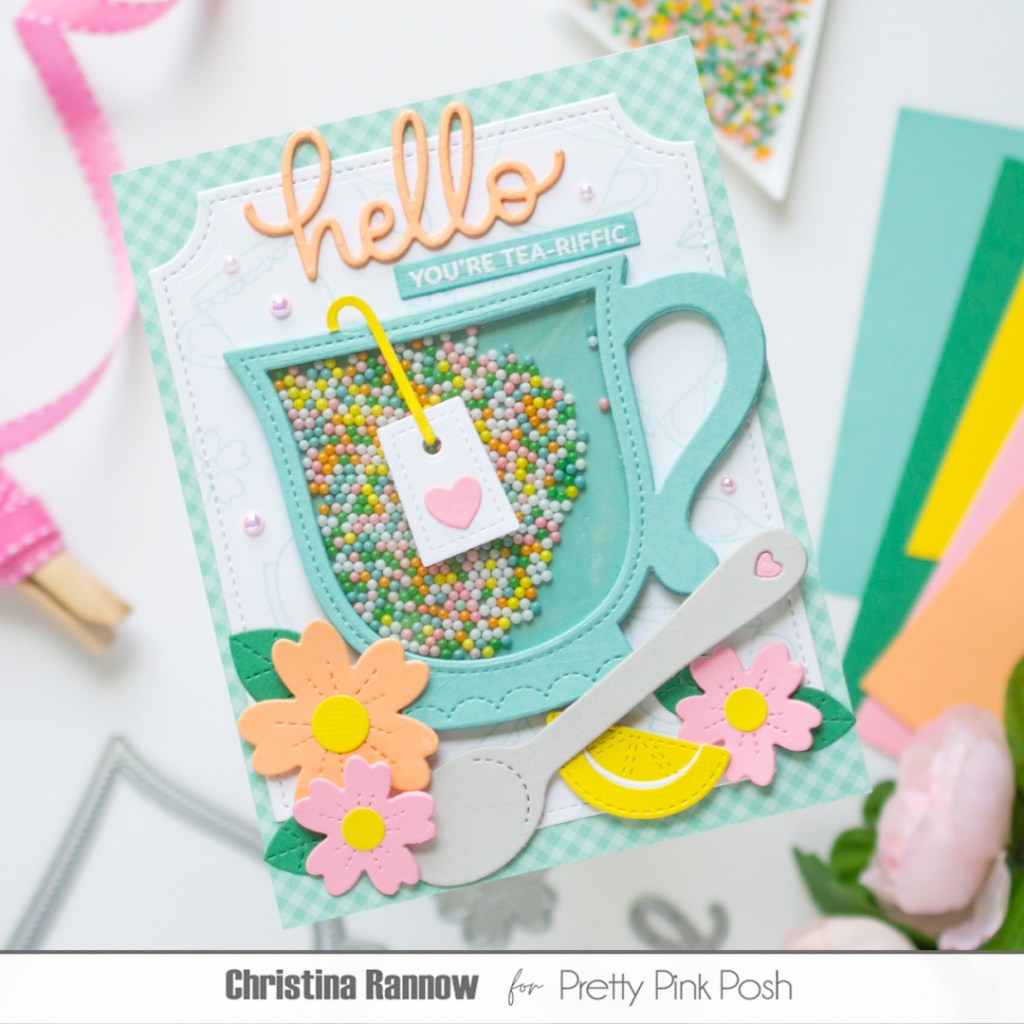
With the background and shaker component completed, I moved on to creating the remaining elements of my card design. I die cut the florals, the spoon, the lemon wedge, the tea bag, and the Hello Script greeting from colored cardstock. To give the Hello Script some dimension, I die cut it 3 times and stacked them together. Then I assembled and glued together the other die cut elements and heat embossed a small sentiment with white embossing powder before die cutting it with a sentiment strip.
My last step was to arrange and secure everything on my background panel. I used glue to secure the shaker, the leaves, the greeting, and the sentiment. For all the other elements, I use thin and regular foam squares, depending on their placement and if they overlapped. The final addition was to add a few pink blush pearls for embellishment.
Thank you so much for stopping by and reading about my inspiration project for Day 3 of the Pretty Pink Posh Instagram Hop & Giveaway! Have a tea-riffic day and happy hopping!

This is so cute and fun
LikeLike