
Hello! I’m sharing a sew fun card design today using products from Waffle Flower’s Quilted Hugs release. We all know how much I love the Postage Collage collection, and I was absolutely giddy to see it paired with a sewing theme. I used the PC Sew Fun stencil to create a patchwork of images that I layered on a quilted backdrop. I tossed in some charming little sewing notions and doodads to complete this cozy and whimsical card design. Keep reading to find a supply list and how I used those supplies to create this sew fun project!
WAFFLE FLOWER SUPPLIES
PC Sew Fun Stencil
PC Block Stencil
PC Die
PC Sew Fun Stamp Set
Quilted Hug Sentiments Combo
Meandering Texture Die
Sew Fun Die
PC Miniature Die-n-Stencil
OTHER SUPPLIES
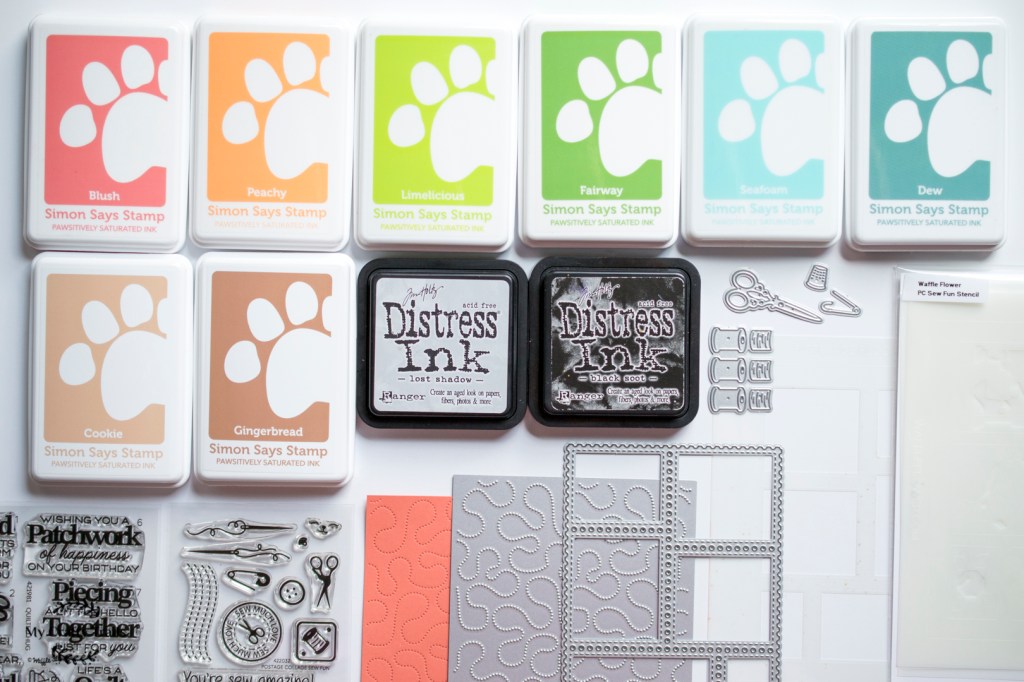
Distress Inks: Lost Shadow, Black Soot
SSS Pawsitively Saturated Inks: Cookie, Gingerbread, Limelicious, Fairway, Peachy, Blush, Seafoam, Dew
Spellbinders Brushed Silver Metallic Cardstock
C9 Sorbet Cardstock
Colored Pencils
Copic Multiliner
I started by die cutting the PC die from white cardstock and then stenciling on the layered Sew Fun images. The PC stencils can be quite detailed, like this one, but Waffle Flower sets you up for success with multiple cues. The stencil layers are not only numbered, but they are also labeled, providing image descriptions and ink color suggestions. I chose the ink colors listed above, using a combination of Distress Inks and SSS Pawsitively Saturated Inks.
Next, I snipped apart the stenciled images into individual postage stamps before adding some embellishment details. First, I added the sweet stamped face to the kitty. Then, using colored pencils, I added small details to the spools of thread and the stacked fabric under the kitty. Lastly, I used a white gel pen and a Copic Multiliner to add details to the sewing machine, the peach fabric, and the kitty.

With the images stenciled and adorned with embellishment details, I got started on the other elements for my card design. First, I stamped and heat embossed a sentiment in white on an individual stamp die cut from the PC die. After heat embossing, I inked the background, using the Block stencil to mask the edges. Next, I die cut the little sewing notions. I used brushed silver cardstock for any metal notions and white cardstock for anything else that I then inked with the same ink colors I used for stenciling. The little “patches” are die cut from the mini PC die, inked, and then given a stitching detail with a Copic Multiliner.
Finally, I arranged the stenciled images and the sentiment in a patchwork collage on a Sorbet cardstock panel die cut with the Meandering Texture die. I attached them with either glue or foam squares, depending on their placement and if they overlapped. The last step was to attach all the little notions and doodads.
Thank you so much for stopping by to read about my sew fun card design featuring products from the Quilted Hugs release over at Waffle Flower Crafts. Happy crafting!

