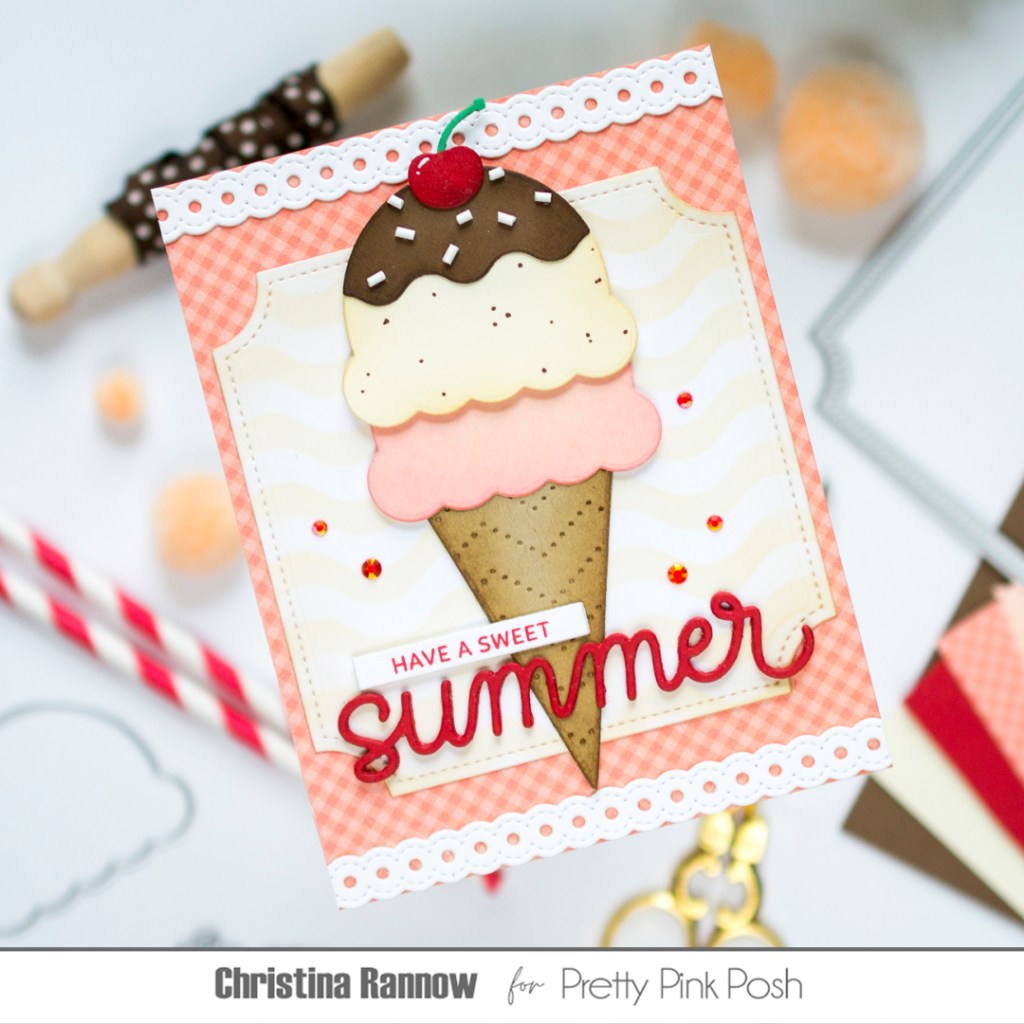
Hello! I’m so honored to again be a part of the super talented Pretty Pink Posh Design Team! And to celebrate, I created a sweet summertime treat with some reimagined die cuts. Can you see mashed potatoes and gravy, a pumpkin, or a party flag? I combined all of these die cuts along with a dainty Doily Border and a stenciled Notched Square for an old-fashioned ice cream parlor design perfect for a sweet summertime salutation! Check out my supply list below and then how I reimagined some of those supplies to dream up this card to celebrate another design term with Pretty Pink Posh. Let’s get started!
PRETTY PINK POSH SUPPLIES
Wavy Stripes Stencil
Sentiment Strip Stamp Set: Birthday
Sentiment Strip Stamp Set: Summer
Summer Script Die
Doily Borders Dies
Notched Squares Dies
Sentiment Strips Dies
Chevron Pierced Plate – texture for cone
Big Fall Cupcake Dies – ice cream & chocolate
Party Flags Dies – cone
Halloween Mug Addition Dies – cherry
Birthday Mug Addition Dies – cherry stem
Spring Flowers Clay Confetti
Autumn Days Clay Confetti
OTHER SUPPLIES
Hero Arts Cherry Core Ink
Rainbow Splash Buttercream Ink
Distress Ink Antique Linen
Distress Ink Spun Sugar
Distress Ink Aged Mahogany
Distress Ink Gathered Twigs
Distress Ink Ground Espresso
Lawn Fawn Chili Pepper Cardstock
Lawn Fawn Chocolate Bar Cardstock
Lawn Fawn Vanilla Malt Cardstock
C9 Wheat Cardstock
C9 Nectar Cardstock
Doodlebug 6×6 Gingham-Linen Petite Rainbow Prints

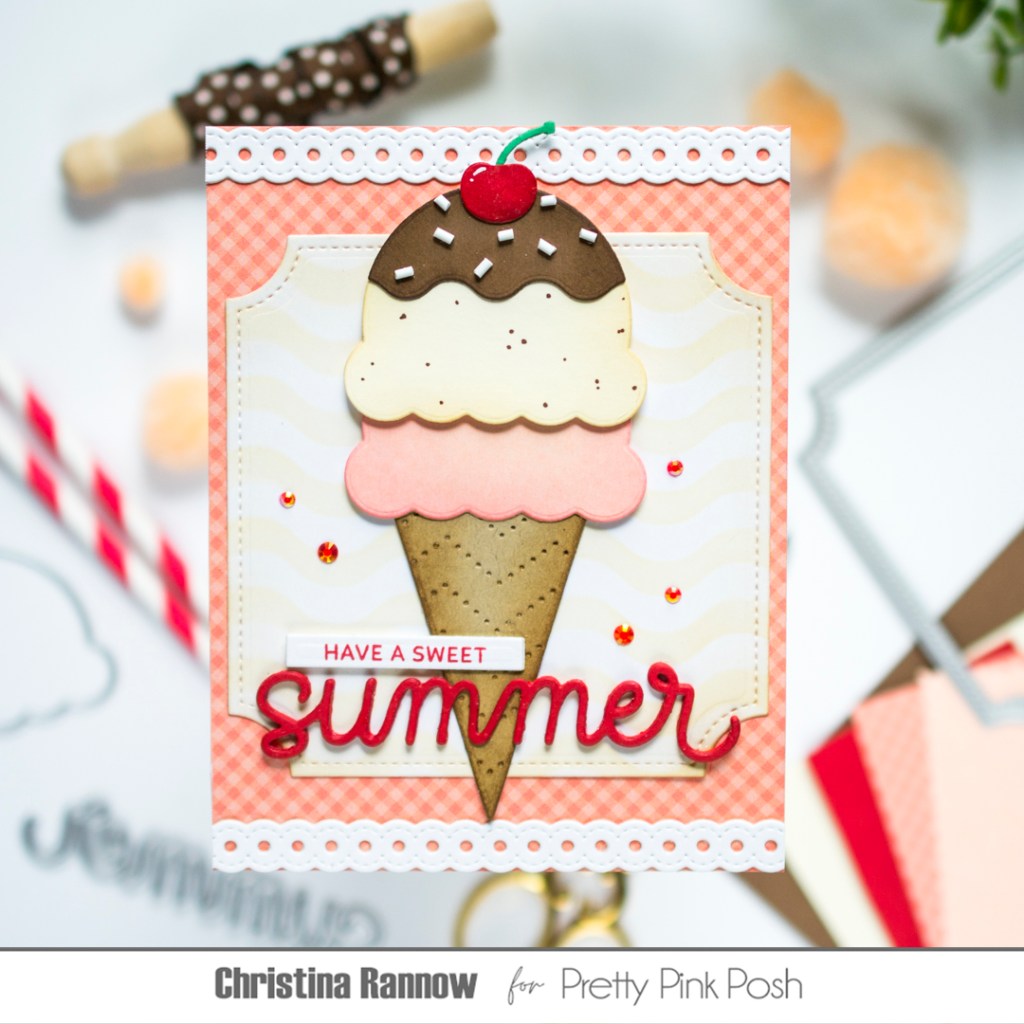
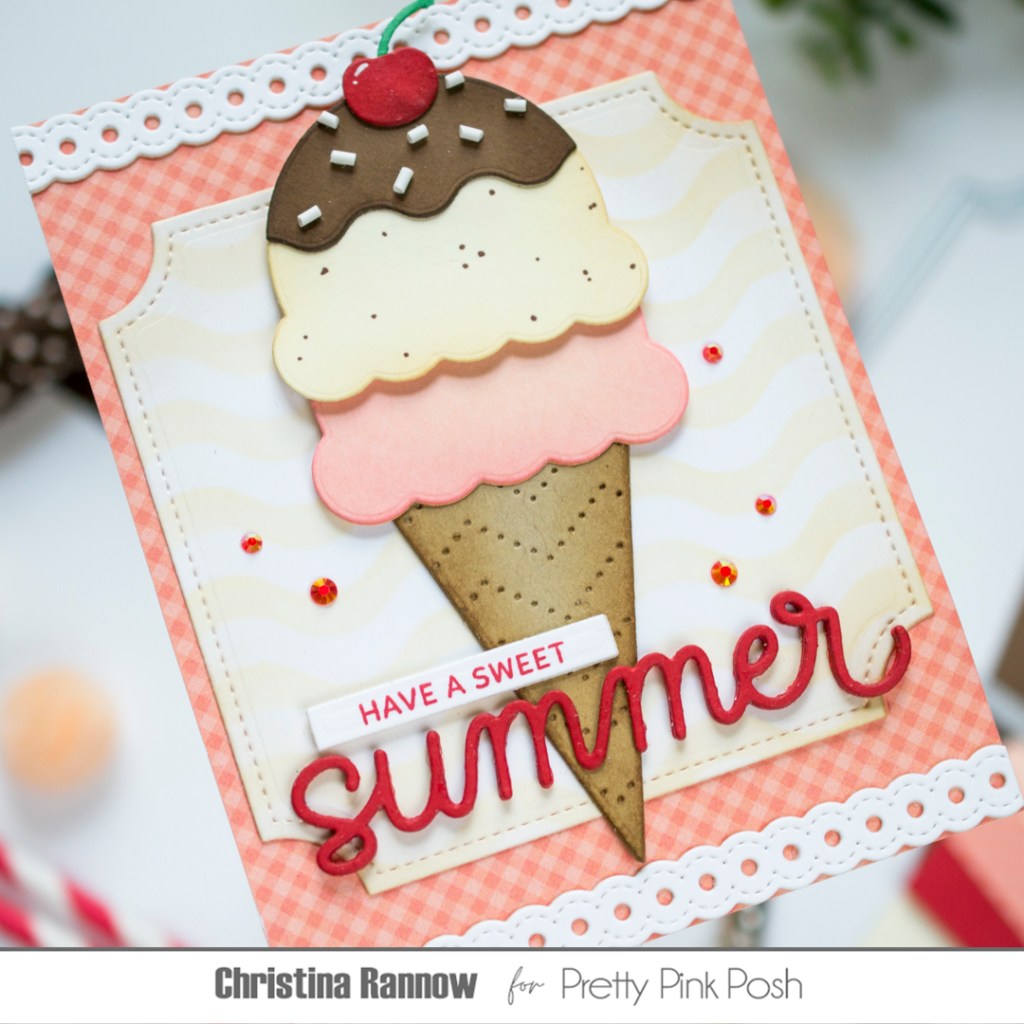
My first step was to build the ice cream cone. I used colored cardstock and inked them for some shading and dimension. You can see in the photo above that the mashed potatoes and gravy double as the ice cream and chocolate. For the ice cream cone, one of the party flags fit the bill. And the chevron pattern gave the cone the perfect texture. Lastly, the little pumpkin and the balloon string easily became the cherry on top! Yum!
Next, I die cut a notched square from white cardstock and stenciled the wavy pattern with Buttercream and Antique Linen Inks. I layered this on a pretty gingham-patterned paper and added doily borders to the top and the bottom of the panel.
With the background finished, I attached the ice cream with foam squares to the center of the notched square. Then I die cut the summer text three times and stacked them to create dimension. Before attaching it to my card front, and to ensure the text lay flat across the cone, I snipped away the extra layers where they overlapped the cone. For the stamped portion of the sentiment, I combined two sentiment strip stamp sets to create the wording that I needed and then die cut it with a sentiment strip die.

The last step was to embellish my card design. First, I added chocolate (or vanilla bean) flecks to the vanilla ice cream with a Copic marker and some white clay sprinkles to the chocolate. Finally, I added a few sparkling red gems to my design.
Thank you so much for stopping by to read about my sweet summer card design I created to celebrate another term on the Pretty Pink Posh Design Team!