
Happy Friday, crafty friends! I have another Christmas in July card to share with you today showcasing some of the magical new products from Waffle Flower’s latest release. There are two new PC stencils available, and of course, I couldn’t pass up using at least one of them to create an inspiration project this month. I chose the Postage Collage Vertical Tree Stencil, a bright and merry tree thanks to Santa’s little helpers. I combined the tree stencil with the new Diagonal Line Stencil for the addition of a fun candy stripe and a sentiment from the new Warm Wishes Combo set that has a unique piercing detail that I just love. Get more details about this card below, including a project-specific supply list. You can always find my favorite everyday supplies here.
WAFFLE FLOWER SUPPLIES
PC Vertical Tree Stencil
Diagonal Line Stencil
Warm Wishes Combo
Holiday Lights Die
PC Blocks Die
PC Die
Clean and Clear Enamel Dots
OTHER SUPPLIES
Distress Inks:
Mowed Lawn – tree
Rustic Wilderness – tree
Black Soot – details
Tea Dye – elves & trunk
Festive Berries – lights, ornaments & birds
Worn Lipstick – lights, ornaments & birds
Salvaged Patina – background
Peacock Feathers – background
SSS Pawsitively Saturated Inks:
Zest – lights, star & garland
Honey – star & garland
Sprout – elves & lights
White Gel Pen
Hero Arts Intens-ified Black Ink
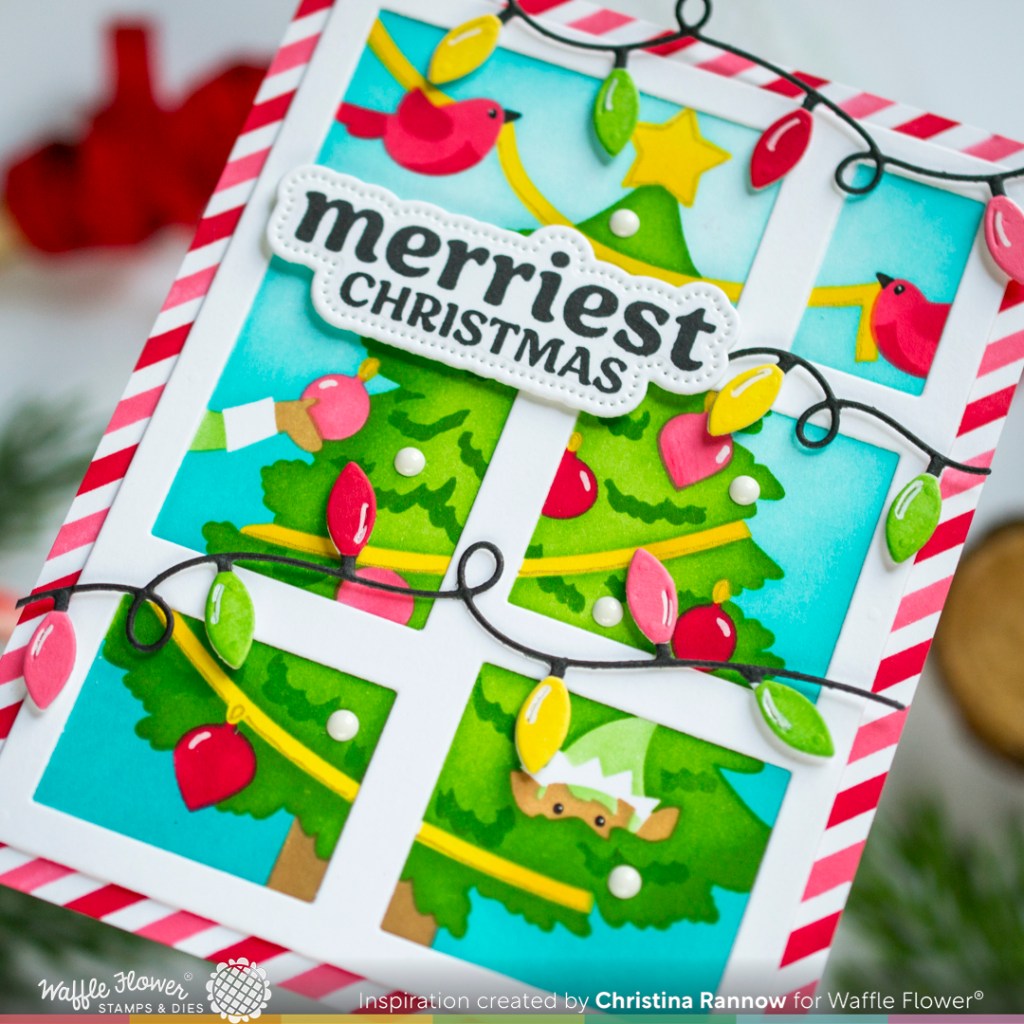
I started with a white postage collage panel and stenciled it with the new coordinating PC Vertical Tree stencils. The stencils have coloring and alignment guides etched right onto them, making the process super quick and easy. My ink colors and coloring guide are listed above.
With the stenciled tree panel finished, I moved on to stenciling the diagonal candy stripe. I used coordinating red and pink inks on an A2 white cardstock panel. Then I attached the stenciled tree panel onto the striped panel. Lastly, I added a white PC Blocks die cut over the tree panel, which covers the perforations of the original PC panel, for a cleaner look. Plus, it gives the illusion of a big picture window-perfect for a decorated Christmas tree!
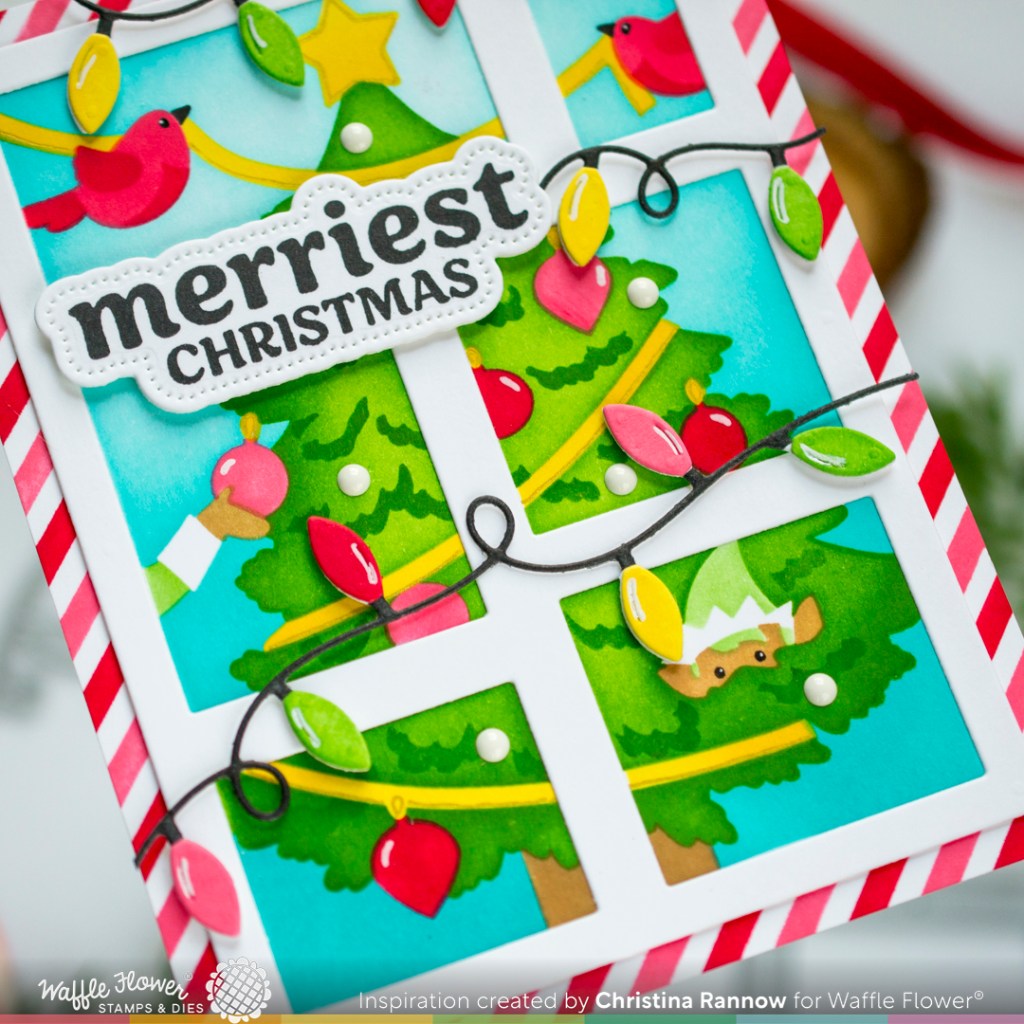
Next, I stamped and die cut the sentiment before attaching it to my card front with foam squares. Then I die cut the holiday lights and inked them with coordinating inks before stringing them across the panel, also attaching them with foam squares. To finish things up, I added white enamel dots to the tree and white gel pen highlights to the eyes, lights, and ornaments.
Thank you so much for stopping by to read about my latest Waffle Flower inspiration project featuring the new Magical Christmas release!

