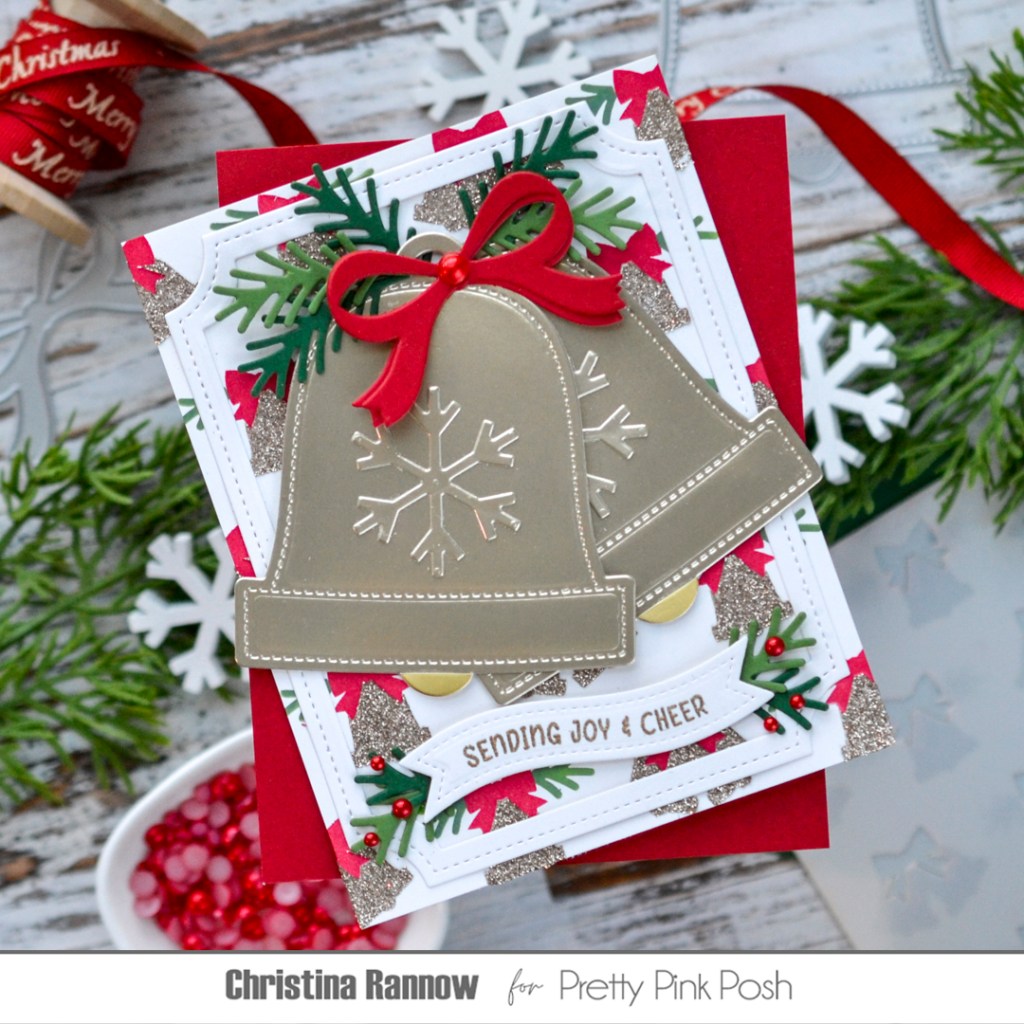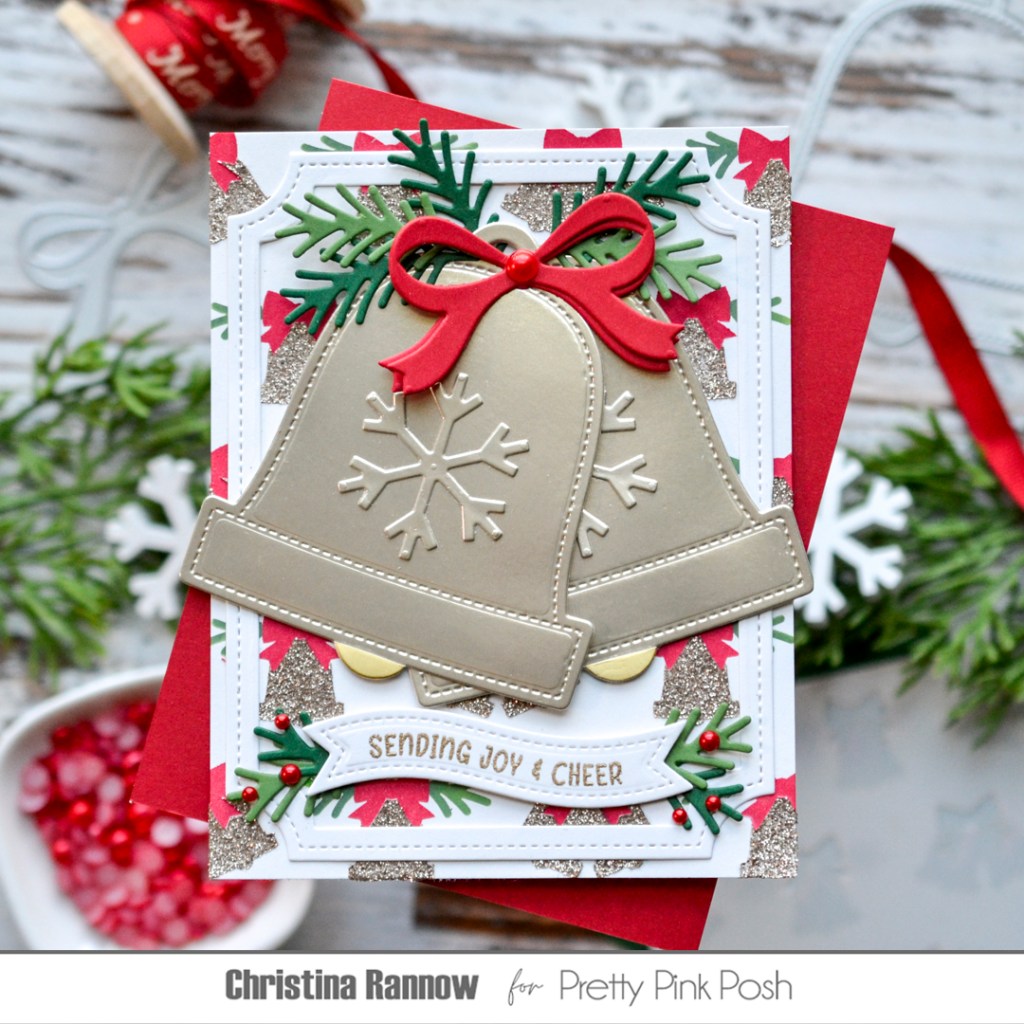
Hi friends! The new Pretty Pink Posh holiday release is here! This release will certainly bring you joy and cheer with new stamps, dies, and stencils. I’m sharing some inspiration today featuring the new Christmas Bell Shaker Dies and the Layered Christmas Bells Stencil. I chose not to make my card into a shaker for this project and opted for two rose gold bells on my card front for the focal point. For a little extra sparkle, I used a glittery stencil paste for the background and Cherry Red Pearls for a few holly berries. Take a peek at my supply list (with affiliate links), and then we’ll get started!
SUPPLY LIST
Pretty Pink Posh Christmas Bell Shaker Dies
Layered Christmas Bells Stencils
Christmas Bucket Addition Dies – snowflake
Christmas Banner Greetings Stamp Set
Banner Greetings 1 Dies
Notched Squares Dies
Cherry Red Pearls
OTHER SUPPLIES
Papertrey Ink Rustic White Cardstock
Birch Press Design Cherry Cardstock
C9 Rose Gold and Evergreen Cardstock
Lawn Fawn Algae Cardstock
Simon Hurley Cookie Dough Astro Paste
Distress Inks Festive Berries and Rustic Wilderness
Hero Arts Brass Embossing Powder
I started by creating the background for my card on a Rustic White cardstock panel. I stenciled the Layered Christmas Bells with red ink for the bows, green ink for the pine sprigs, and the glittery Cookie Dough Astro Paste for the bells. I set this aside while I worked on all the other elements.
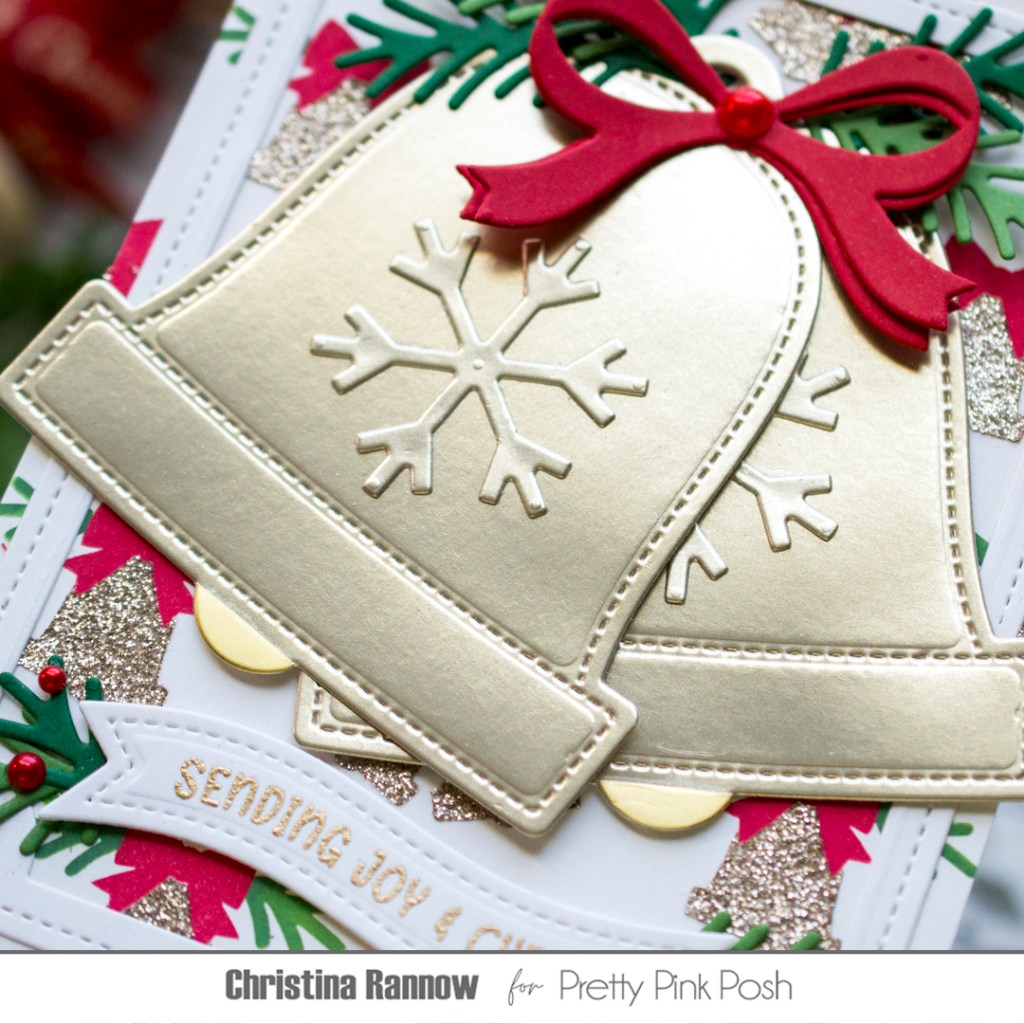
First I die-cut the Notched Square frame from more of the Rustic White cardstock using a partial die-cutting technique to turn the square into a rectangle. Then I layered this onto my background panel to frame up my design. Next I die-cut the Christmas Bells and their embellishments. I used the greenery and bow that come with the die set and pulled in a snowflake to decorate the bells since I wasn’t making them into shakers. I attached the bells to my background panel with foam squares, topped them off with a red bow, and then tucked some pine sprigs in and around the tops of the bells.
To finish things up, I heat embossed a Banner Greeting sentiment with brass embossing powder and die-cut it with one of the new Banner Dies. I added this to my card front with foam squares and tucked a few more pine sprigs around it before adding a few Cherry Red Pearls to the pine and the bow for embellishment.
Thank you for stopping by to read about this joyful card design I created as inspiration for the new Pretty Pink Posh holiday release. Happy holiday crafting!