Happy World Cardmaking Day! Today is the day that we celebrate this amazing craft along with the incredible community of paper crafters that have a passion for creating homemade cards. If you’ve ever read my “About” page, you know that what I love most about this craft is exploring a variety of techniques, mediums, and styles. Every day and every card is always a new creative adventure!
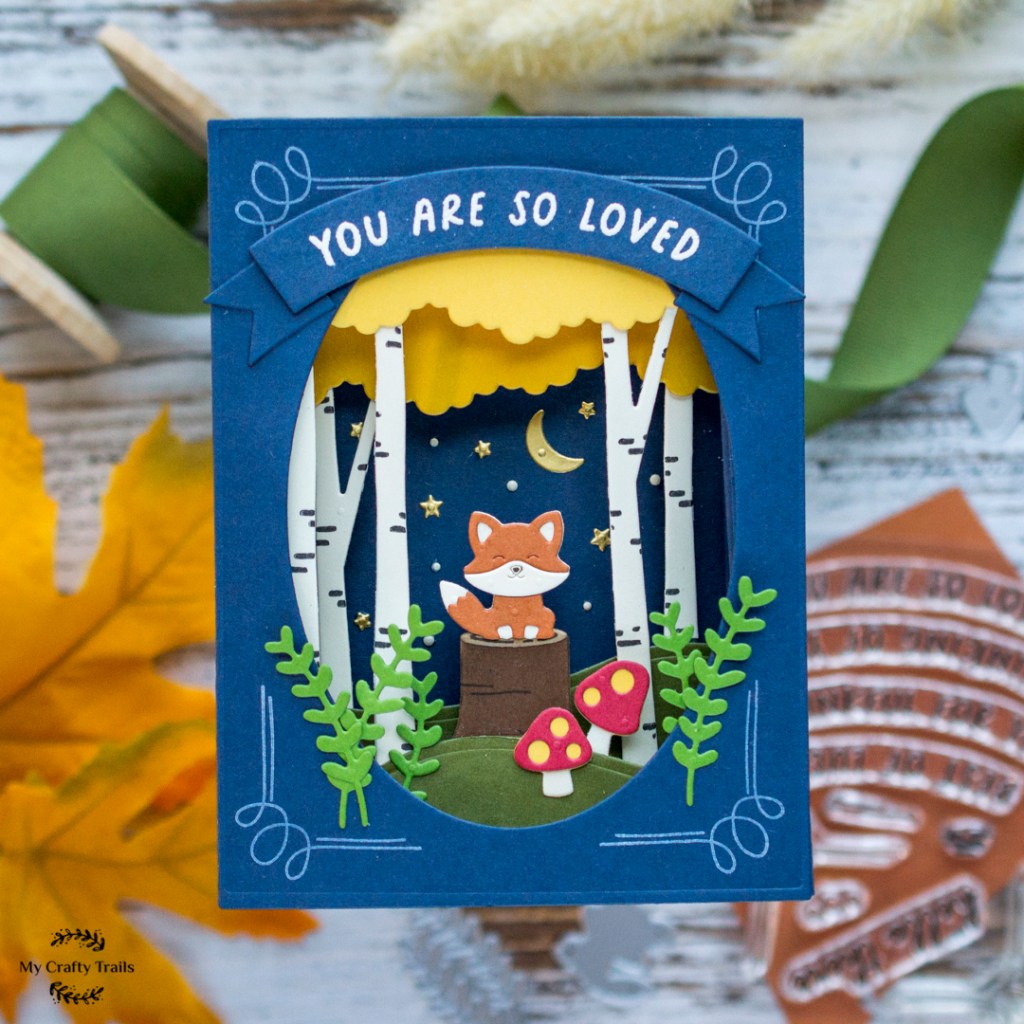
Today’s creative adventure was creating this 3D box card featuring the newer Accordion collection from Concord & 9th. These dimensional cards fold flat so they will slip neatly inside an envelope for easy mailing. I’ve made many box cards in the past, but the Accordion Card Base Dies make it so much easier! Plus, all the add-on bundle sets, like the Woodland set I used here, include a variety of scene-building options and are, of course, sized perfectly to fit your scene. Let’s take a closer look!
SUPPLIES
Concord & 9th Accordion Card Base Dies
Concord & 9th Accordion Woodland Bundle
Concord & 9th Cardstock: Buttercup, Sunflower, Artichoke, Parsley, Brickyard, Nutmeg, Spiced Cider, and Peanut from the Neutrals collection
SSS Soft Navy Cardstock
SSS Cream Embossing Powder
Lawn Fawn Vanilla Malt Cardstock
Lawn Fawn Yeti Ink Pad
Spellbinders Metallic Brushed Gold Cardstock
Concord & 9th has written instructions here that are helpful when assembling your box card, but I found these after I assembled mine, so the assembly is pretty straightforward. I chose to make my scene vertical, or a portrait orientation, instead of landscape, which, based on the size, is what the accordion side die is intended for. To accommodate the portrait orientation, I die-cut a third accordion side and cut two smaller lengths from it, 1 1/4 inches each, to make up for the additional length. Also, I trimmed the side pieces that have eight score lines for folding down to five. I chose a slightly heavier weight cardstock for my accordion base, SSS Soft Navy, so trimming them eliminated some bulk. I like the heavier cardstock weight for the base, but there is the extra bulkiness, and it can be harder to manipulate when folding and assembling.

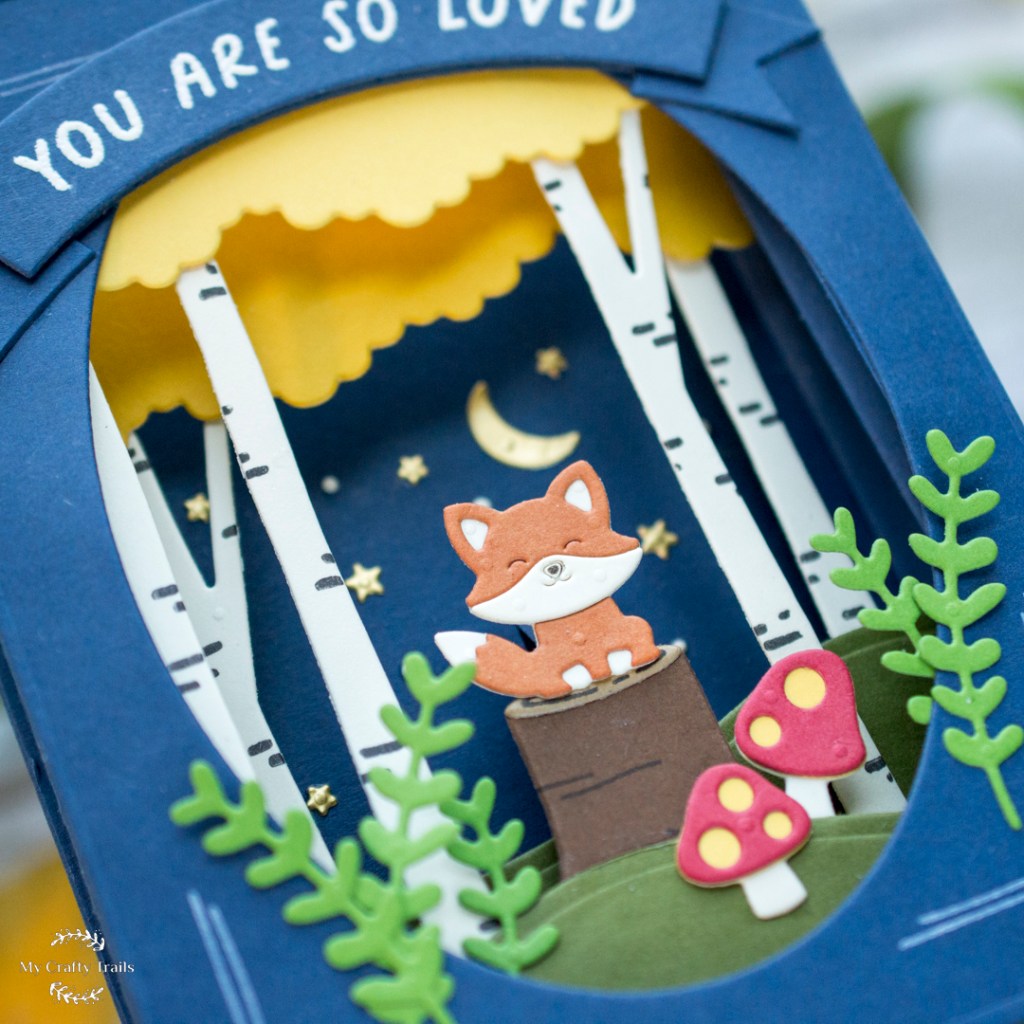
After die-cutting the card base pieces, I started assembling the back and the accordion sides, like the instructions indicate. I used double-sided tape instead of liquid adhesive for this step. Then, I die-cut all the other elements for my scene and used the coordinating Woodland Stamp Set to add some details to the birch trees and the tree stump.
Next, this time using a liquid adhesive, I added the treetop layers and the grassy hills, ensuring I allowed enough space for the other elements in the scene, like the fox, the moon, and the stars. At first I had them too close together, and the fox and the tree stump barely fit in the scene. So, I adjusted their positions and then continued to build my scene with the remaining diecuts.

Before adding the top panel to the accordion card base, I added some decorative flourishes to it using the coordinating stamp set and white pigment ink. Using the same stamp set, I heat embossed a sentiment on an arched banner that’s included in the Woodland Die Set and attached it to my card front. A few extra greenery pieces on the front, and my 3D woodland scene was complete!
Thank you so much for stopping by to celebrate World Cardmaking Day with me as I share my latest creative adventure! Happy cardmaking!

