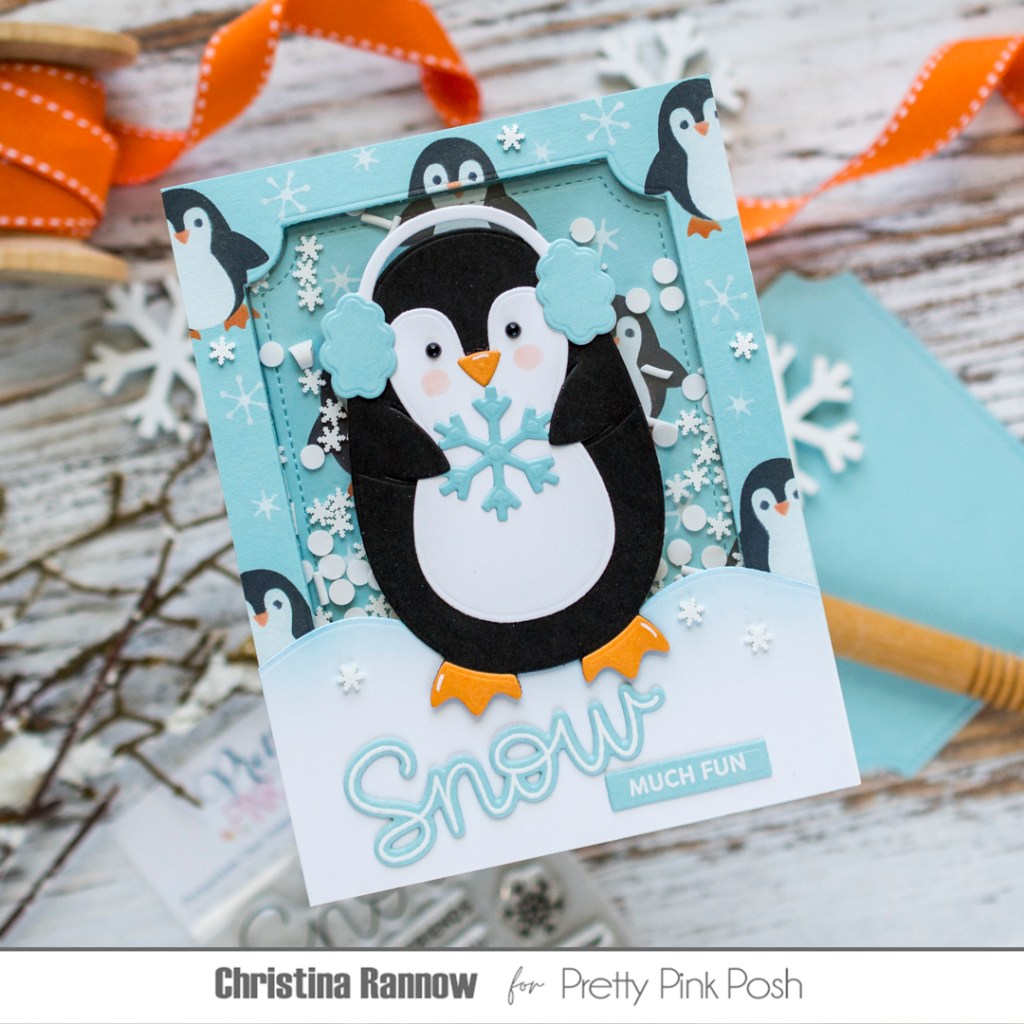
It’s day 5 of the Pretty Pink Posh Instagram Hop, and I’m sharing a little snowy shaker inspiration! My card showcases all new products from the winter release, including the lovable Penguin Holder– the newest addition to the popular holder collection. He coordinates perfectly with all the new wintertime elements from the release, and I can’t wait to tell you about it! Below you’ll find my list of supplies (with affiliate links) and how this snowy shaker card came together!
PRETTY PINK POSH SUPPLIES
Penguin Holder Dies
Snowy Hills Borders Dies
Layered Penguin Stencils
Let It Snow Stamp Set
Let It Snow Coordinating Dies
Notched Rectangle Dies
Christmas Holder Addition Dies
Winter Wonderland Clay Confetti
Onyx Pearls
OTHER SUPPLIES
Simon Says Stamp Sea Glass Cardstock
Lawn Fawn Black Licorice Cardstock
Concord & 9th Clementine Cardstock
Altenew Cloud White Pigment Ink
Distress Oxide Inks Black Soot & Ripe Persimmon

I started by creating the shaker element of my card design. First I stenciled the Layered Penguins on a Sea Glass cardstock panel using Distress Oxide Inks and white pigment ink. I let the inks dry a bit and then die-cut a Notched Rectangle from the top portion of the panel, creating the window opening for the shaker. Then I attached the Notched Rectangle that I just die-cut to another Sea Glass cardstock panel to be the base of the shaker. You can use the window opening panel as a template for aligning the Notched Rectangle to the base. Next I attached a piece of acetate behind the window opening and foam tape not only around the window to create a well, but also to the rest of the panel too. I added the Winter Wonderland Confetti to the well and then placed the base panel onto the window panel. And the shaker is complete!
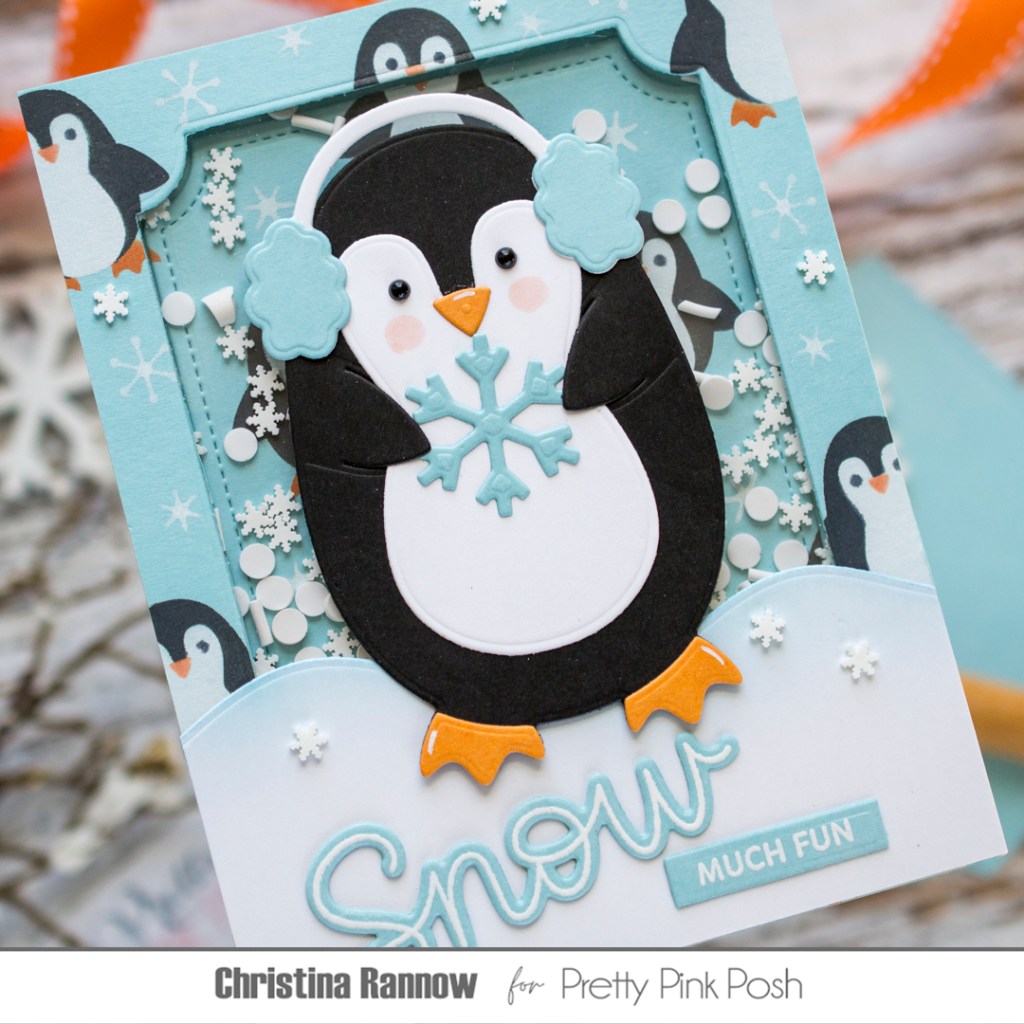
Next I die-cut a Snowy Hill and the elements for the Penguin Holder. I used whatever ink that was on my blue blending brush to softly blend some color onto the edge of the Snowy Hill and attached it to the front of my shaker. Then I assembled the penguin, adding some additional details. I used Onyx Pearls for the eyes, Copic marker R00 for the rosy cheeks, and a white gel pen to add a few highlights. Finally I attached this cutie to my scene and moved on to the finishing details. First, I heat-embossed the sentiment on Sea Glass cardstock with white embossing powder and then die-cut them using a coordinating die and a sentiment strip die. I added these to my card and finished with a few white clay snowflakes.
Thank you for stopping by to get all the details about my snowy shaker card featuring products from the latest Pretty Pink Posh release. Happy crafting!