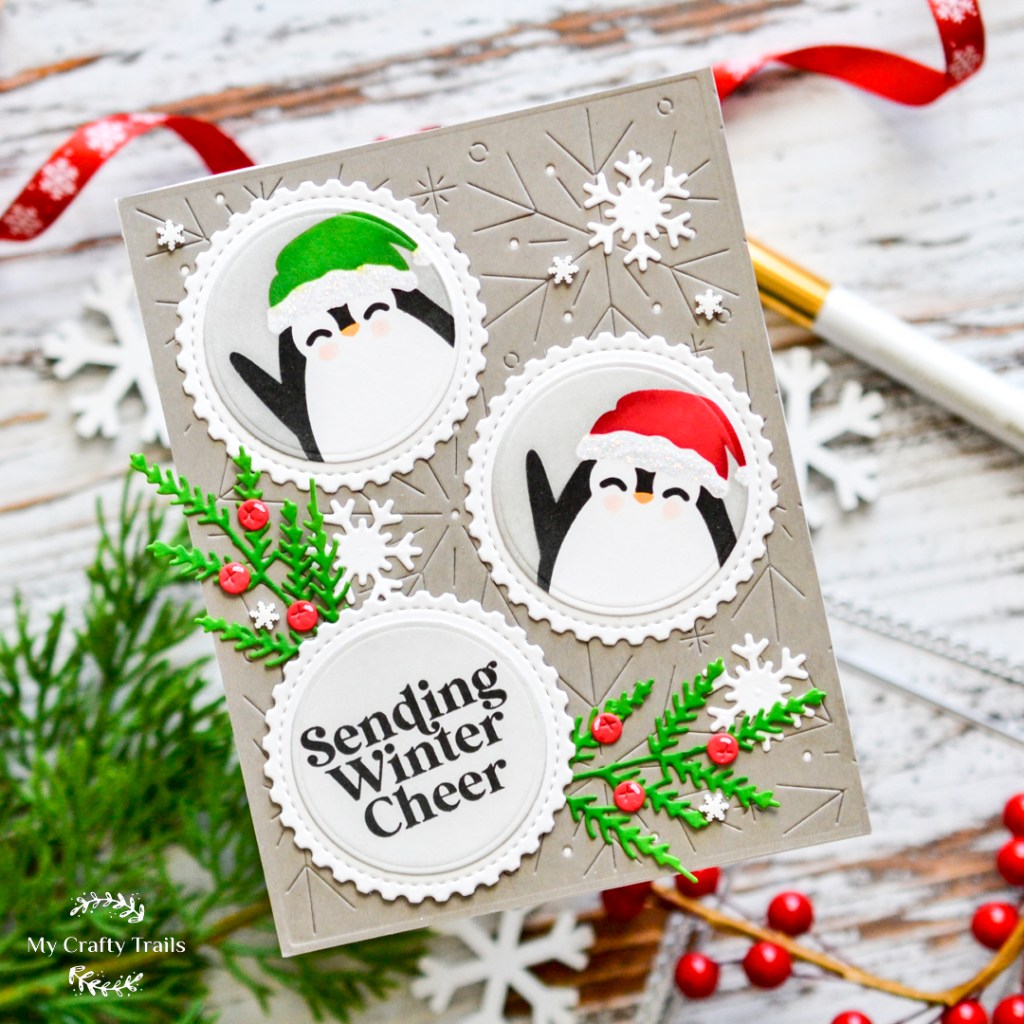
Hello! Today I’m sharing another project using the Waffle Flower Sneak Peek Kit #8. Like my previous post, I used the Nesting Postage Collage dies and the coordinating Let it Snow stencil but chose to use the circle dies and the penguin image instead to create this wintery holiday card. Check out my supply list, and then we’ll get started!
WAFFLE FLOWER SUPPLIES
Nesting PC Die
Nesting PC Let It Snow Stencil
Frosty Texture Die
Snow Cheer Sentiments Stamp Set
Poinsettia Cluster Die
OTHER SUPPLIES
Concord & 9th Cobblestone Cardstock
SSS Pawsitively Saturated Ink: Cantaloupe and Fawn
Distress Inks: Lost Shadow, Lumberjack Plaid, Aged Mahogany, Mowed Lawn, Rustic Wilderness, Black Soot
Copic Marker R00
Ranger Diamond Stickles
Pretty Pink Posh Winter Wonderland Clay Confetti
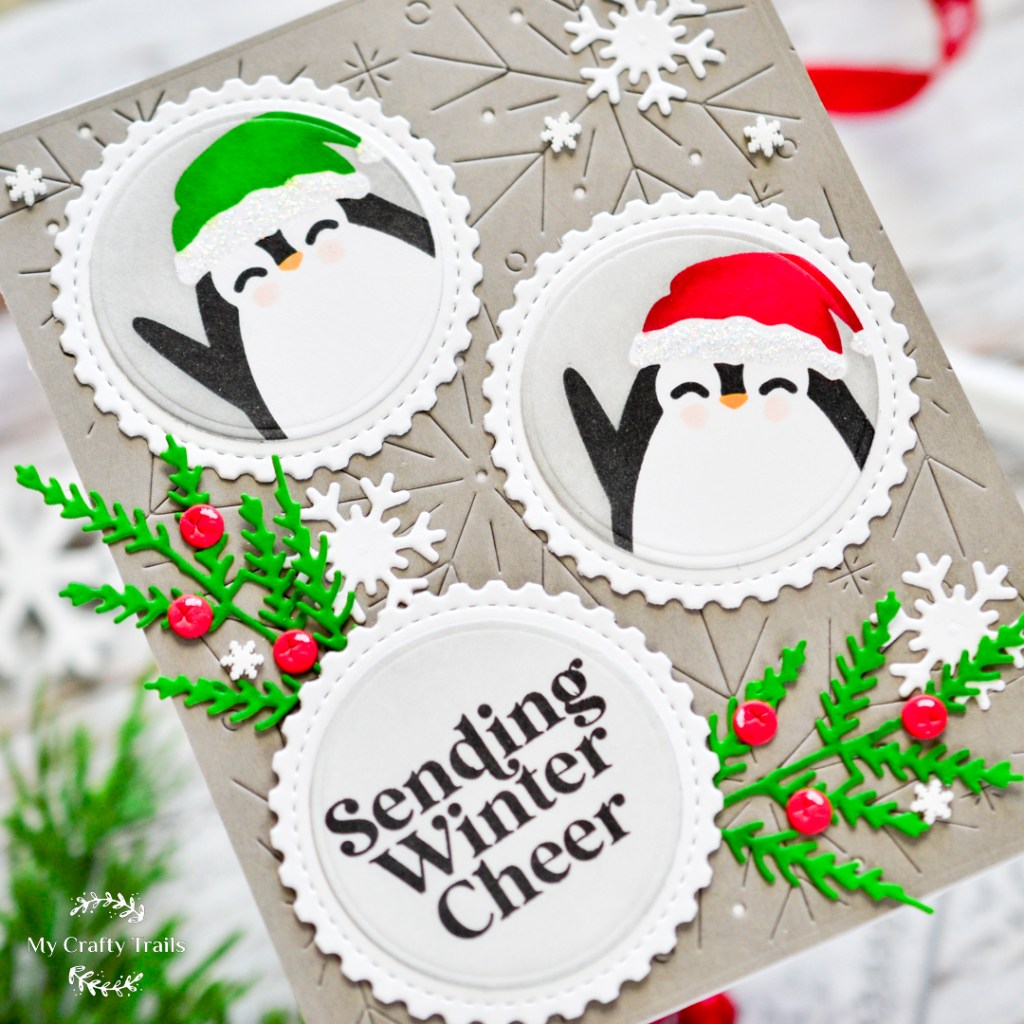
I started by stenciling the penguin image twice using the ink colors listed above. I gave one penguin a red hat and the other a green hat. Then I die-cut the penguin images using the circle Nesting PC dies and gave them some frosty details by giving them pink cheeks and adding a little sparkle to their hats with Stickles. Before moving on, I also die-cut a third circle to use for my sentiment. I inked this circle lightly with the same gray ink I used for the penguin background and then stamped a sentiment with black ink in the center.
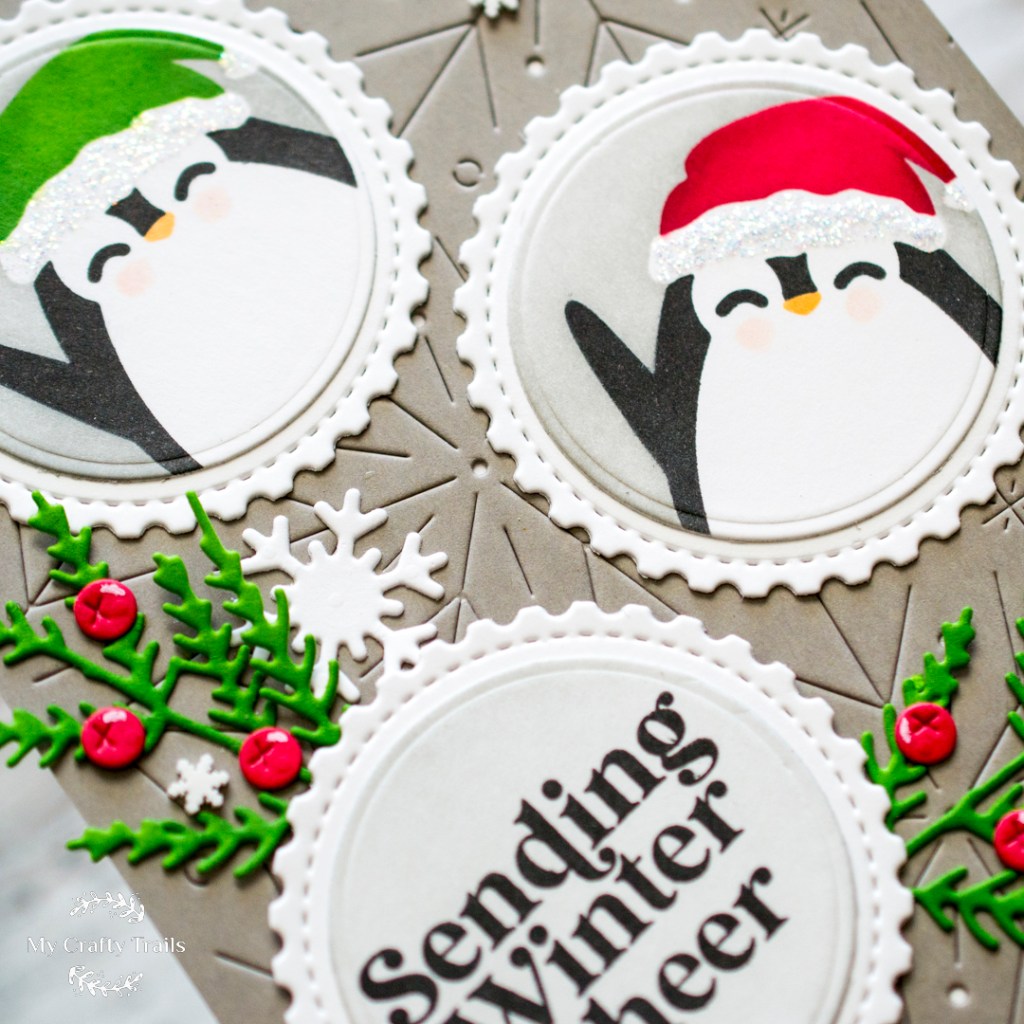
Next I created my background panel. I die-cut the Frosty Texture die from Cobblestone cardstock and attached the penguin images and the sentiment to the panel. I also die-cut some greenery and a few berries from white cardstock and inked them with small blending brushes before tucking them under the sentiment. To finish things up, I added white snowflake diecuts, some white clay snowflakes, and a few highlights to the berries with a white gel pen.
Thank you so much for stopping by to get all the details about the second card I created using the Waffle Flower Sneak Peek Kit #8! See you again soon!