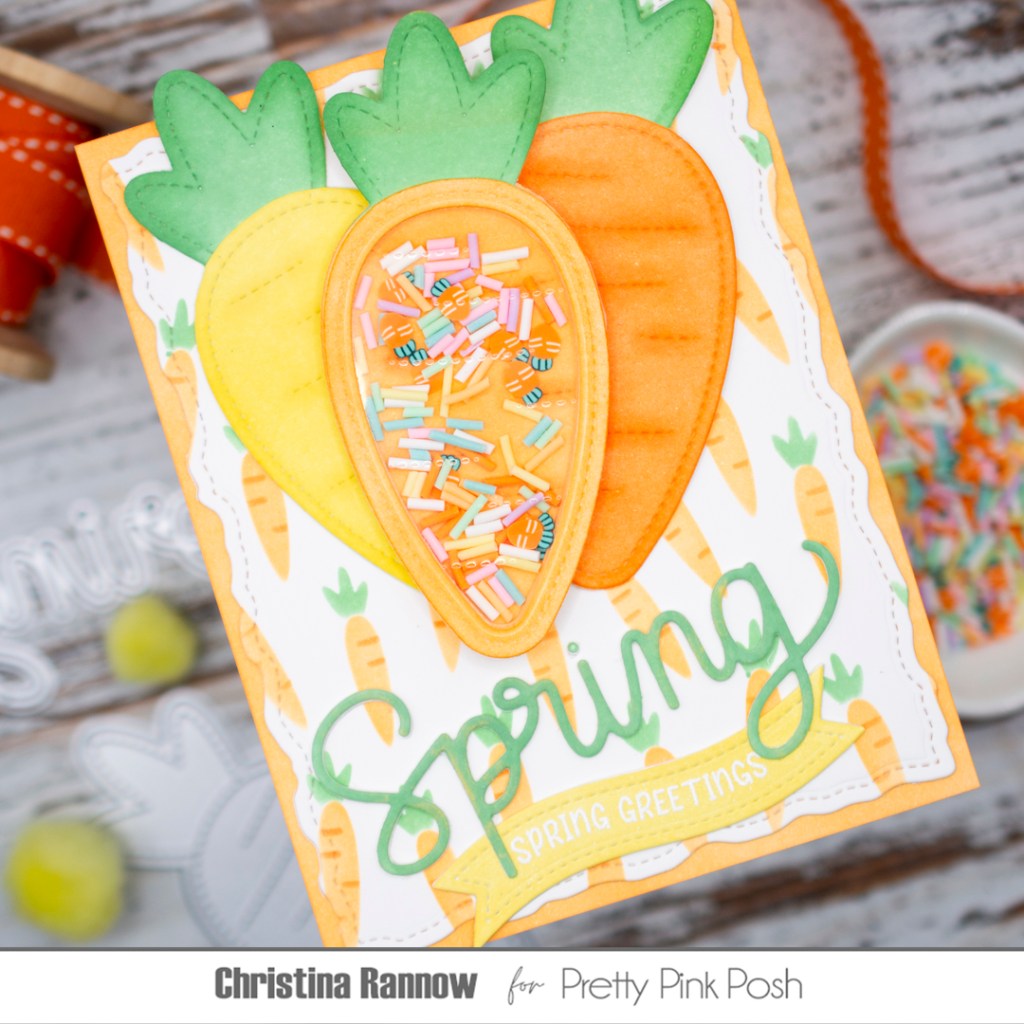
Hi friends! I have a whimsical springtime shaker to share with you today using a combination of new and previously released products from Pretty Pink Posh. The focal point is, of course, the super cute Carrot Shaker. I gave my sweet bunch of carrots a coordinating backdrop that I made using the Layered Carrots Stencils and filled the shaker with the cutest little bits, the Spring Carrots clay confetti. Take a quick peek at the supplies I used, and then we’ll get started!
PRETTY PINK POSH SUPPLIES (with affiliate links)
Carrot Shaker Dies
Layered Carrots Stencils
Spring Carrots Clay Confetti
Large Spring Shadow Dies
Torn Rectangle Dies
Banner Greetings 1 Dies
Easter Banner Greetings Stamp Set
OTHER SUPPLIES
Pawsitively Saturated Inks: Cantalopue, Sherbet, Butter, Zest, Sage, and Aspen
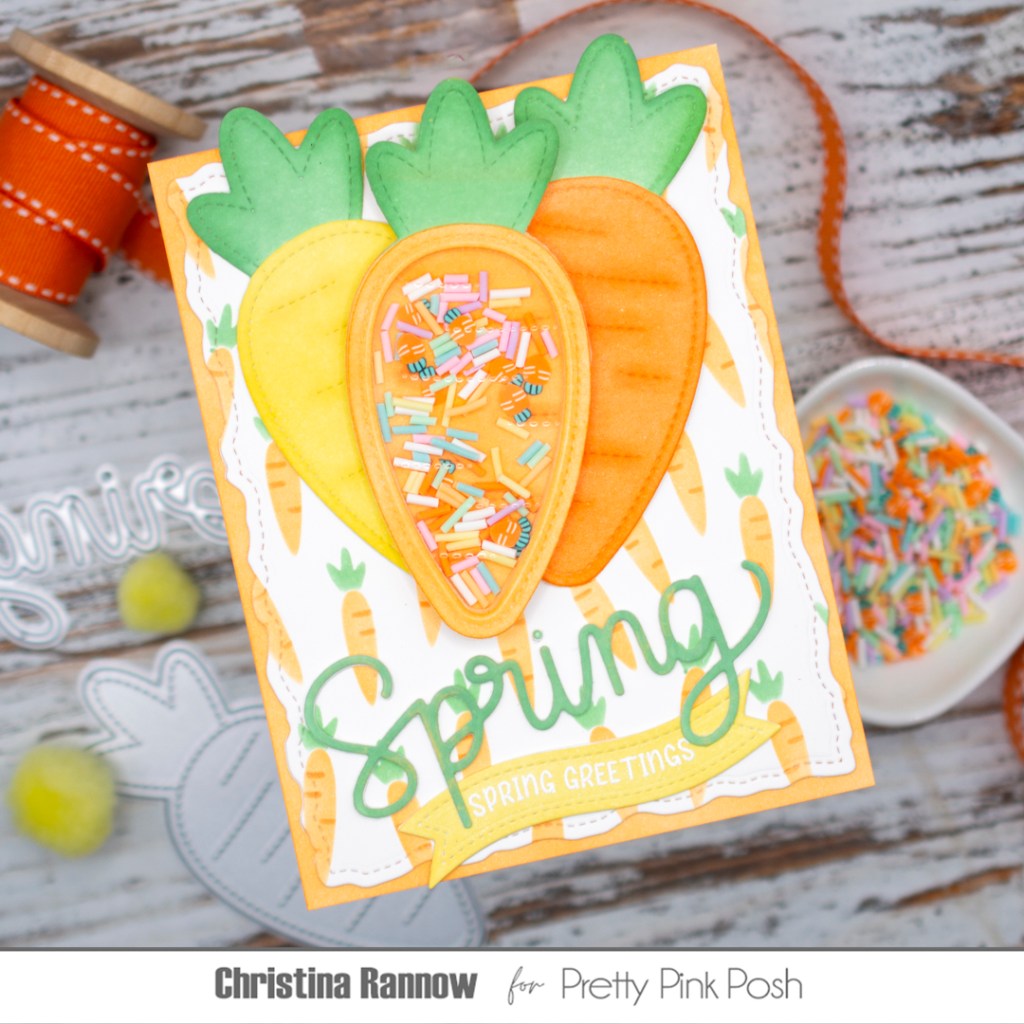
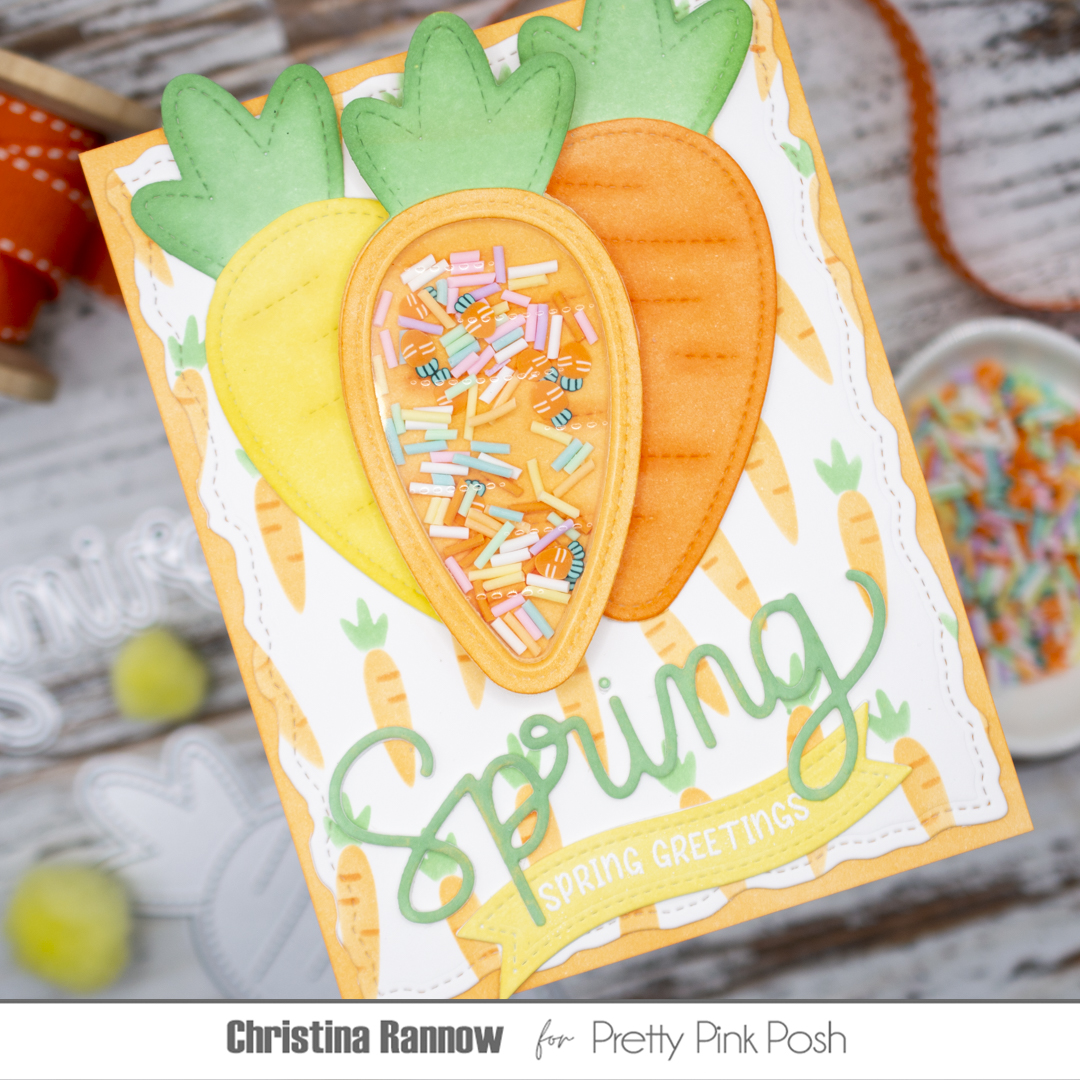
My first step was to create the background panel. Starting with a white cardstock panel, I stenciled the carrot design with the inks listed above and then die-cut it with the largest Torn Rectangle die. Next, I inked a white A2 cardstock panel with Cantaloupe ink and layered the stenciled panel on top. That completed the background panel, so I moved on to constructing the shaker element.
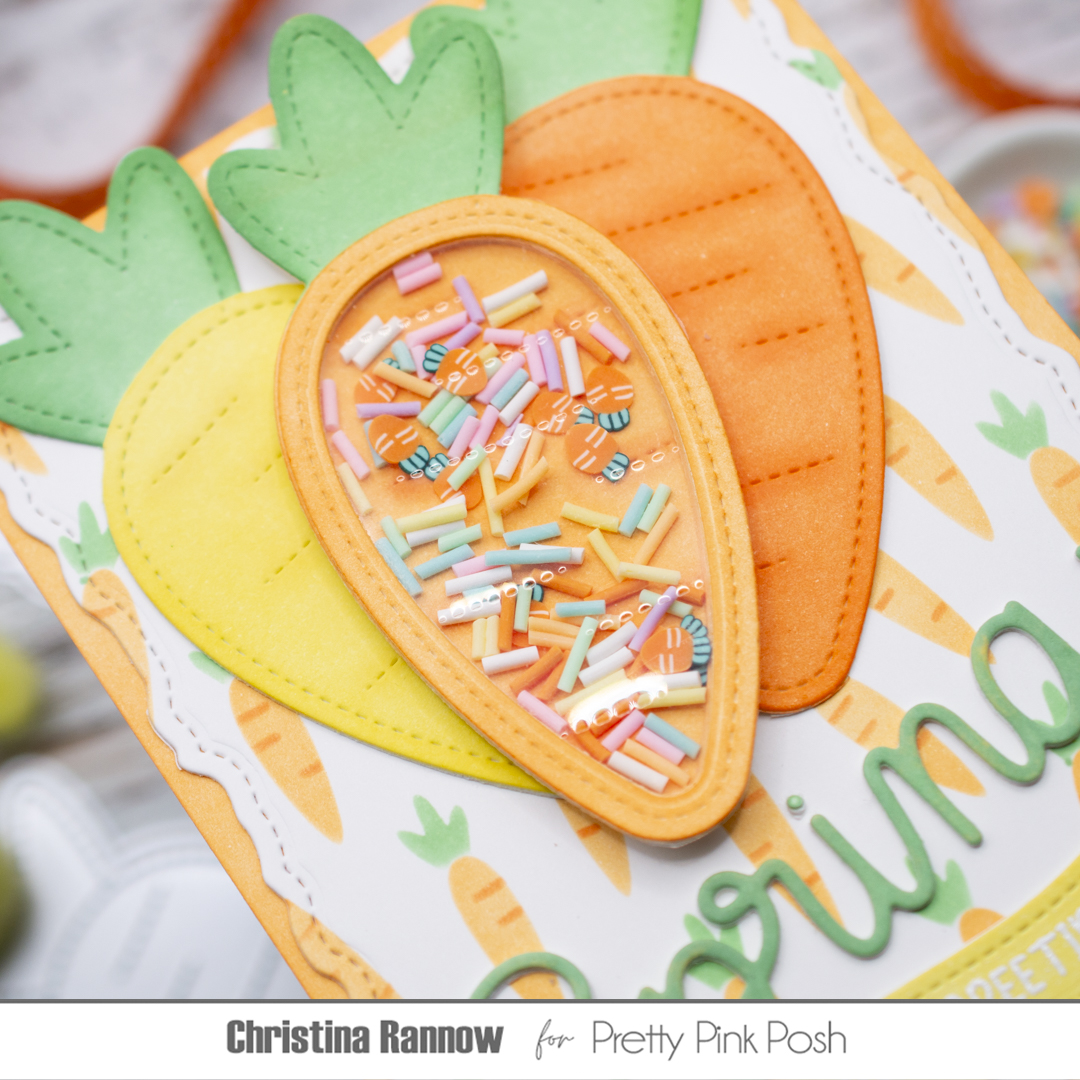
To create the shaker, I started by die-cutting all the components from white cardstock. I die-cut the backer piece once and the frame pieces seven times. I snipped the leafy top off of all the carrot frames except one, which will be placed just below the acetate piece when the shaker is constructed. Next, I inked the backer and each frame piece with more of the Cantaloupe ink color, and for the one frame with a leafy top, I also used Sage and Aspen ink colors. Then I stacked the frame pieces together, securing each one with glue, and before securing the leafy top frame with the last frame piece, I sandwiched a piece of acetate between them. Finally, I filled the shaker frames with the confetti bits and glued the backer piece in place.
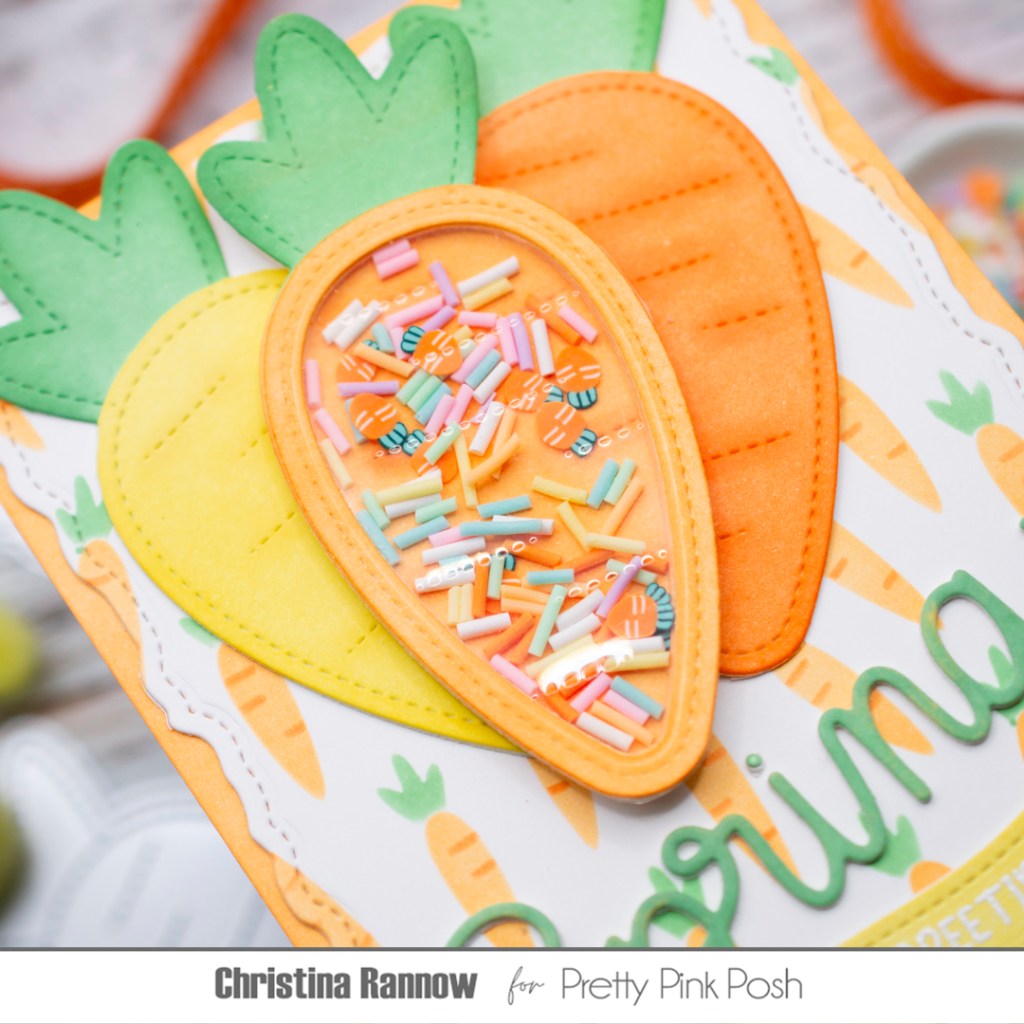
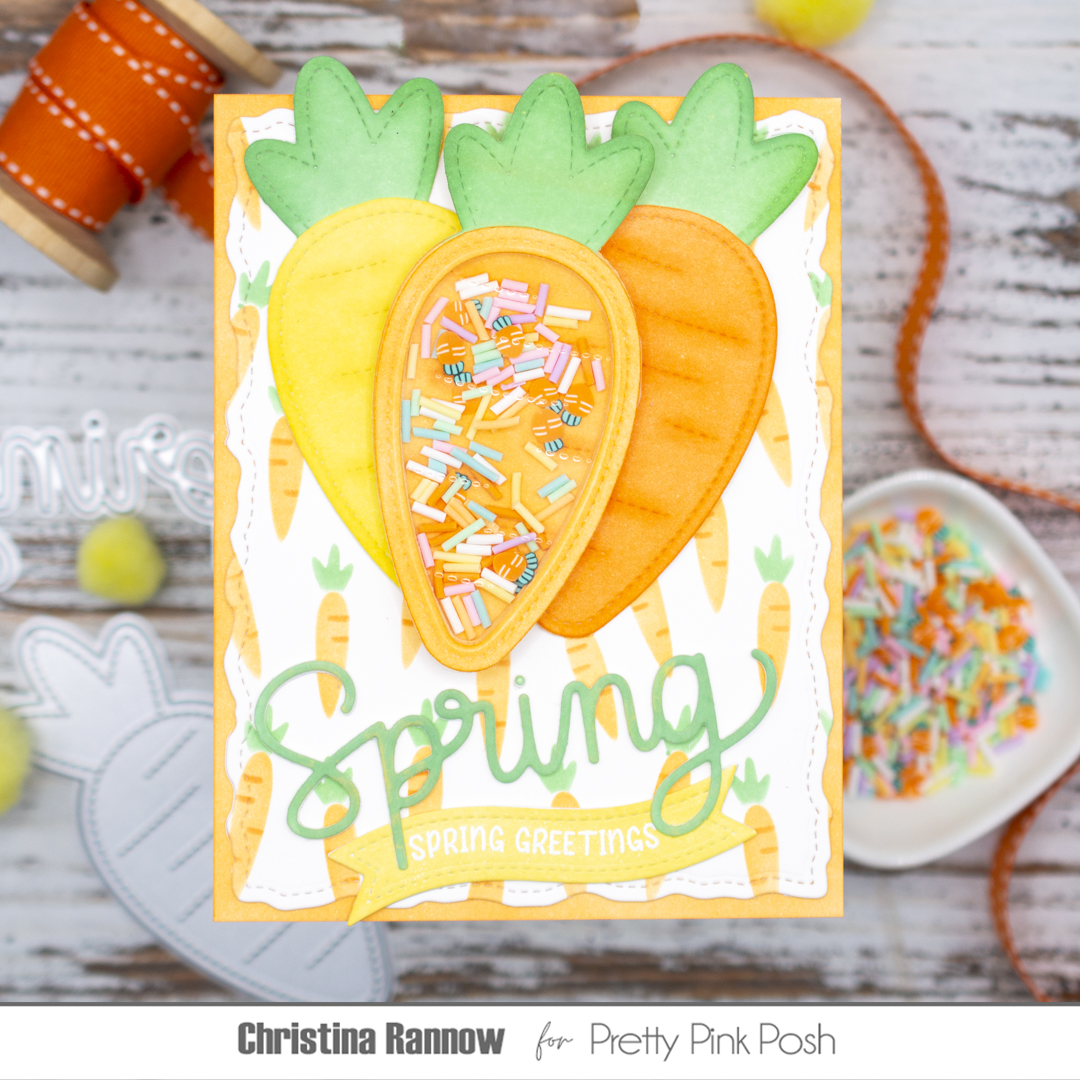
Next, I die-cut two more full carrots to be plain die-cuts in my design and inked one a darker orange and one yellow for the body of the carrot and then used the same green ink colors for the leafy tops that I used for the carrot shaker.
With most of the elements completed, it was time to move on to the sentiment. First I die-cut the large “Spring” text and inked it with the same green ink colors I used for the leafy tops of the carrots. Then I heat-embossed a sentiment with white embossing powder on a wavy banner before inking it with yellow ink.
The final step was to assemble everything on my card front, creating a bunch of spring carrots with the carrot shaker in the middle and then placing the sentiments below.
Thank you so much for stopping by to see this cute springtime shaker card featuring Pretty Pink Posh products. Happy crafting!