
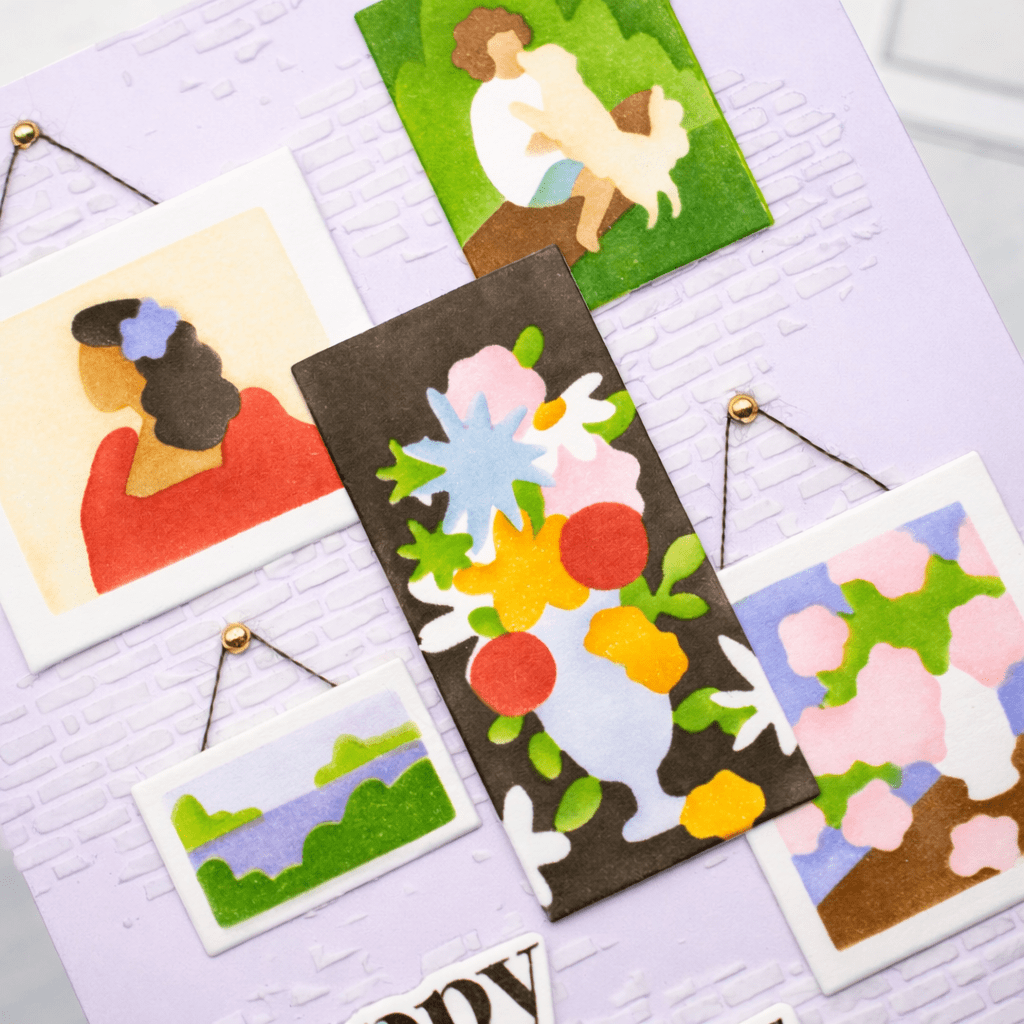
Hello! Today, I’m sharing a picture-perfect card featuring a gallery wall of beautiful “paintings.” I used the new Waffle Flower Postage Collage Picture Perfect Stencil and the previously released Postage Collage Blocks Die to create these tiny masterpieces and then hung them on a distressed brick background. I shopped my stash for some sentiments and added fun gold hangers to a few of the “paintings.” Check out my supply list and then we’ll talk about how this card design came together!
SUPPLIES
Waffle Flower Postage Collage Picture Perfect Stencil
Waffle Flower Postage Collage Blocks Die
SSS CZ Design Birthday Basics Stamp and Die Set
Honey Bee Stamps Salvaged Brick Stencil
Hero Arts It’s No Mystery Stamp & Cut Set
Spellbinders Fashion Gold Embellishments
C9 Mushroom Cardstock
SSS Moonflower Cardstock
Ranger Texture Paste Opaque Matte
Hero Arts Espresso Ink for the sentiments
Distress Inks: Shaded Lilac, Scortched Timber, Gathered Twigs, Antique Linen, Rustic Wilderness,
Speckled Egg, and Wild Honey
SSS Pawsitively Saturated Inks: Terracotta, Ballerina, Pearfection, and Field
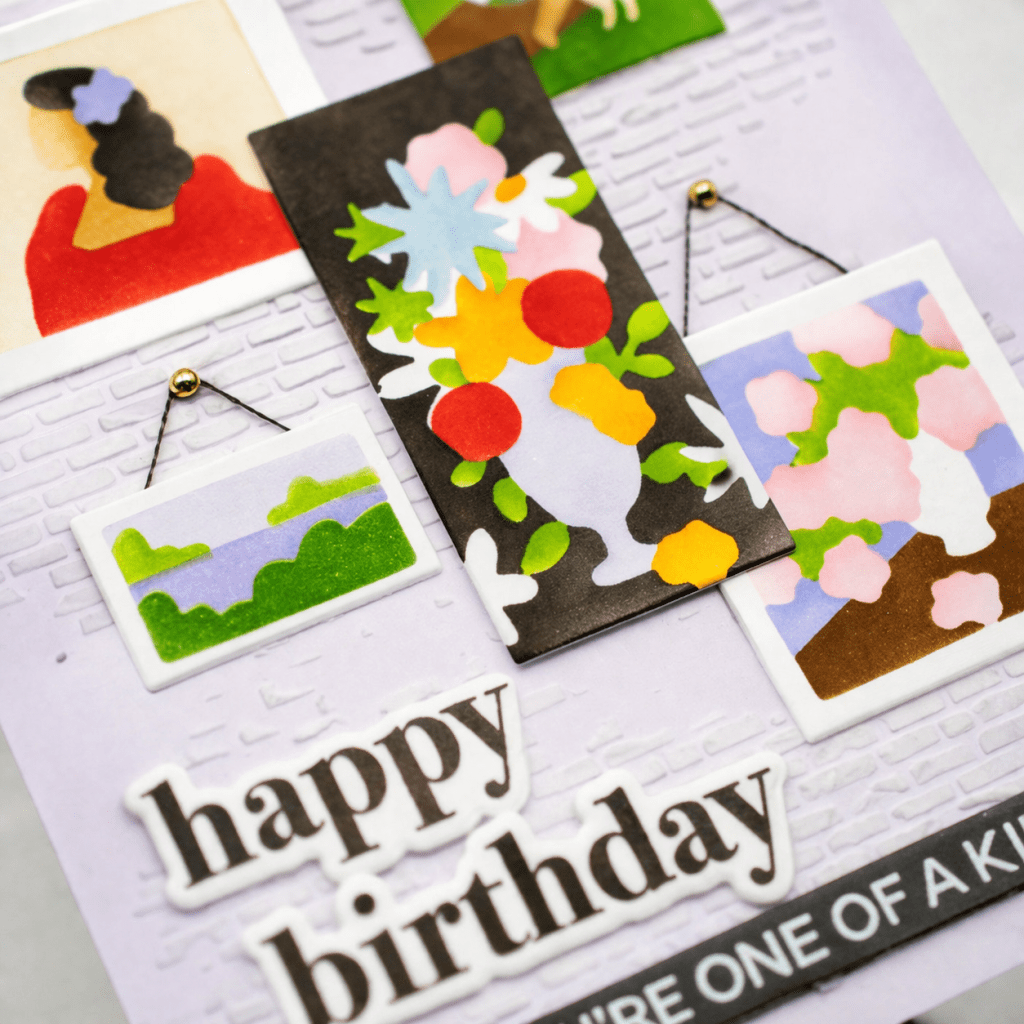
I started by creating the distressed brick background for the stenciled “paintings.” On a pale lavender cardstock panel, I stenciled the salvaged brick pattern using the opaque texture paste. I applied the paste unevenly and only on some areas of the panel so the brick would look aged and distressed. Once the paste dried, I lightly inked the edges of the panel with Shaded Lilac Distress Ink and then set the panel aside while I worked on the other elements of the card.
I stenciled the Picture Perfect images on white cardstock with the ink colors listed above. The colors used on the sample for the packaging inspired me; so many of my color choices are similar. Also, there is a coordinating stamp for the stenciled images that adds definition and texture, but I liked how the images looked without it, so I skipped that step. After stenciling the images, I used the PC Blocks Die to die-cut them and then arranged them on the brick background panel. Once I was happy with the arrangement, I taped small lengths of embroidery floss to the backs of three images to serve as the picture wires and then secured all the images to the background panel with glue or thin foam squares. The last step for this gallery wall of tiny “paintings” was to add the small gold embellishments as the picture hangers.
Finally, I added the sentiment and the sentiment strip to finish up my card design. I stamped “happy birthday” with Hero Arts Espresso ink first and then stamped it again lightly with black ink to more closely match the Scorched Timber Distress ink I used for stenciling. Then I die-cut the stamped text with the coordinating die and fussy-cut it apart so I could stack the words to fit my design better. The sub-sentiment is heat-embossed with white embossing powder on Mushroom cardstock and then die-cut with a sentiment strip. I attached the sentiments with glue and then secured the card front to a side-fold card base.

Thank you so much for stopping by to see this masterpiece I created featuring the new Postage Collage Picture Perfect Stencil from Waffle Flower. Happy crafting!
