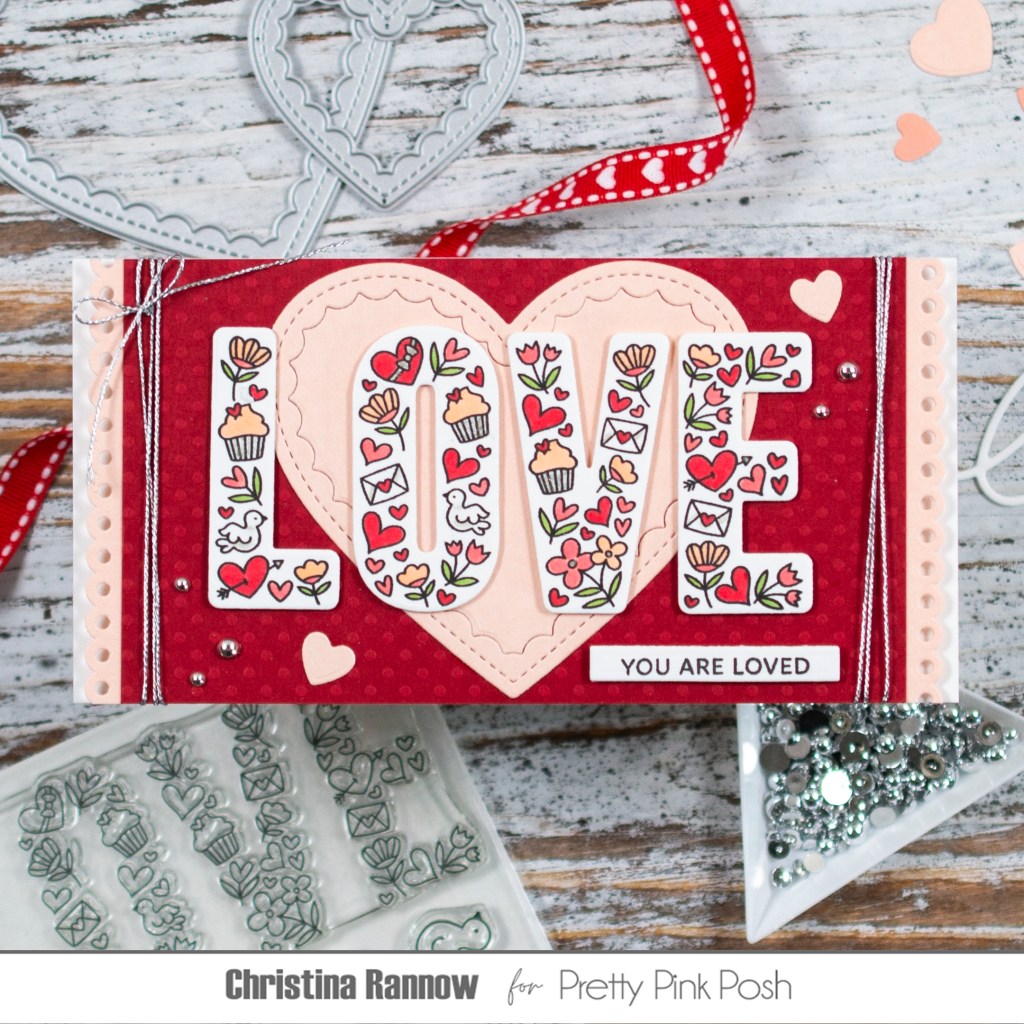
It’s Valentine Theme Week over at Pretty Pink Posh, and today I’m sharing another card using the Love Stamp Set, a long-time favorite of mine. You can get all the details about my first card on the Pretty Pink Posh Blog. For today’s project I chose a slimline card to showcase the die cut letters with lovely little stamped images that I colored with Copic markers. I used a peach and red color palette with silver accents, creating a valentine that anyone would be smitten with. Keep reading to see how this card came together and to find lists of project-specific supplies I used. You can always find my favorite everyday supplies here. Thanks so much for stopping by to read all about this lovely slimline Valentine’s Day card. Happy crafting!
Pretty Pink Posh products featured:
❤️Love Stamp Set
❤️Love Stamp Set Coordinating Dies
❤️Doily Borders
❤️Scallop Heart Dies
❤️Build a Heart Dies – small hearts
❤️Sentiment Strip Dies
❤️Metallic Silver Pearls

My first step for this project was to stamp the letters on white cardstock and color them with Copic markers. These images are very small, so I didn’t do any shading or blending, just simple coloring. I also added a bit of sparkle with a glitter pen to the cupcake liners, the centers of the flowers, and the bow.
Copic Color List
R35 – red
R43 – pink
YR61 – peach
G43 – green
W1 – shadows on doves and envelopes
I die cut the letters and set them aside while I created the background. I trimmed a piece of red cardstock with an embossed dot detail to 3 1/8 x 5 1/2 to be slightly shorter in length than my 3 1/8 x 6 1/4 slimline card base. I added a Doily border to each end of the panel and a large Scallop Heart to the center, both die cut from peach cardstock.
Cardstock
Concord & 9th Nectar
Bazzill Dotted Swiss Phoenix – I love Bazzill cardstock, but it’s hard to find now. Lawn Fawn has similar textured cardstock with a dot detail.
Before attaching the panel to my card base, I wrapped silver metallic cording around the edges a few times, securing it on the reverse side with tape. Then I attached it to my card base with foam squares, which keeps the cording from bunching up and becoming visible under your panel.
With the background complete, I added the die cut letters, securing them with foam squares as well as a stamped sentiment die cut with a sentiment strip. The finishing touches were to add a couple of small hearts and a few silver metallic pearls.


This is GORGEOUS! Love the colors and that PPP LOVE set is a goodie!!
Lori S in PA
LikeLiked by 1 person
Isn’t it?? Thanks so much Lori!
LikeLike
Christina, this is so cute I can hardly stand it! It’s also dangerous (to my wallet): I pretty much think I “need” everything you used to make it. 🤣 Thank you SO much for sharing this beauty!!! Have a blessed weekend!
LikeLiked by 1 person
Lol! That is so sweet! Thank You! All Valentine’s Day stuff is 15% off right now so you might want to check it out. The Love Stamp Set is definitely worth it 😊 Have a great weekend!
LikeLiked by 1 person
Thank you! 💖
LikeLike