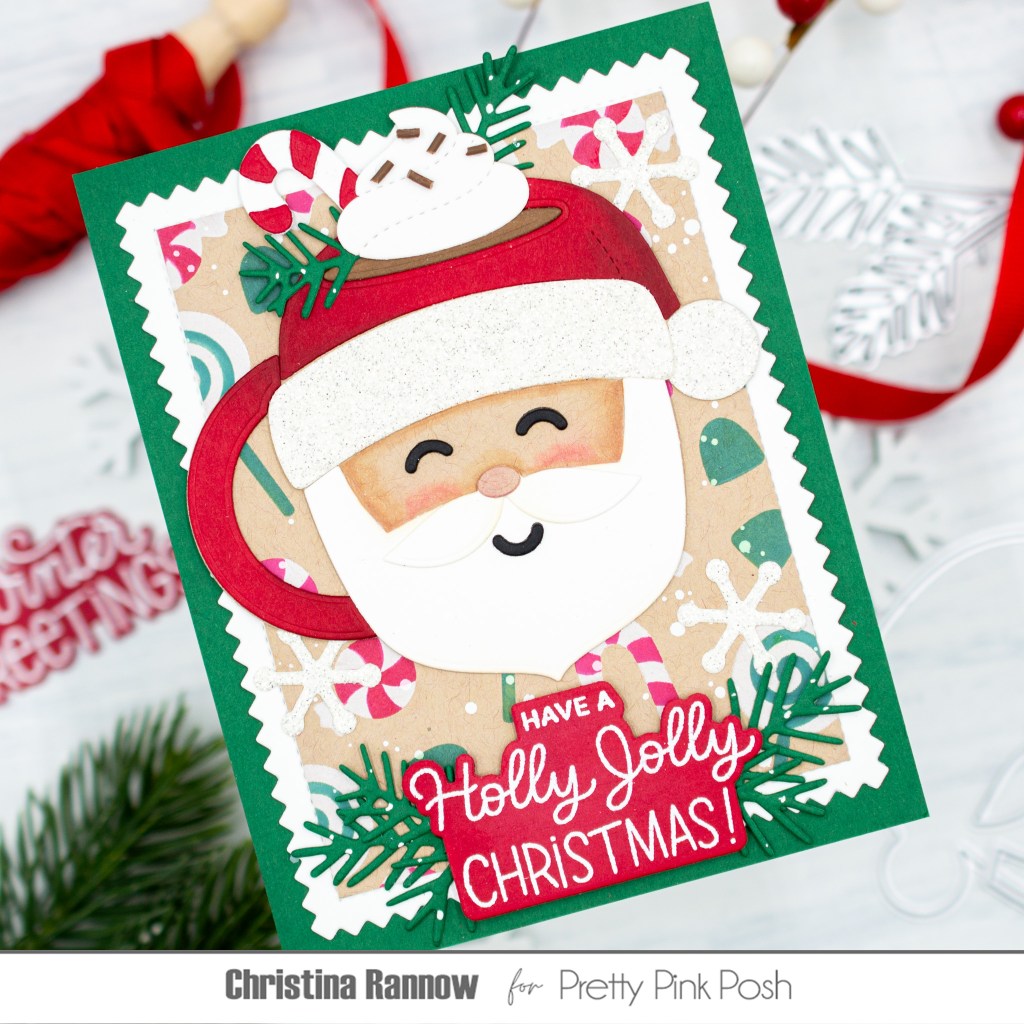
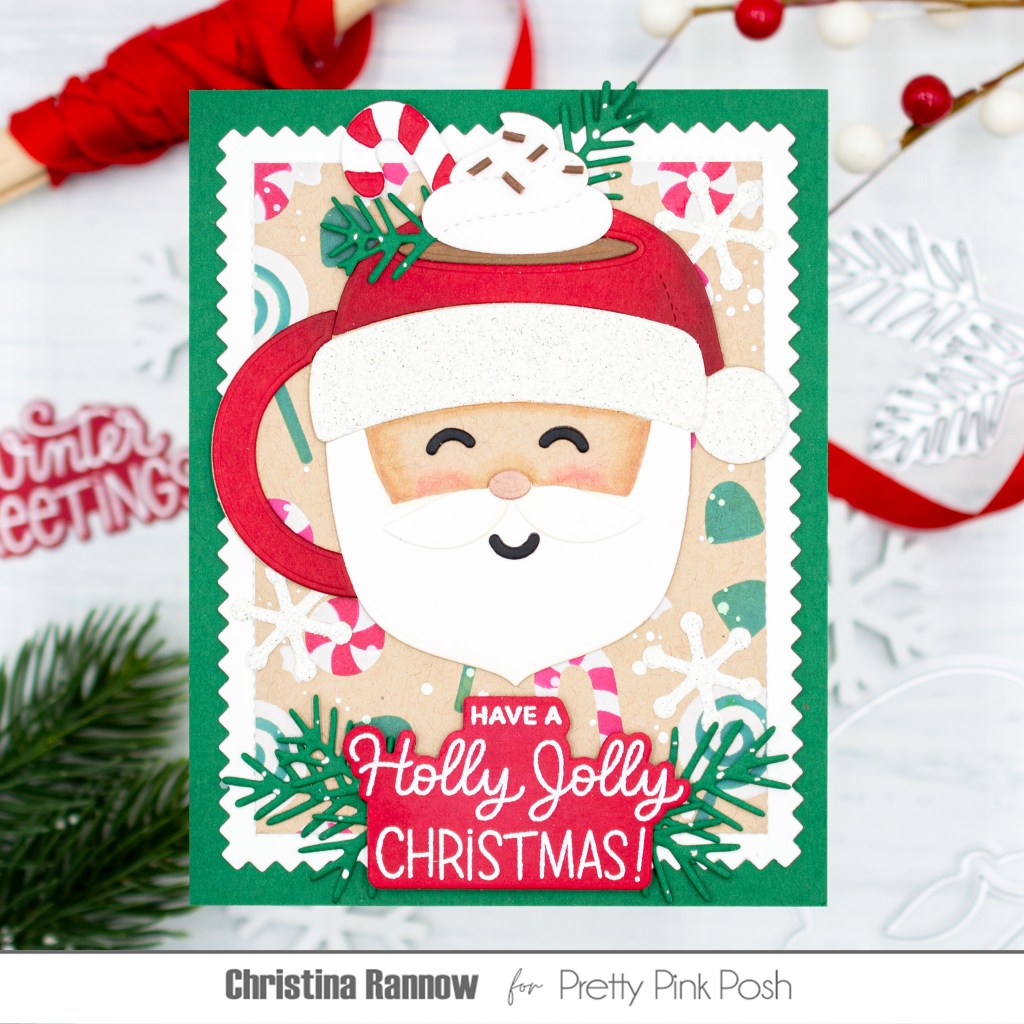
Hi friends! Thanks so much for stopping by! Today I’m sharing a festive Christmas card featuring some of the wonderfully whimsical products from the latest Pretty Pink Posh holiday collection. This charming Santa mug is part of the Christmas Mugs die set that also includes an adorable reindeer mug, which you’ll see featured on my blog later this month. I paired the mug with a new layering stencil that creates a background filled with sweet candy treats and finished my card design with some previously released holiday favorites. Take a peek at the supplies I used (with affiliate links), and then we’ll get started!
PRETTY PINK POSH SUPPLIES
Christmas Mugs Dies
Pine Sprigs Dies
Gingerbread House Dies—candy cane
Christmas Bucket Additions Dies—snowflake
Layered Sweet Candies Stencil
Pinking Rectangles Dies
Winter Greetings Stamp Set
Winter Greetings Coordinating Dies
OTHER SUPPLIES
Concord & 9th Cardstock: Wheat and Evergreen
Spellbinders Cardstock: Truffle and Antique White Treasured Glitter metallic
SSS Cardstock: So Very Black and Schoolhouse Red
Hero Arts Unicorn White Pigment Ink
Distress Oxide Inks: Lumberjack Plaid and Rustic Wilderness
SSS Pawsitively Saturated Ink: Cabernet—for shading
Spellbinders Splatter White Opaque Watercolor
Hero Arts White Detail Embossing Powder
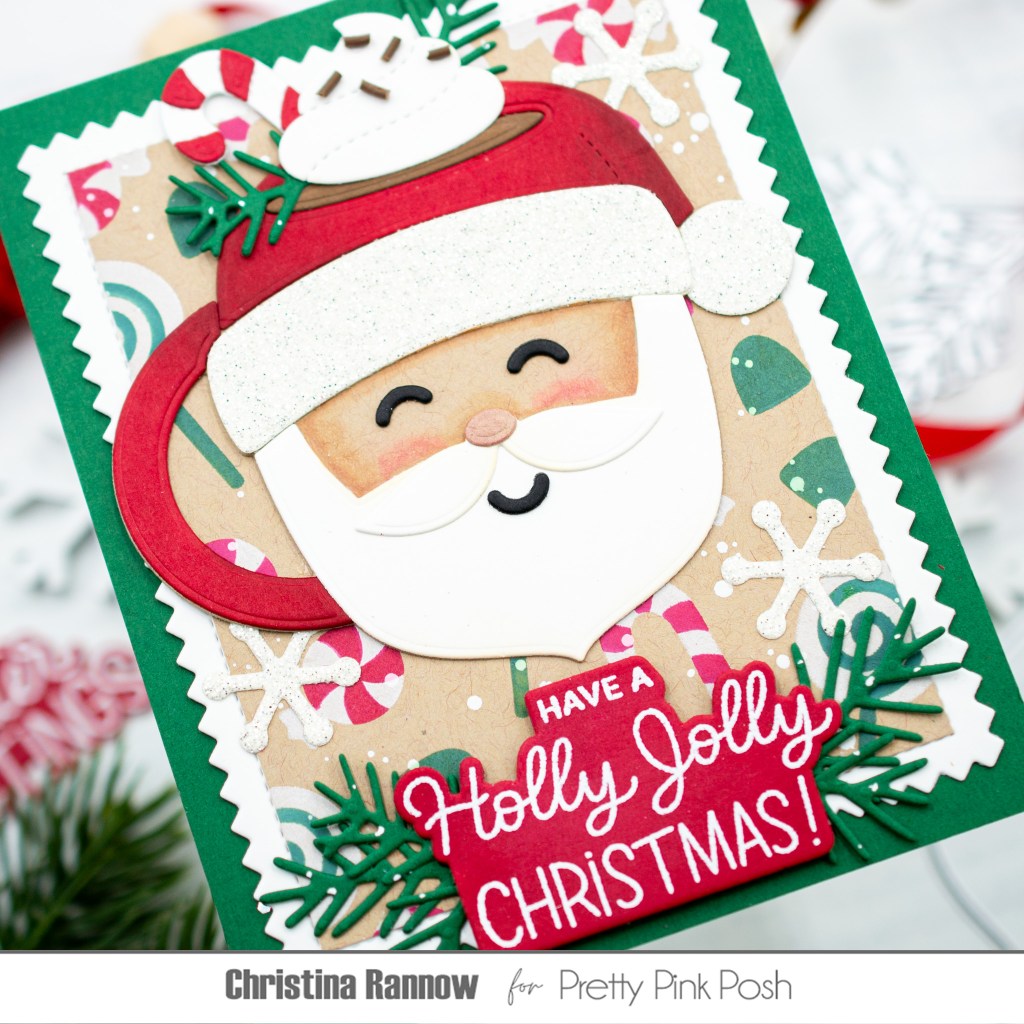
My first step was to create the stenciled background. I started with a kraft cardstock panel and stenciled the candy images with white pigment ink and Distress Oxide inks. I used the white pigment ink first and let it dry before moving on to the Oxide inks. I masked the candies I wanted to be green while I stenciled the red ones and vice versa because some of them were on the same stencil layer. Then I trimmed the panel to fit inside the stitching detail of the largest Pinking Rectangle, which I die-cut from white cardstock. Before attaching the stenciled panel to the white Pinking Rectangle, I splattered the panel with a white splatter medium, and lastly, I attached everything to a piece of Evergreen cardstock trimmed to 4.25 x 5.5 inches.
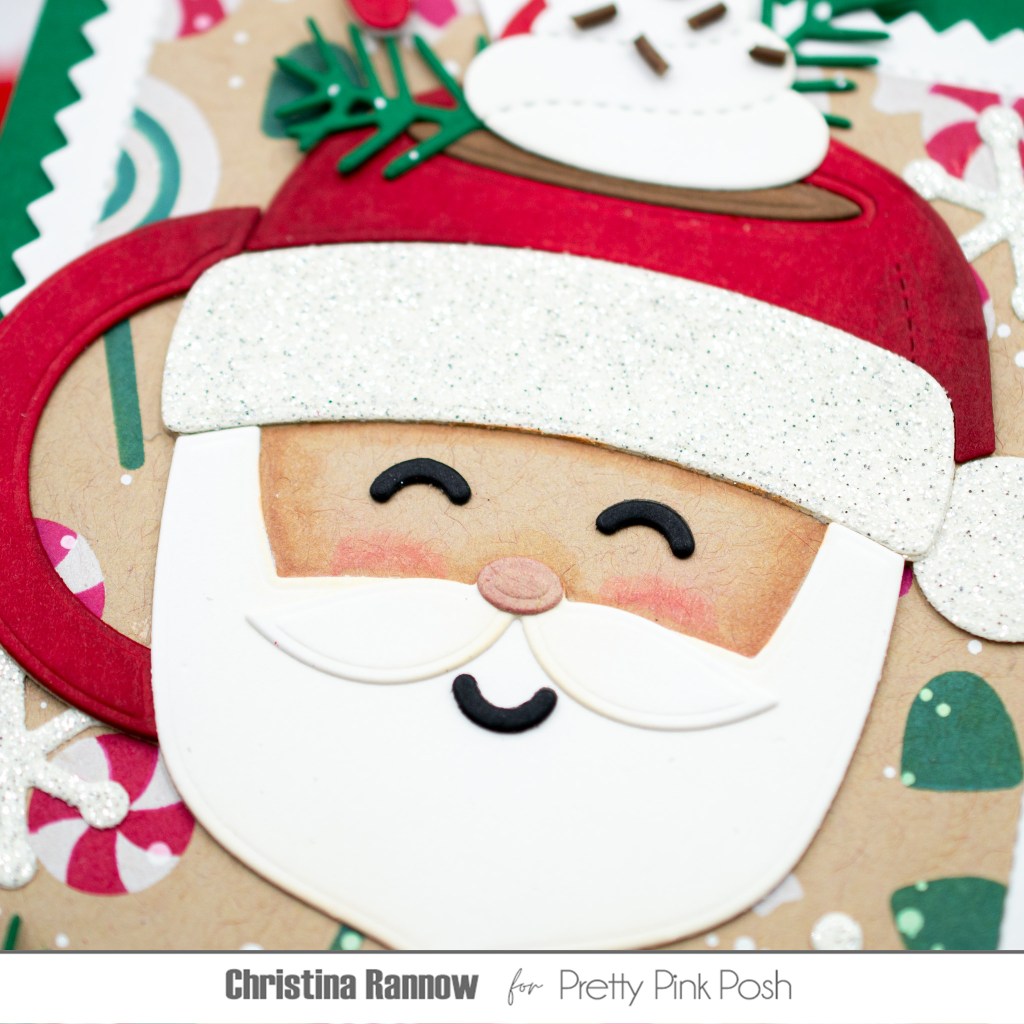
Next, I got to work die-cutting the other elements of my card design. I started with the mug and used more kraft cardstock, Schoolhouse Red, plain white, and white glitter cardstock and added shading to Santa’s hat and the handle before assembling the pieces. After assembling, I used Copic markers to add shading and rosy cheeks to Santa’s face. Then I chose brown cardstock to fill my mug with cocoa and black cardstock for his facial features. I topped the mug with whipped cream. a candy cane, a couple of Pine Sprigs, and a few chocolate sprinkles from Pretty Pink Posh’s Autumn Woods Clay Confetti.
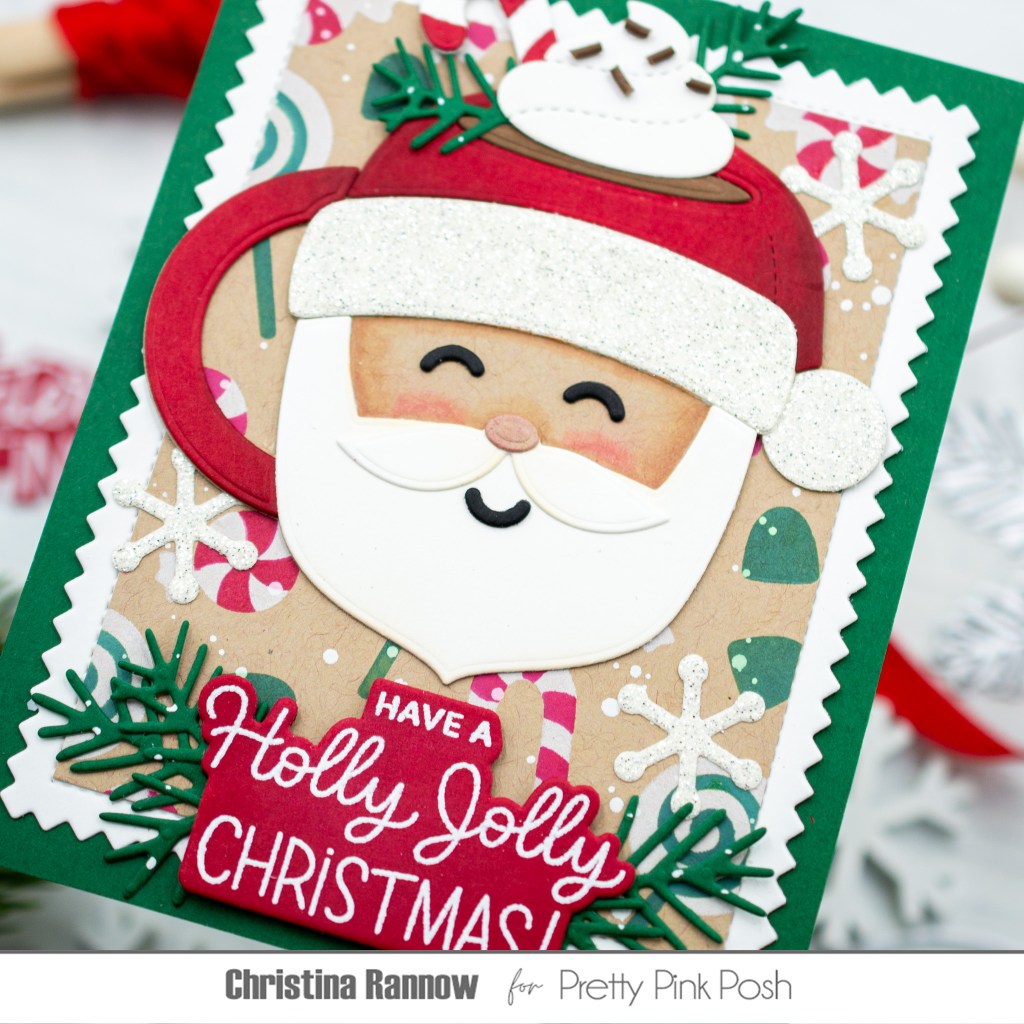
To wrap things up. I heat-embossed a sentiment with white embossing powder on Schoolhouse Red cardstock and die-cut it with the coordinating die before attaching to my card front with foam squares. Finally, I tucked in more Pine Sprigs around the sentiment and added a scattering of glittery snowflakes before attaching my card front to a top-fold card base.
Thanks again for stopping by to read about the festive Christmas card I created using products from the latest Pretty Pink Posh holiday collection! Happy crafting!