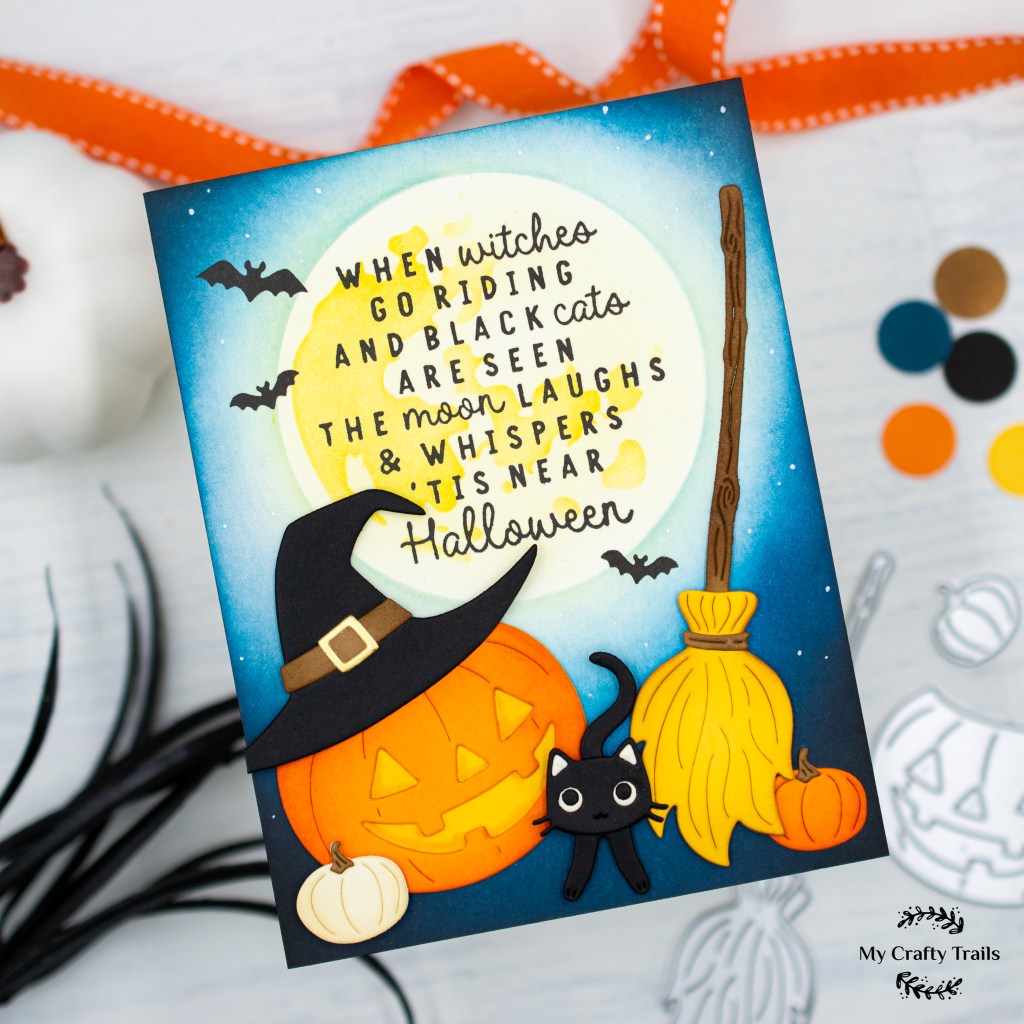
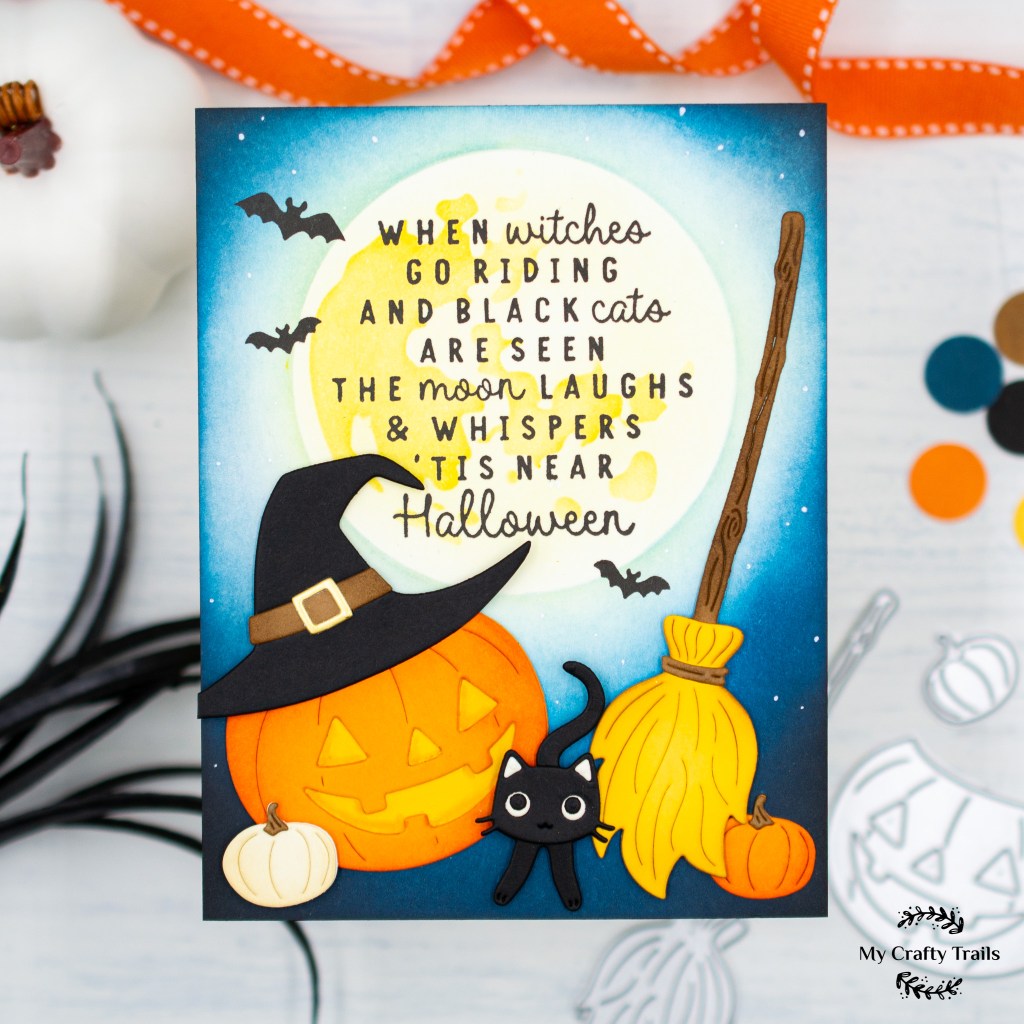
Hi friends! Today I’m sharing my last Halloween card of the season… I think! After the 13 Days of HEROween, I finally got a chance to play with September’s My Monthly Super Hero. I almost filed everything away to get ready for this month’s kit, but I couldn’t resist the Tis’ Near Halloween Stamp & Cut with its Halloween verse. I paired it with the always impressive Tim Holtz Moon Masks and die cuts from the sets included in the monthly kit for a spooky-ish nighttime scene. Take a peek at the supplies I used, and then we’ll get started!
SUPPLIES
Hero Arts Monthly Super Hero, September 2026— Wicked Good
• If the Broom Fits Die Set
• Trick or Treat Die Set
• Miss Witch Die Set
• Tis’ Near Halloween Stamp & Cut
Tim Holtz Moon Masks & Stencils
Lawn Fawn Cardstock: Fake Tan and Paper Bag
Spellbinders Cardstock: Alabaster and Beeswax
SSS Cardstock: So Very Black and Matte Gold
Distress Inks: Antique Linen, Gathered Twigs, Black Soot, Uncharted Mariner, Broken China, and Speckled Egg
SSS Pawsitively Saturated Inks: Butter, Honey, and Clay
Versafine Onyx Black Ink
White Gel Pen
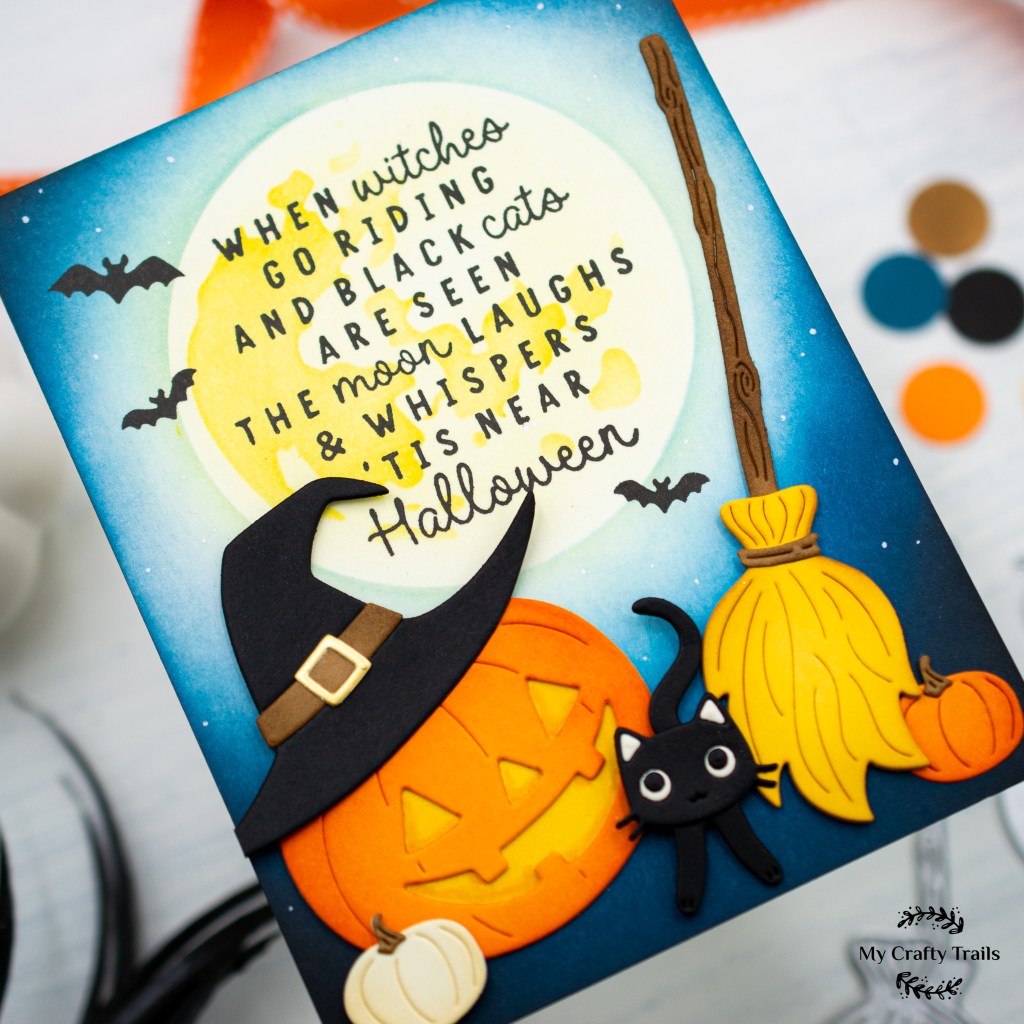
I created the background panel first by starting with an A2 white cardstock panel. I centered the moon mask in the top portion of the panel and used a bit of low-tack tape to help keep it in place while I stenciled. I started with Speckled Egg ink and a large blending brush to apply color to the panel, leaving a small space of white surrounding the moon mask. Then I went in with Broken China ink and gradually blended in towards the moon mask but still left a halo of Speckled Egg ink. Finally, I blended Uncharted Mariner mainly around the edges of the panel and Black Soot in the corners for a dark night sky. Next, I removed the moon mask and replaced it with the moon stencil. I used Honey Ink and a very light hand to apply it to the moon with a large blending brush before removing the stencil and using Butter Ink to add color to not only the moon but just outside the moon too for a soft yellow glow. To finish the panel, I stamped the verse over the moon, stamped a few bats flittering through the night, and lastly, added a scattering of stars using a white gel pen.
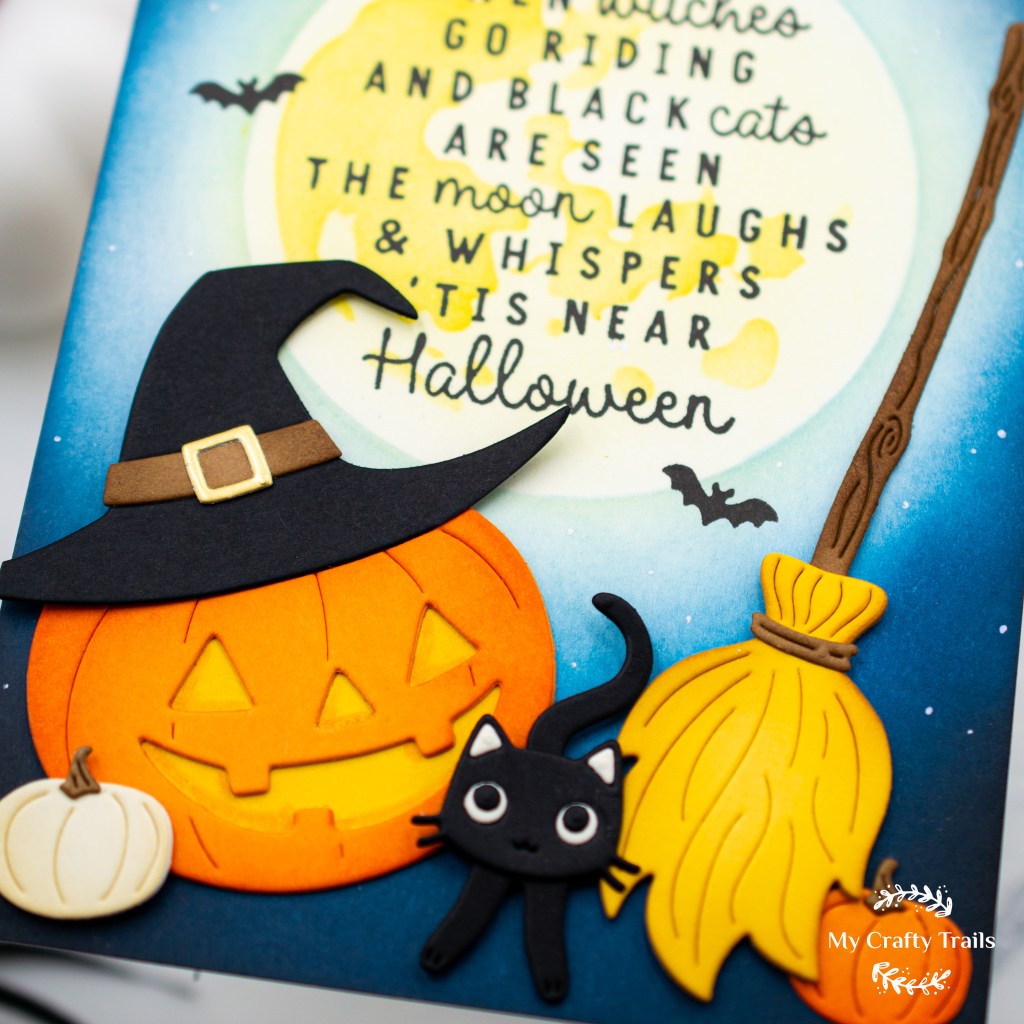
Next, I die-cut the rest of the elements for my card, starting with colored cardstock. I added shading to the pieces before assembling them using a darker coordinating ink color and small blending brushes. Once they were assembled, I arranged them on my background panel and secured them with either a liquid adhesive or, if they overlapped something, I used foam squares. My last step was to attach it to a top-fold card base.
Thank you so much for stopping by to read about my Halloween card I created using products from the September Super Hero kit! Happy crafting!