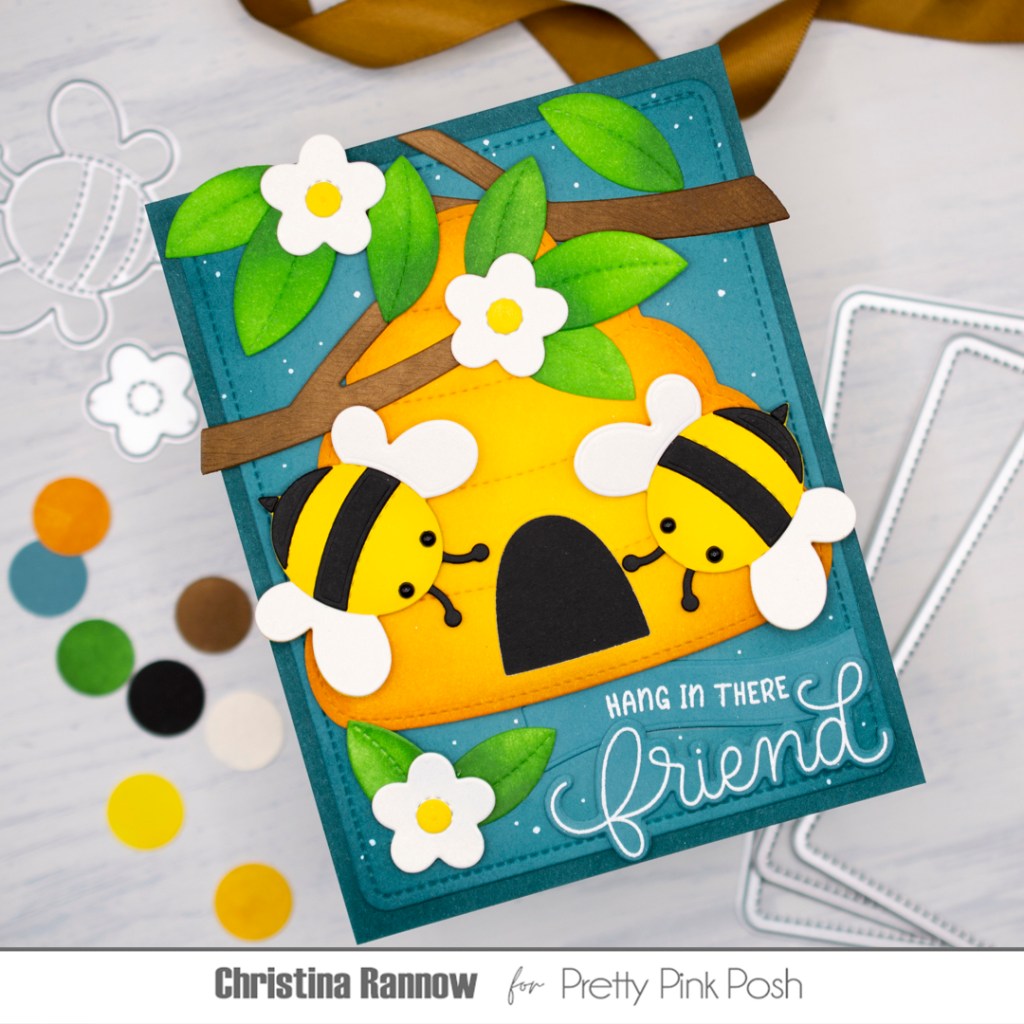
Hi friends! Join us for the Pretty Pink Posh Instagram Hop that showcases the new collection of cute bugs, bumbling bees, and some new must-have basics that you won’t want to miss! I’m sharing this card as part of the hop, and it features many of the fabulous new products that are available, including the Beehive Shaker and the bumblebees from the Stitched Bugs set. Be sure to hop on over to IG to see what all the buzz is about, but first, let’s take a look at how this card came together!
PRETTY PINK POSH SUPPLIES—affiliate links
Beehive Shaker Dies
Stitched Bugs Dies
Everyday Branches Dies
Rounded Stitched Rectangles Dies
Caterpillar Holder Dies – flower
Everyday Banner Greetings Stamp Set
Hello Friend Stamp Set
Hello Friend Coordinating Dies
Banner Greetings 2 Dies
Onyx Pearls
OTHER SUPPLIES
Spellbinders Antique Metallics Pearl Cardstock
Concord & 9th Lakefront Cardstock
SSS So Very Black and Kraft Woodgrain Cardstock
SSS Pawsitively Saturated Inks: Mist, Lemonade, Sunbeam, and Honey
Distress Inks: Mowed Lawn, Rustic Wilderness, Brushed Corduroy, Gathered Twigs, and Walnut Stain
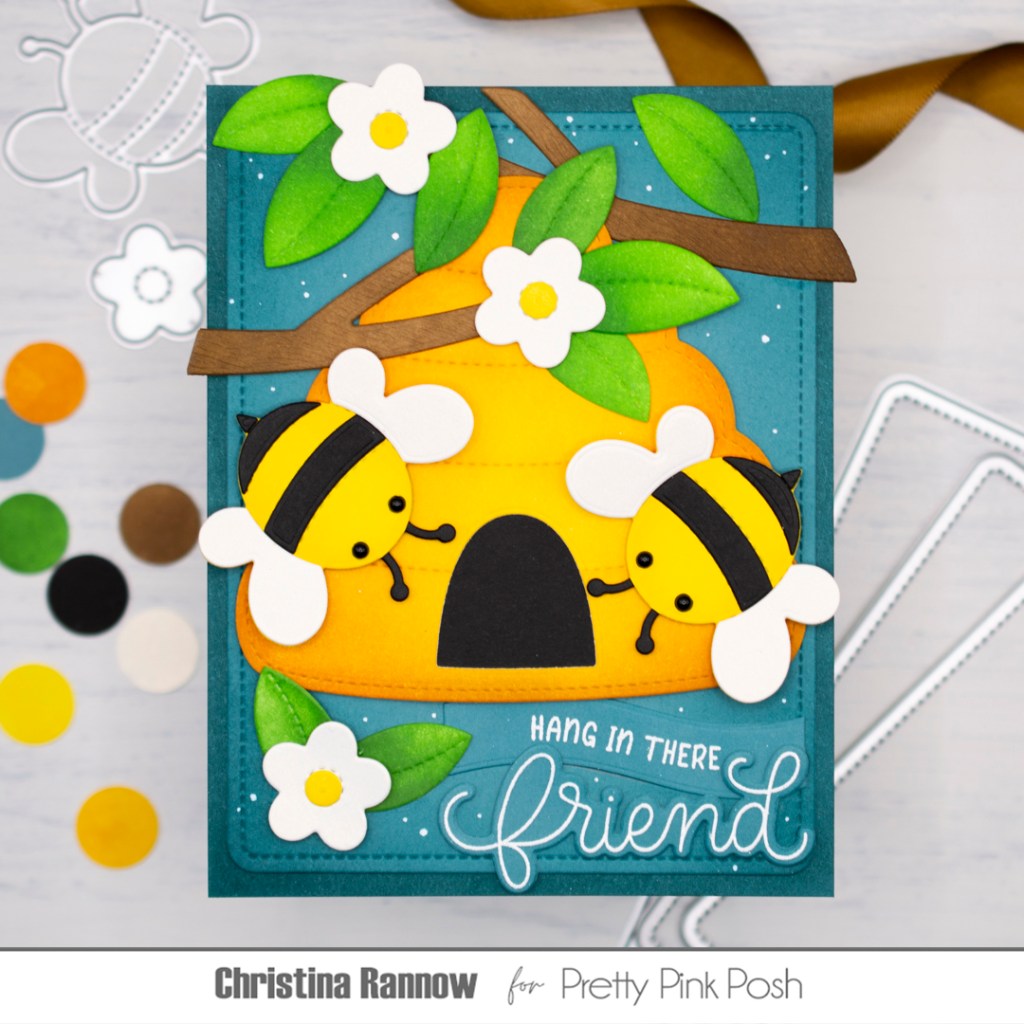
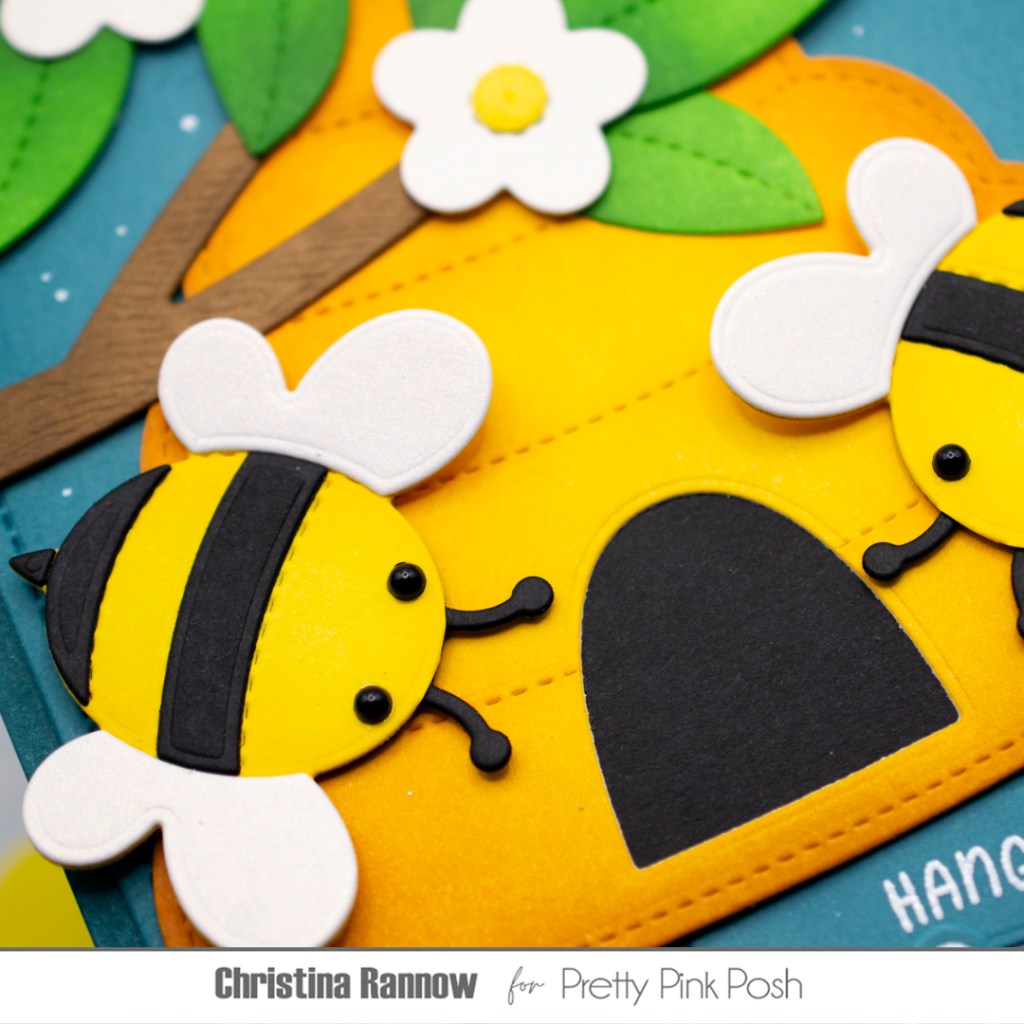
I started this card design by die-cutting and assembling all the elements for my scene. I started with white cardstock for some pieces but opted for kraft woodgrain cardstock for the branches, black cardstock for the bee stripes and the beehive entrance, and an antique pearl white cardstock for the wings and the flowers. Using a smaller blending brush, I added some additional color and shading to the woodgrain branches before attaching the leaves, which I inked using two shades of green ink. I used white pearl cardstock and yellow inked centers for the small flowers.
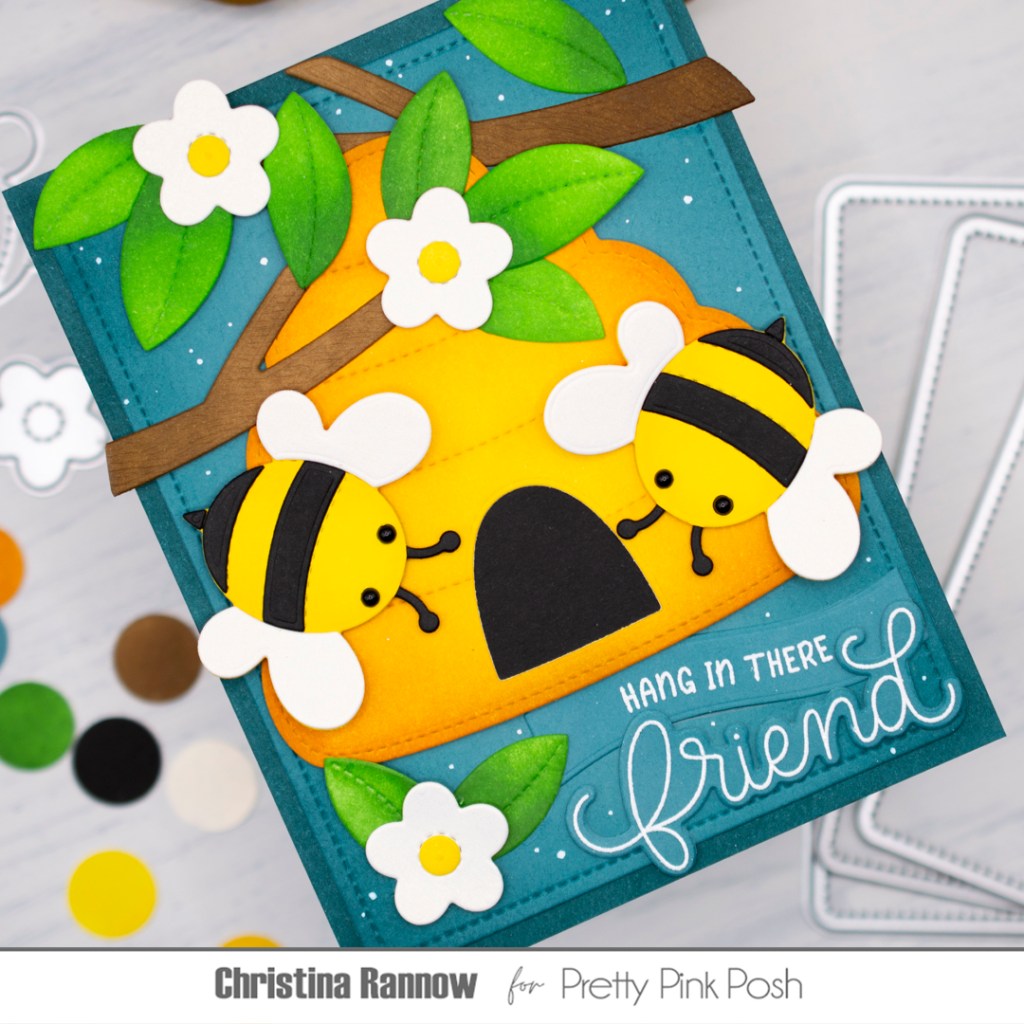
I chose not to use the shaker element for the beehive and ink-blended it with a trio of yellow and honey-colored inks. Then I backed the entrance with black cardstock. For the bees, I chose just yellow inks for their bodies and then added the black cardstock stripes and white pearl wings when assembling them. The finishing touch for these cuties was to add Onyx Pearls for their eyes.
With all the die-cut elements completed, I moved on to the background for my scene. I started with a Lakefront blue cardstock panel that I die-cut using the largest Stitched Rounded Rectangle, and then I inked the edges with Mist ink. Next, I spattered the panel with thinned white gouache paint and layered it onto a Lakefront A2 cardstock panel that I had inked up with more of the Mist ink.
Now it was time to assemble the scene. I arranged and secured the branches and the flowers on the background panel with either glue or thin foam squares and then tucked the beehive among them. I used thin foam squares to attach the beehive and the bees buzzing around the entrance. To finish things up, I combined stamp sets to create a sentiment that I heat-embossed with white embossing powder on Lakefront cardstock. I used the Everyday Banner Greetings with a Banner 2 die and the word “friend” from the Hello Friend Stamp and coordinating die sets.
Thank you so much for checking out the card I made for the Pretty Pink Posh Instagram Hop showcasing the latest collection. I hope you’re inspired to hop with us!