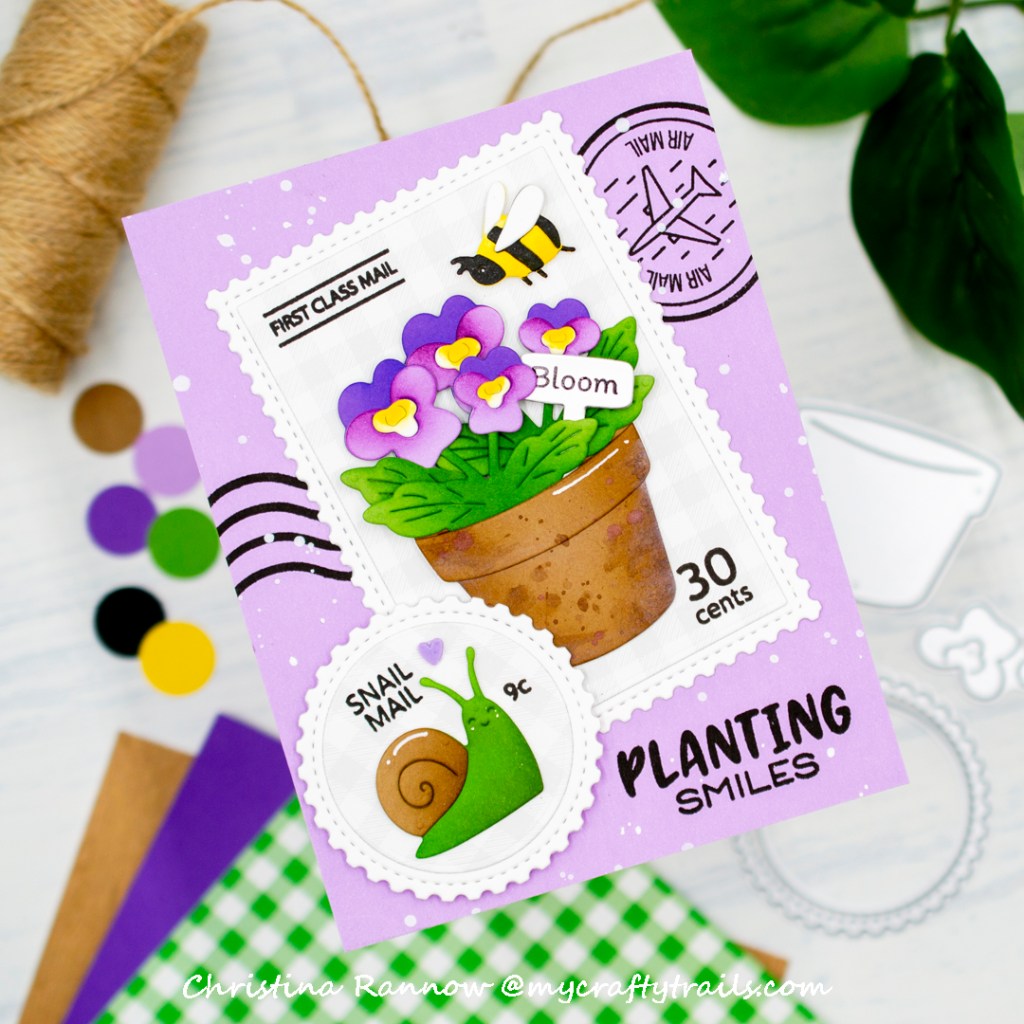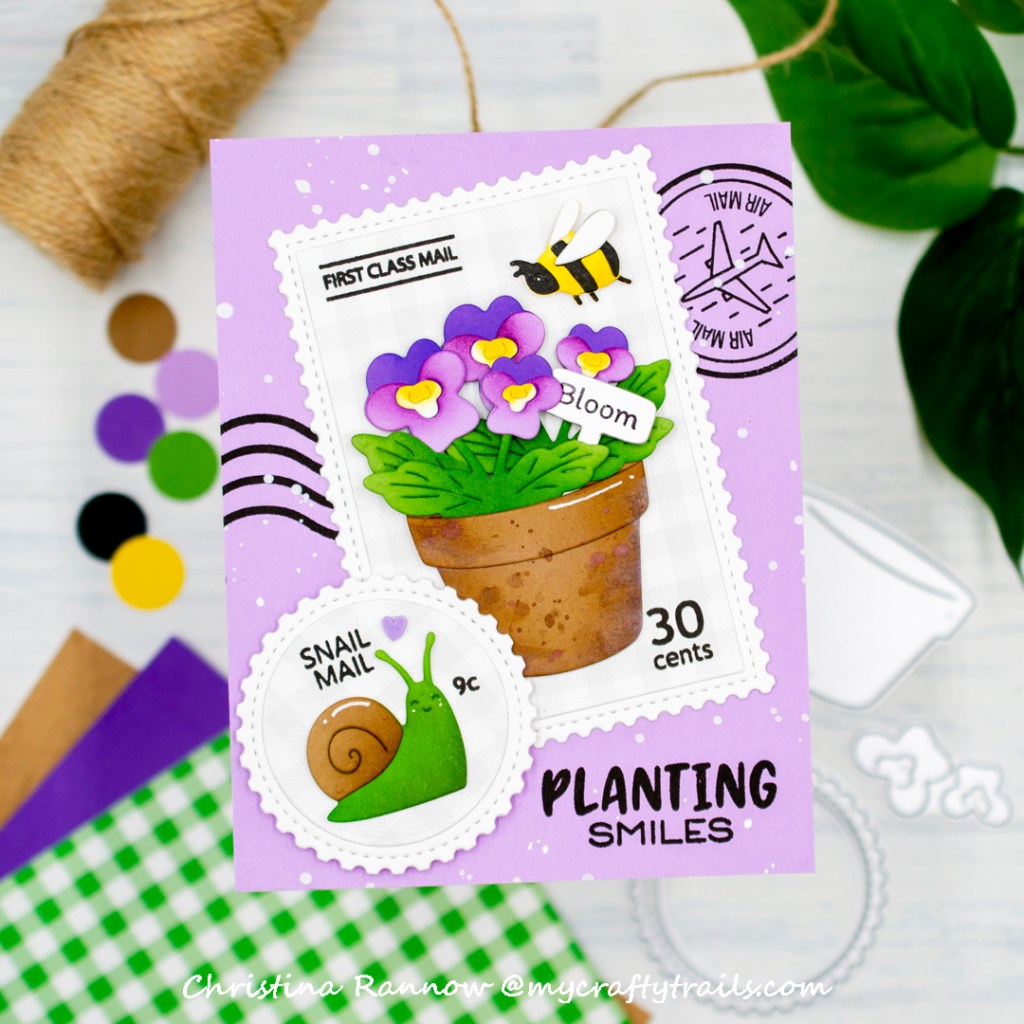
Hello, thanks for stopping by! I’m sharing a garden-inspired card today featuring products from the Waffle Flower June 2026 release, Green Thumb. I paired some of the new die sets with the Nesting Postage Collage collection for something a little different, and I’m thrilled with the results. And although I’m not a huge fan of purple unless it’s for Halloween, these sweet pansies from the Pots and Plants set may have changed my mind! Take a peek at the supplies I used, and then I’ll walk you through how this card design came together.
WAFFLE FLOWER SUPPLIES
Waffle Flower Nesting Postage Collage Dies
Waffle Flower Nesting Postage Collage Stamp Set
Waffle Flower Postage Collage Stamp Set
Waffle Flower Pots and Plants Dies
Waffle Flower Postage Collage Gardening Add-ons Die
Waffle Flower Plant Marker Combo
Waffle Flower Green Thumb Sentiments Combo
OTHER SUPPLIES
SSS Cardstock: Matte Silver and Green Leaf
C9 Cardstock: Aster and Grape Soda
Distress Inks: Black Soot, Seedless Preserves, Gathered Twigs, and Walnut Stain
SSS Pawsitively Saturated Inks: Zest, Honey, Periwinkle, Clematis, and Field
SSS Pawsitively Perfect White Splatter
StazOn Jet Black Ink
VersaFine Onyx Black Ink
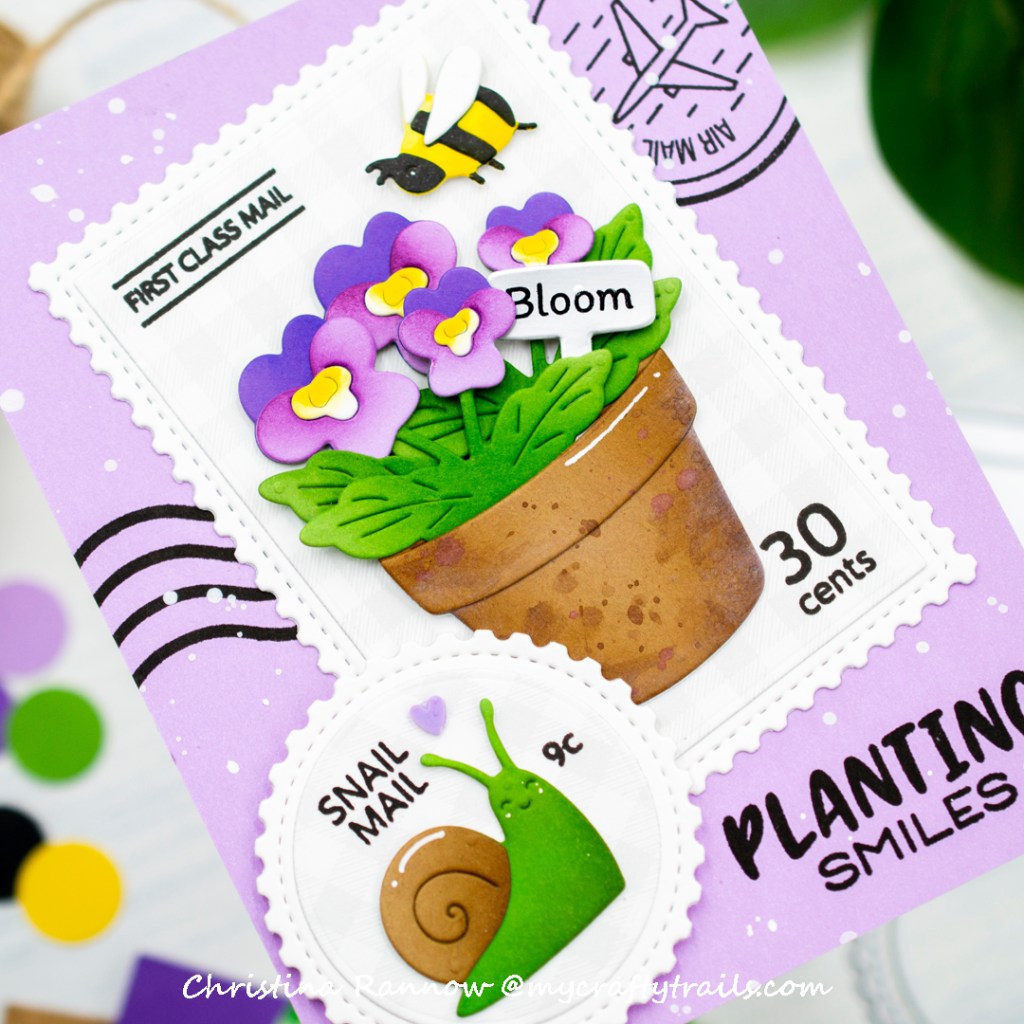
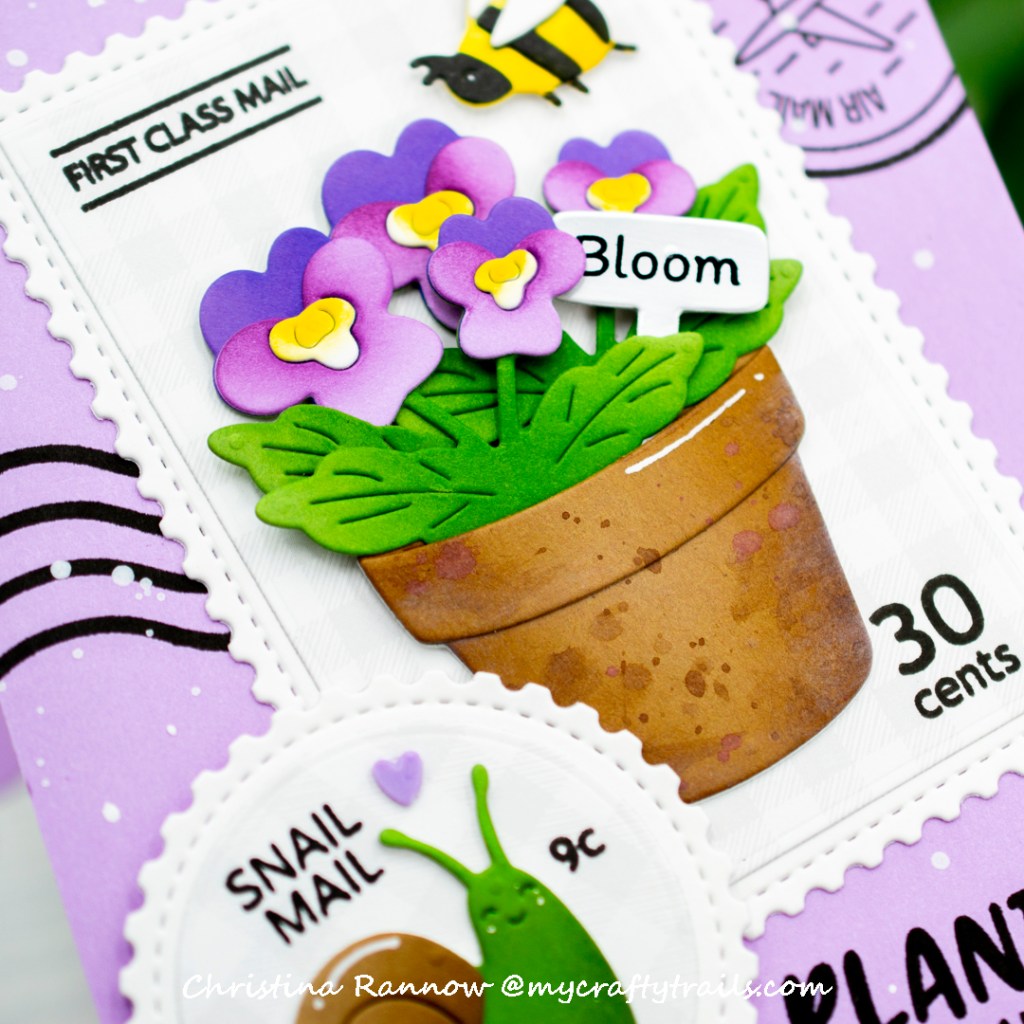
I started this project by creating the potted pansies and the garden critter die-cuts. I used colored cardstock to die-cut the pieces and then added shading with coordinating darker inks and small detail blending brushes. Before assembling the pieces, I distressed the pot for the pansies with different ink and water spatters. For the plant marker, I chose matte silver cardstock and stamped the greeting with StazOn ink.
Next I die-cut the Nesting Postage shapes, the rectangle and the circle, choosing a subtle gray patterned paper for the center panels. I then added postage-related detail stamps and attached the assembled die-cuts using both glue and foam squares. To finish up the die-cut elements, I added white gel pen highlights to some of them.
For the background panel, I started with Aster cardstock, trimming it to 4.25 x 5.5, and then stamping it with large airmail details and a coordinating sentiment using black ink. Next, I added white splatter and attached the panel to a top-fold card base. And finally, I arranged and secured the die-cuts on the background and finished with a small purple clay heart over the snail.
Thank you for being here and reading about my garden-inspired card design featuring products from the latest Waffle Flower release. Happy crafting!