Hi friends! I’m honored to announce another design term with Pretty Pink Posh! I absolutely love working with Paulina and the irresistible crafty products she designs. Here’s to another joyful and creative six months with the team!
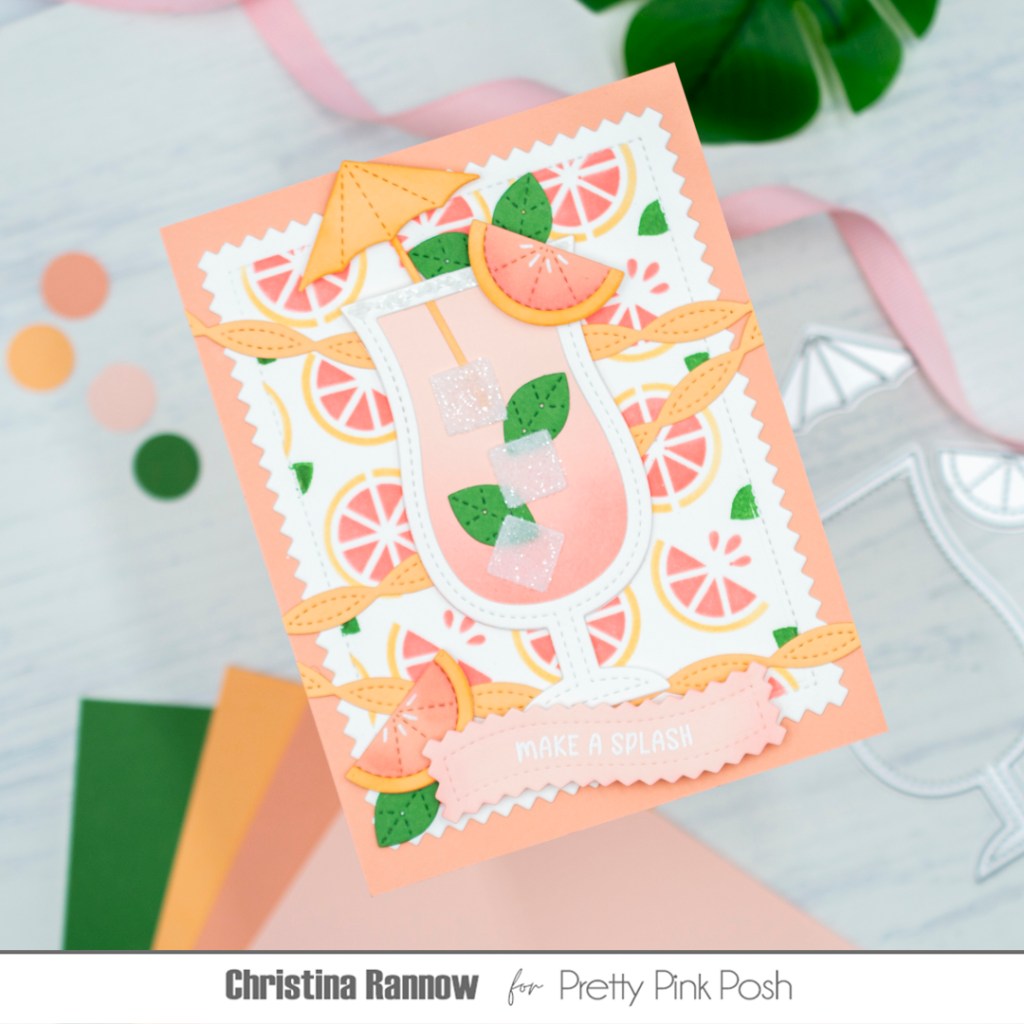
To celebrate, I designed a card that pairs the Summer Drink Shaker with the Summer Cocktails die sets, using elements from both to create a refreshing grapefruit cocktail complete with a salted rim and sparkly ice cubes. I combined these fun new die sets with some previously released products like the Layered Citrus Stencil and the Streamer Dies for a fresh and festive vibe. Take a peek at the supplies I used and then we’ll get started!
PRETTY PINK POSH SUPPLIES (affiliate links)
Summer Drink Shaker Dies
Summer Cocktails Dies
Layered Citrus Stencil
Floral Wreath Builder Dies – leaf
Banner Greetings 3 Dies
Summer Banner Greetings Stamp Set
Streamer Dies
Pinking Rectangles Dies
Patterned Apples Stamp Set – leaf stamped on background
OTHER SUPPLIES
Concord & 9th Cardstock: Grapefruit, Creamsicle, and Basil
Spellbinders Cardstock: Bellini
Lawn Fawn Vellum
SSS Pawsitively Saturated Inks: Blush and Melon
Concord & 9th Ink: Basil
Tim Holtz Rock Candy Clear Glitter
My first step was to stencil the citrus pattern onto the largest Pinking Rectangle die-cut from white cardstock. I masked the edges of the rectangle before stenciling so I would have a crisp white border and used pink and peach inks to create grapefruits with the layered stencils. Then I added a stamped leaf image to the stenciled pattern to coordinate with my overall design, but in the end, the drink covers most of them. Oops. Finally, I layered the stenciled panel onto a piece of creamsicle cardstock trimmed to 4.25 x 5.5 inches before attaching everything to a top-fold card base.
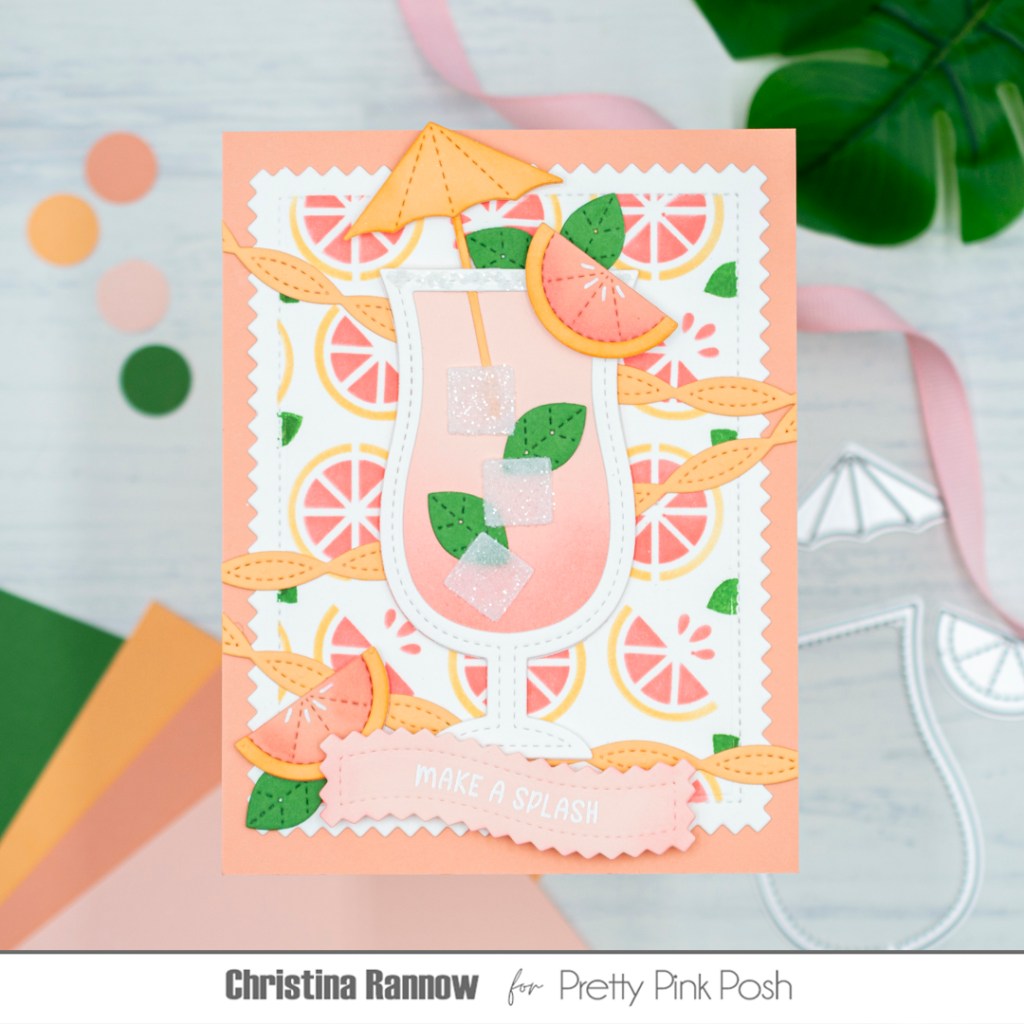
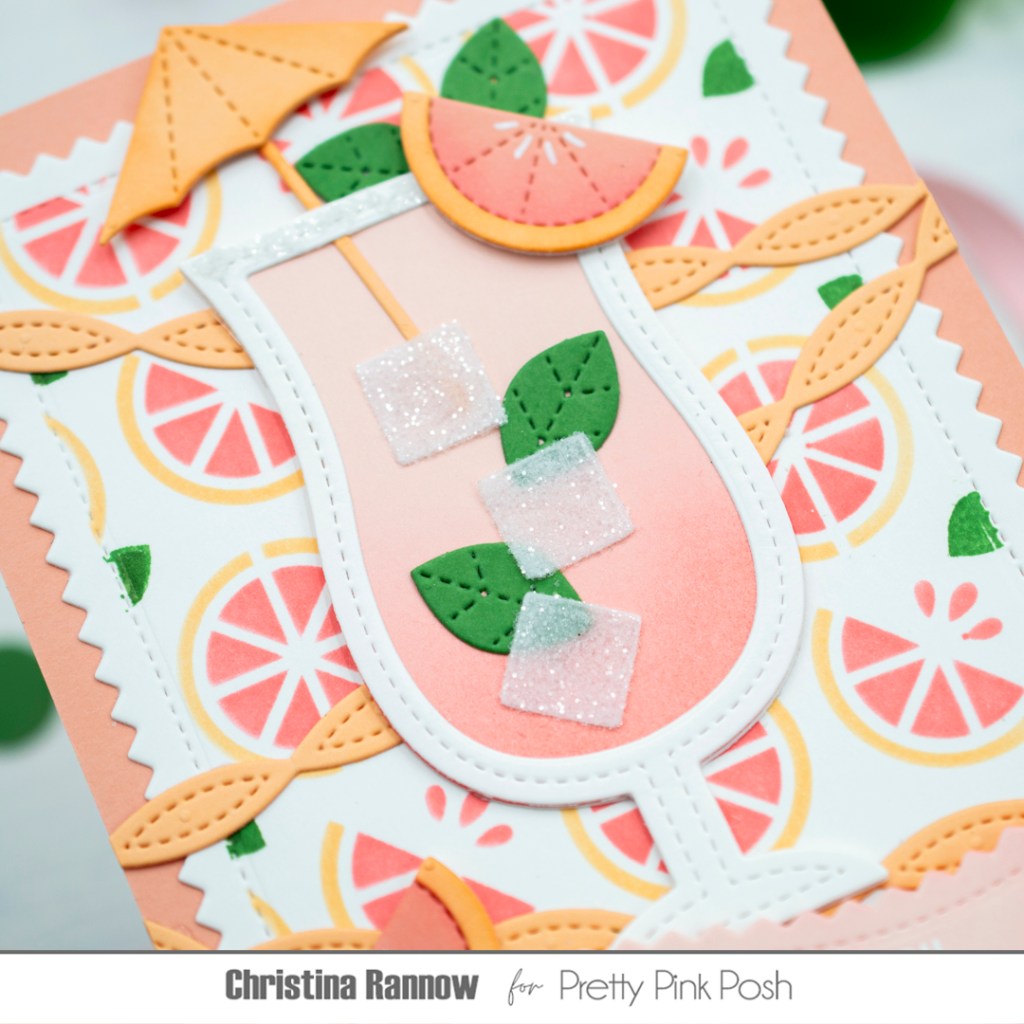
Next, I created the remaining elements for my design. First, I die-cut the Summer Drink components from white cardstock and ink-blended the inside piece a soft peachy pink color. After assembling the drink, I added a salted rim to the glass with glitter. Then, for most of the other die-cuts, I started with colored cardstock and added shading to the pieces with a darker coordinating ink color before assembling them. This includes the drink umbrella, the grapefruit slices, the streamers, and the leaves. But for the ice cubes, I started with vellum and then spritzed the die-cuts with Pixie Spray, a low-tack spray adhesive, before dipping them in glitter so they would sparkle.
With the die-cuts assembled, I moved on to my layout. I arranged the die-cuts on my stenciled background panel, and once I liked their placement, I secured them with either glue or thin foam squares. I trimmed the streamers where they overhung my card front and finished things up with a stamped and white heat-embossed sentiment. I used a banner die with a coordinating pinking edge detail to die-cut the sentiment and secured it below the drink with foam squares.
Thank you so much for stopping by and reading about this fresh and festive card design celebrating another design team term at Pretty Pink Posh! See you again soon!