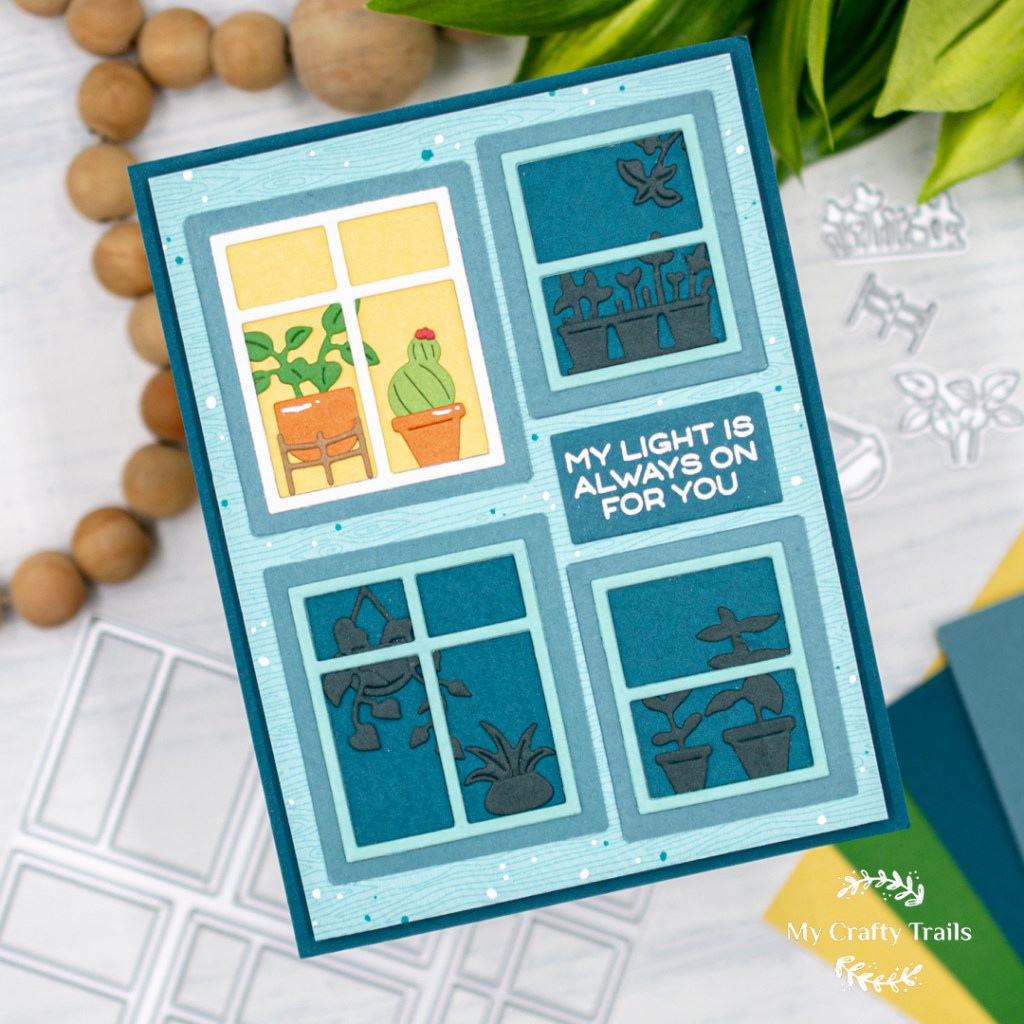
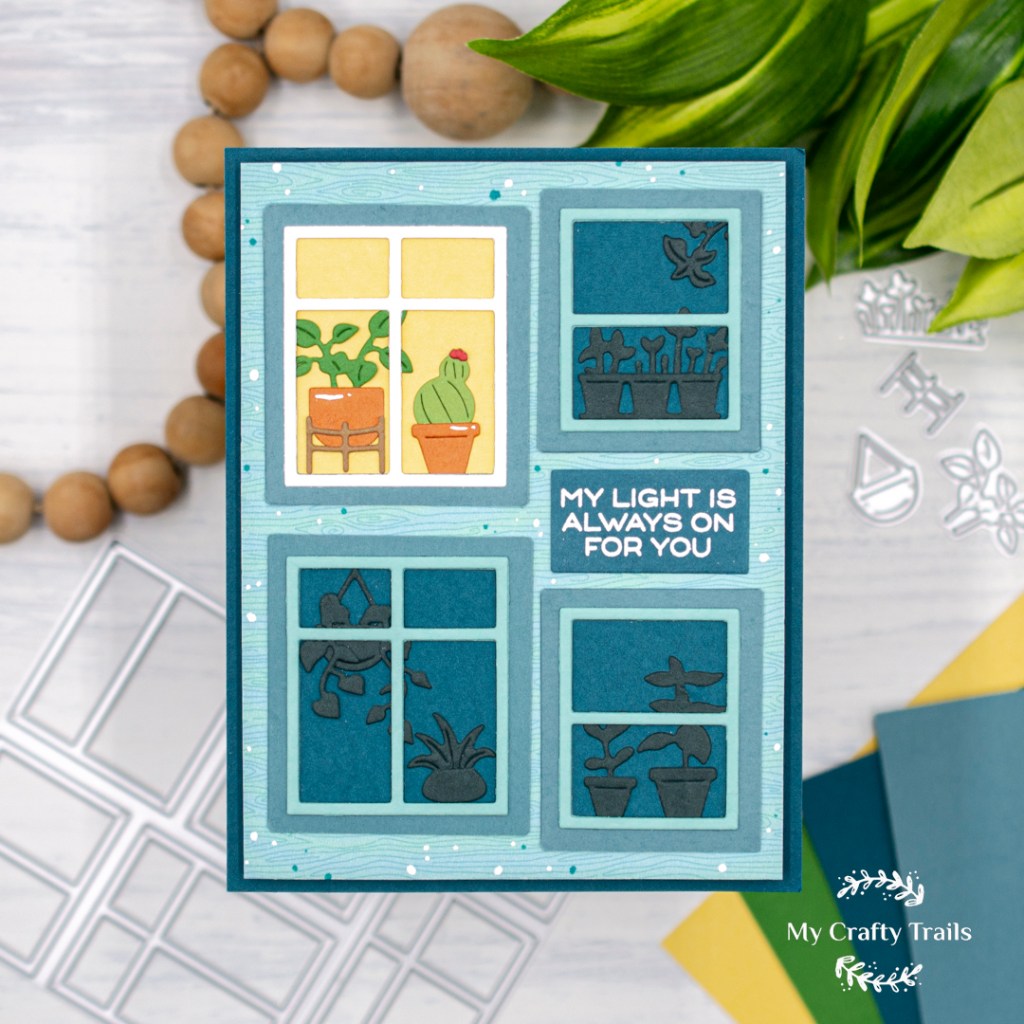
Hello friends! Waffle Flower has a new release, and I used some of the products to create this unique card made up of layered window scenes and a simple heartfelt sentiment. I combined the new PC Window Die and PC Windowsill Plants Dies with the coordinating and previously released PC Blocks Die to build these charming window scenes. Other than the PC Blocks Die, everything I used was included in their Sneak Peek Kit for this release. Check out all the supplies I used, and then we’ll get started!
SUPPLIES
Waffle Flower Postage Collage Windows Die
Waffle Flower Postage Collage Windowsill Plants Die
Waffle Flower Postage Collage Blocks Die
Waffle Flower Window Sentiments Stamp Set
Concord & 9th Cardstock: Lakehouse, Peacock, Rainforest, Tidepool, Brickyard, Basil, and Spiced Cider
SSS Cardstock: Greenleaf
Lawn Fawn Cardstock: Paperbag
Doodlebug 6×6 Buffalo Check-Woodgrain Rainbow Petite Prints

I started by die-cutting and assembling the layered windows. I die-cut the PC Blocks first and then layered on the window frames die-cut with the PC Windows die. I separated the windows with a paper trimmer and decided to use just some of the windows for my design. I ended up die-cutting everything again to create another large window because there is only one of that size in the PC Window Die.
Next I die-cut and assembled the windowsill plants that will be part of the window scenes. I used a dark green cardstock to create silhouettes for the darker windows and a combination of different colored cardstocks for the window with light. Then I backed three of the windows with blue cardstock for the dark windows and one with yellow cardstock for the window with light, and before securing the backer pieces in place, I tucked in the assembled plants.

For the background panel, I trimmed a piece of patterned paper to 4 x 5.25 inches and attached it to an A2 cardstock panel with foam tape. This popped up the patterned paper panel and gave the card some dimension. Then I arranged the layered window scenes on the panel and secured them with glue. I heat-embossed the sentiment on one of the negative window pieces left over from die-cutting and added it to my design. My final step was to add faux spatter using a white gel pen and a Copic marker.
Thank you for stopping by to read about this charming card featuring layered window scenes created with some of the latest Waffle Flower products. Happy crafting!