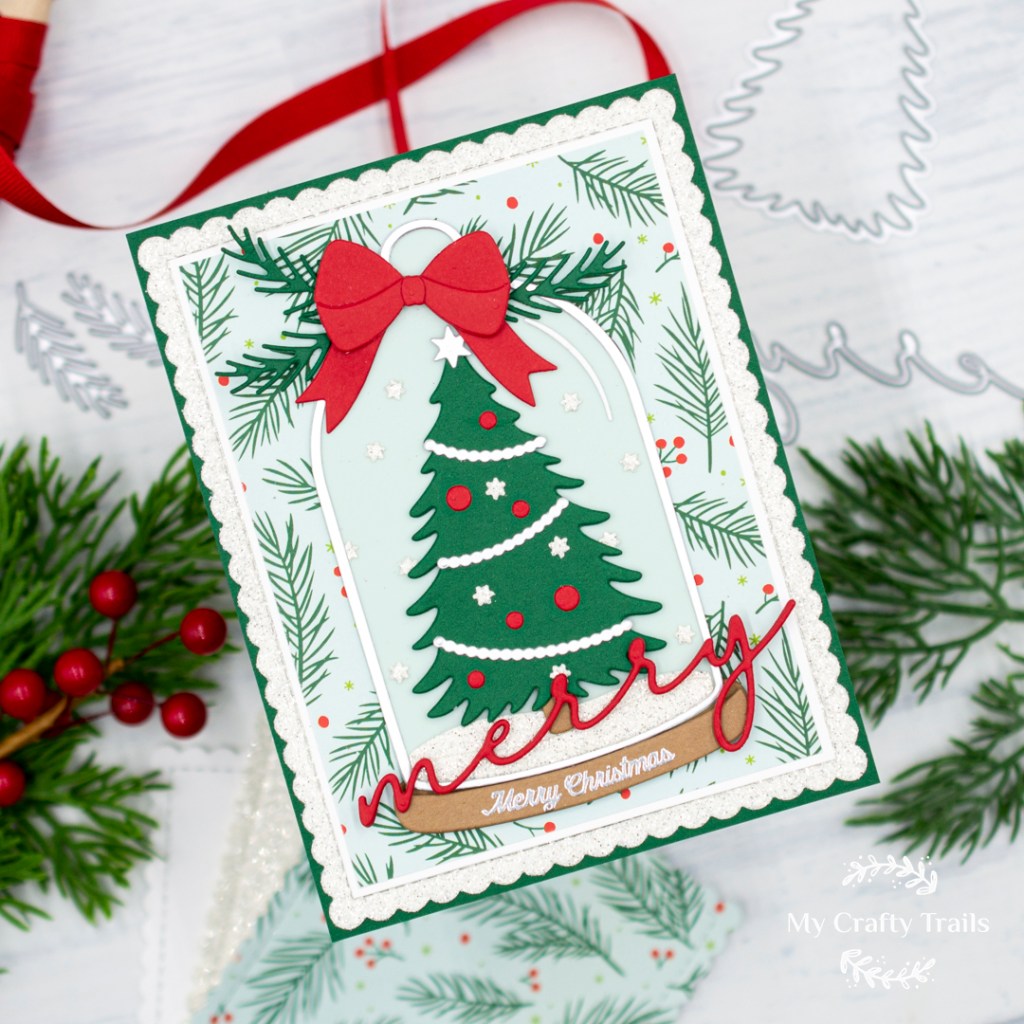
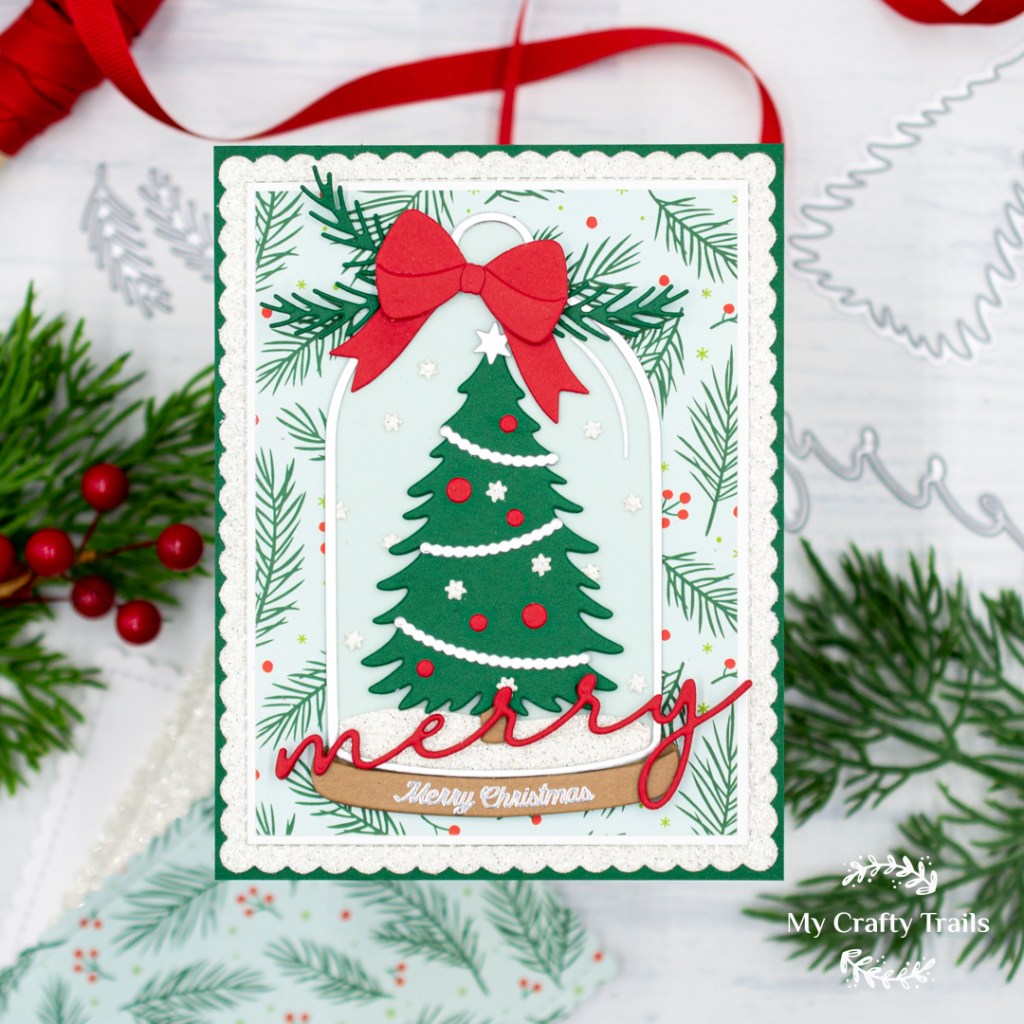
Hi friends! Before we turn the calendar page to August, I wanted to share a festive “Christmas in July” card with you. I used the Christmas Cloche from Concord & 9th, a die set that I’ve loved since its release last year, or maybe it’s been a couple of years now, and I finally found some time to play with it. I accented the cloche with some Concord & 9th Be Merry patterned paper I’ve had for even longer and my favorite glitter cardstock from Spellbinders for a very merry holiday card. Take a peek at the supplies I used and then we’ll get started!
SUPPLIES
Concord & 9th Christmas Cloche Bundle
Honey Bee Stamps Scallop A2 Frames
Concord & 9th Be Merry Patterned Paper
Concord & 9th Cardstock: Evergreen
Lawn Fawn Cardstock: Paper Bag & Clear Vellum
Spellbinders Cardstock: Mint & Pomegranate
Spellbinders Treasured Cradstock: Silver Matte Metallic & Antique White Glitter
Hero Arts Silver Embossing Powder
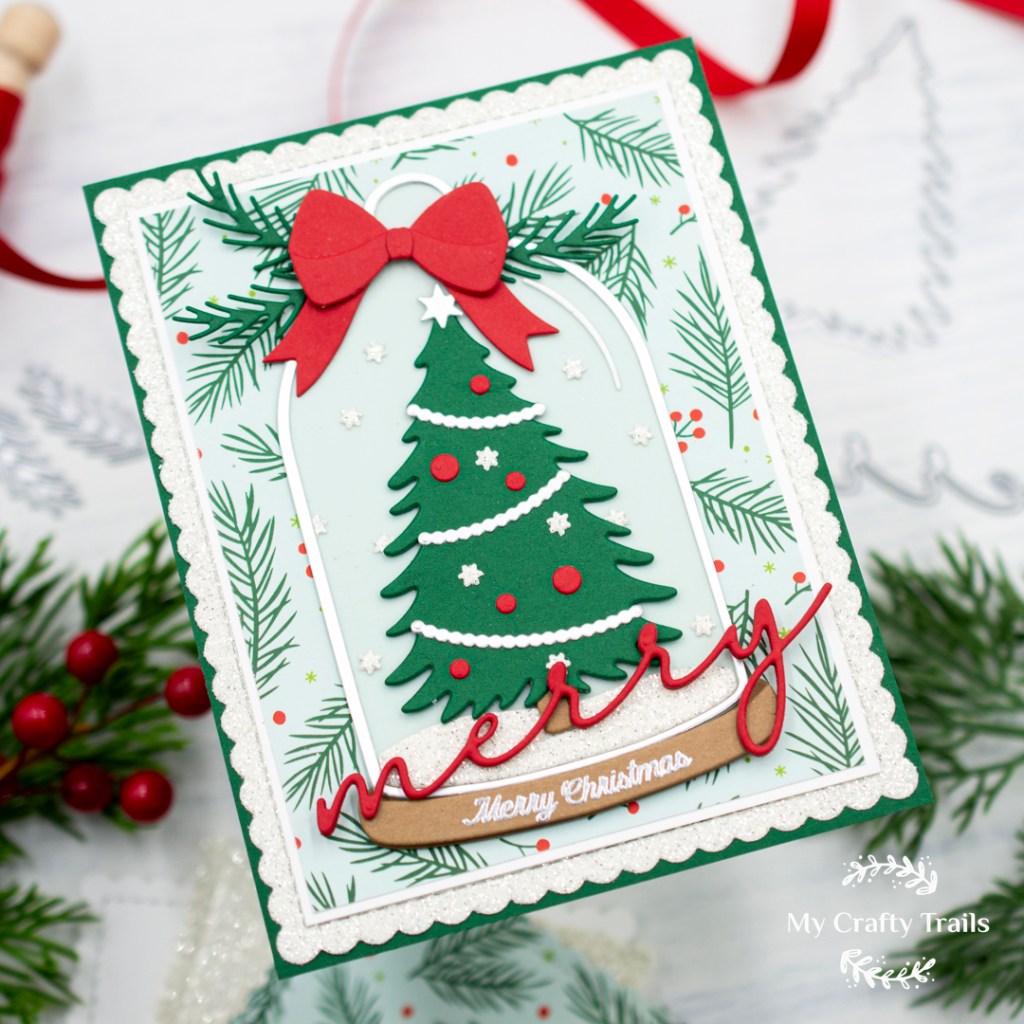
My first step was to die-cut and assemble the elements to create the cloche. I chose a soft mint color for the cloche itself and layered it with vellum to soften it even more. I used matte silver for the outer piece that outlines the glass and die-cut the tree and the trimmings from traditional holiday colors: evergreen, red, and more matte silver. I used kraft cardstock for the base of the cloche and glitter cardstock for the snow inside. Before assembling and securing everything with glue, I heat-embossed a sentiment with silver embossing powder along the base piece and popped it up with foam squares to give the illusion of it being wider than the glass.
Next, I created the layered background panel. I started with an A2 evergreen cardstock panel and then layered on a scallop frame panel die-cut from glitter cardstock. The last two layers are a white cardstock panel trimmed to fit just inside the stitching detail of the scallop frame and finally the patterned paper that I trimmed slightly smaller than the white panel. With the background completed, I attached it to a top-fold card base and then moved on to assembling the rest of the card design.
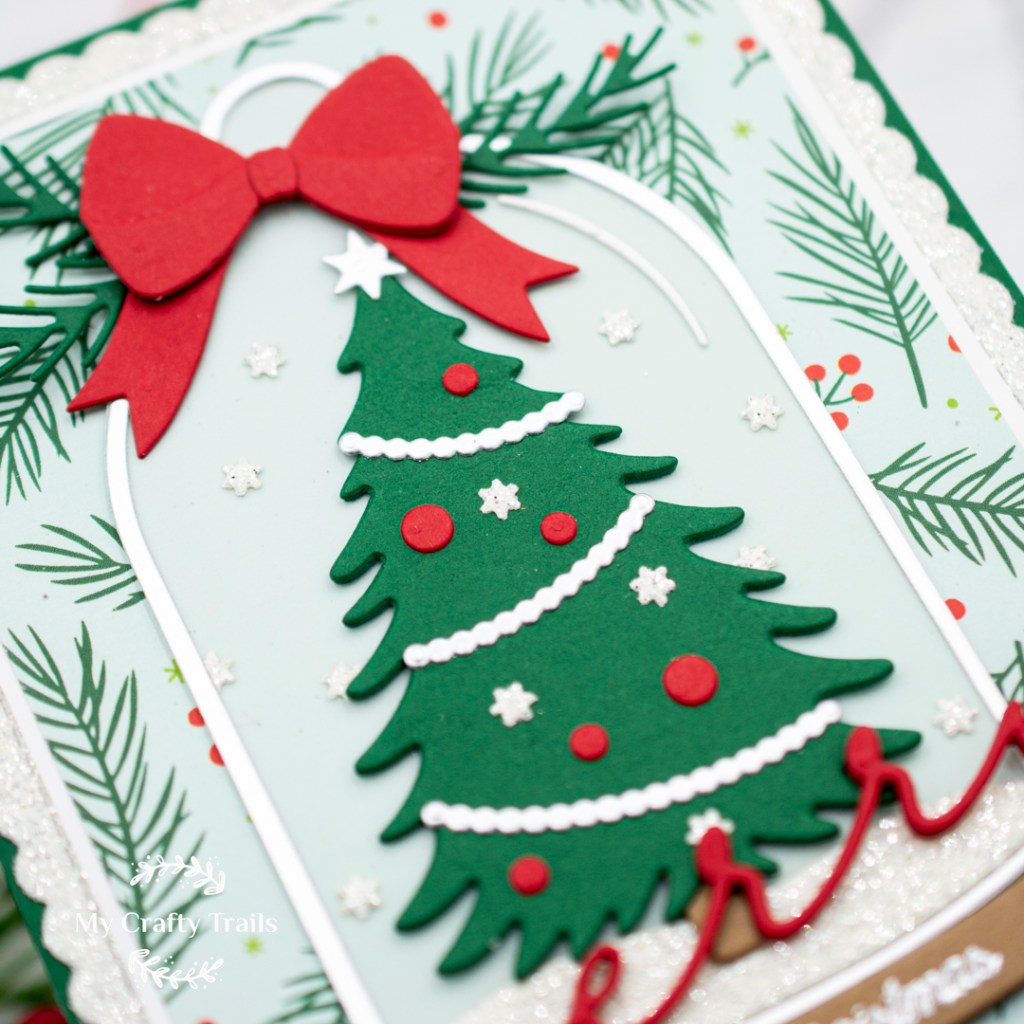
First, I attached the cloche to the center of the background, added the tree and all the trimmings, and finished the inside with a flurry of glittery snowflakes. Then I topped the cloche with a big red bow and some greenery before adding the final detail, the scripty “merry.” I die-cut it from red cardstock several times and stack them together for some weight and strength before carefully attaching it with glue and a couple of well-placed foam strips.
Thank you so much for stopping by to see my very merry Christmas card I created using the Concord & 9th Christmas Cloche Bundle. Happy crafting!