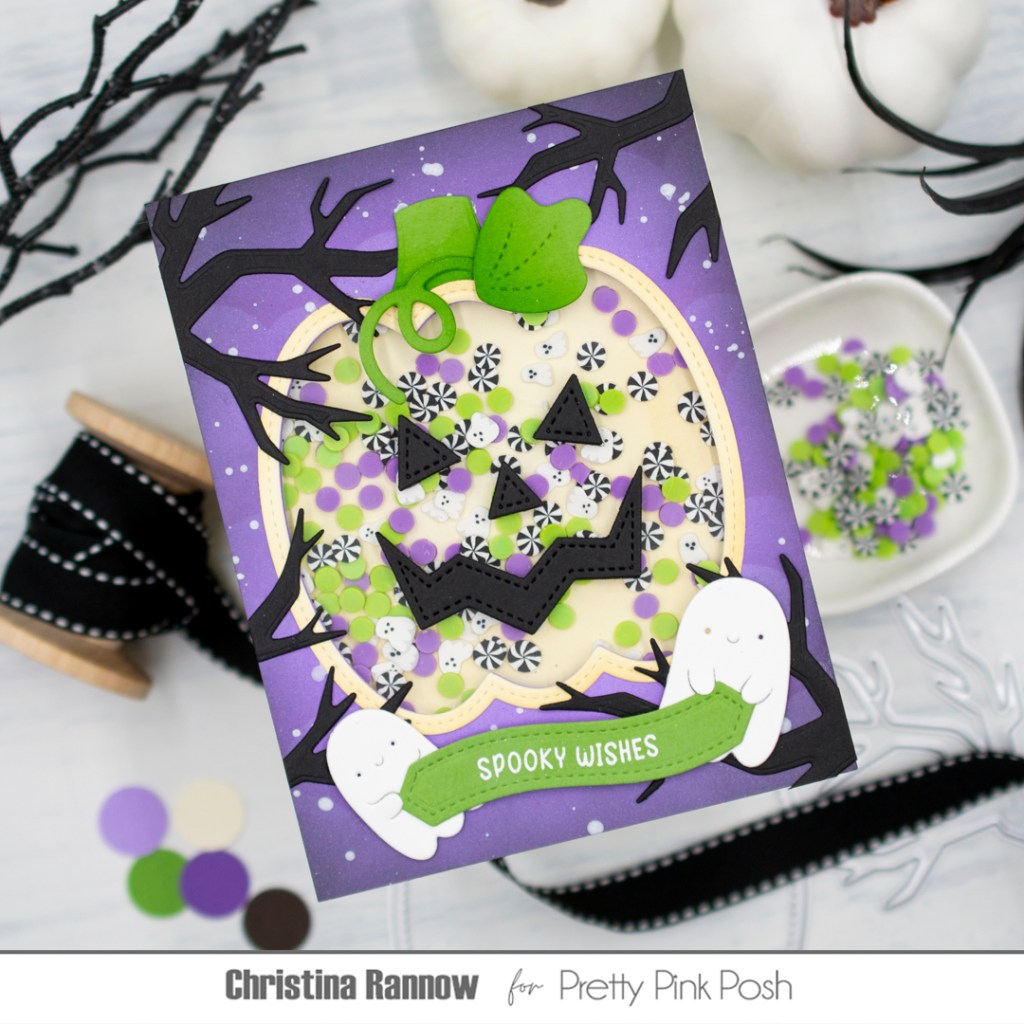
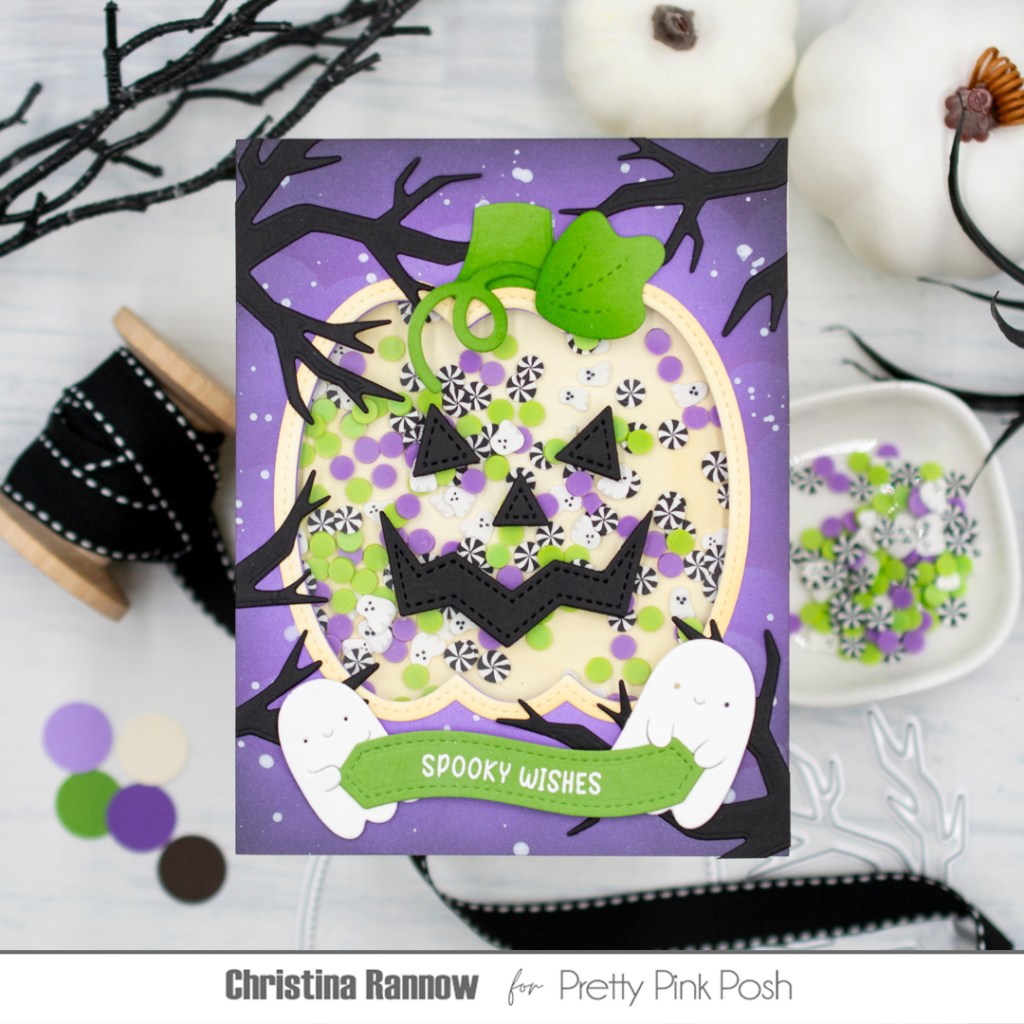
Hello! Welcome to Day 3 of Sneak Peeks of the Pretty Pink Posh August 6th Halloween release. Over on the PPP blog we are introducing a few new die sets, including this fun Pumkin Face Shaker. You can customize your pumpkin by choosing between two faces, a cute and friendly option or one a little more spooky, which is the one I used for this card. And to play up the spookier vibe, I created an eerie nighttime scene complete with creepy tree limbs reaching in. Take a peek at the supplies I used, including some soon-to-be-released products, and then we’ll get started!
PRETTY PINK POSH SUPPLIES (with affiliate links)
These products are coming soon!
Pumpkin Face Shaker Dies
Clouds Stencil
Spooky Forest Dies
Halloween Banner Greetings Stamp Set
Banner Greetings 4 Dies
Boo Crew Clay Confetti
Spooky Mug Addition Dies – small ghosts
OTHER SUPPLIES
Birch Press Design Cardstock: Lavendar Bloom
Concord & 9th Cradstock: Parsley
SSS Cardstock: So Very Black
Lawn Fawn Cardstock: Vanilla Malt
Distress Inks: Black Soot, Mowed Lawn, and Antique Linen
SSS Pawsitively Saturated Inks: Lilac
SSS Pawsitively Perfect White Splatter
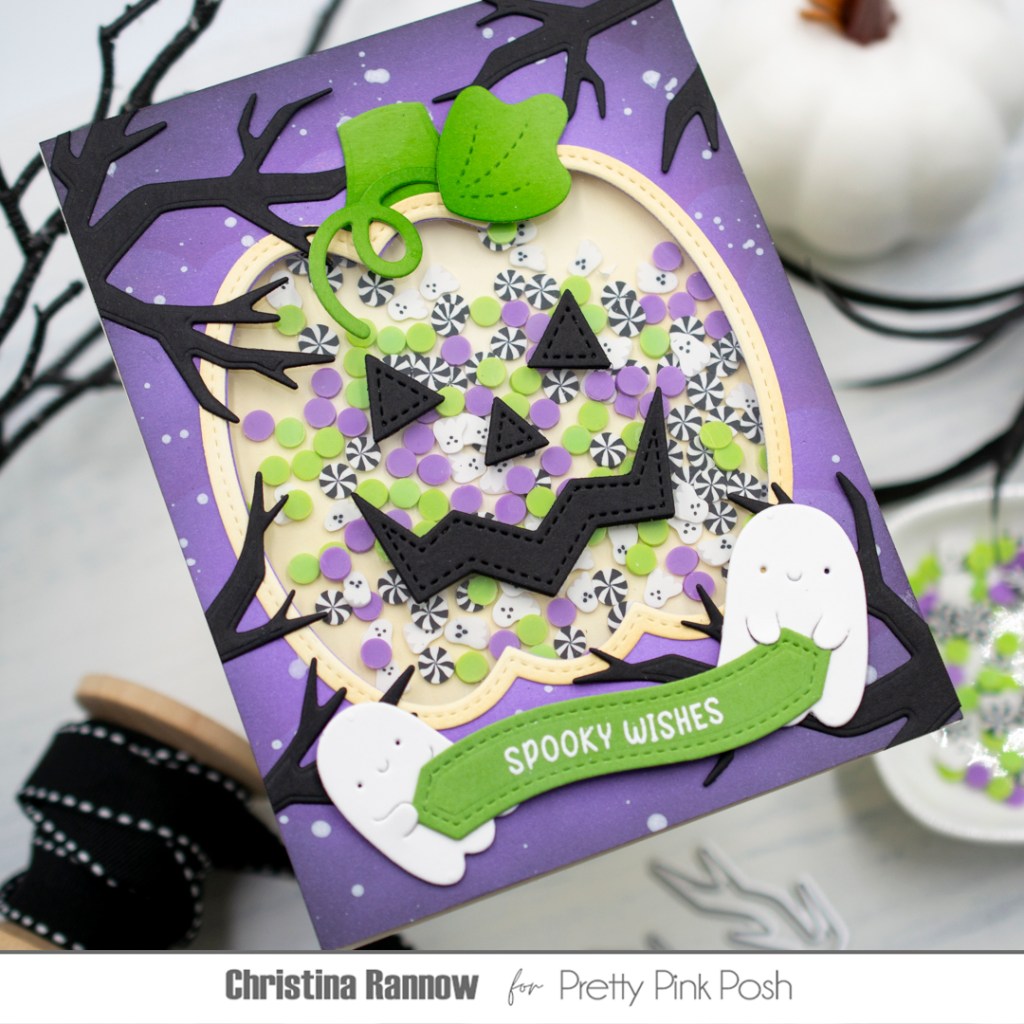
Since my shaker element is incorporated into the background of my card, I created the background panel first. I started with an A2 lavendar cardstock panel and then stenciled the clouds across the panel with Lilac ink. I started at the top and shifted the stencil slightly left or right every time I moved the stencil down. Then, for a moodier feel, I blended Black Soot around the edges of the panel and finished the panel with white splatter.
Next, I die-cut the pumpkin shape from the background panel using the smaller, inner pumpkin die and added acetate to the reverse side to be the window of the shaker. Then, still on the reverse side, I added foam strips around the pumpkin window to create a well and foam tape to the rest of the panel. I filled the well with clay confetti and then placed an A2 ivory cardstock panel onto the foam strips and foam tape, securing the clay confetti inside the shaker element.
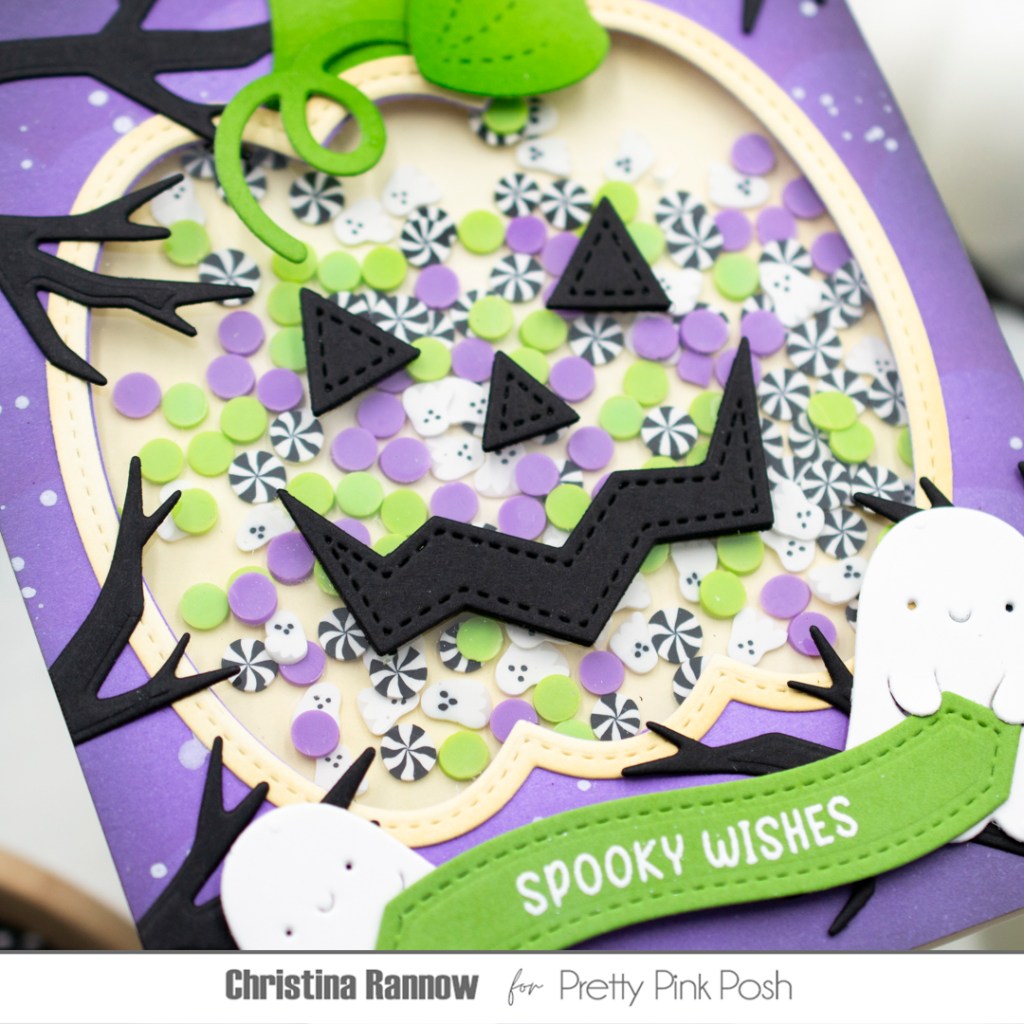
With the shaker completed, I moved on to finishing my card front. First I die-cut the pumpkin shaker frame from ivory cardstock and added a little contrast with Antique Linen ink before attaching it to the pumpkin. Then I die-cut the stem, tendril, and leaf pieces from green cardstock and added shading to them with a darker coordinating green ink. I die-cut the face pieces and the tree limbs from black cardstock and then secured all the pieces in place with either glue or double-sided tape. I trimmed the limb pieces that overhung the edges and then moved onto the sentiment. I used more green cardstock for a banner and heat-embossed the sentiment with white embossing powder. I attached the banner with foam squares and then, as a last-minute decision, added the cutest little ghosts holding the banner.
Thank you so much for stopping by to check out the Pumpkin Face Shaker card I created for Day 3 of Sneak Peeks of the Pretty Pink Posh Halloween release. Happy crafting!