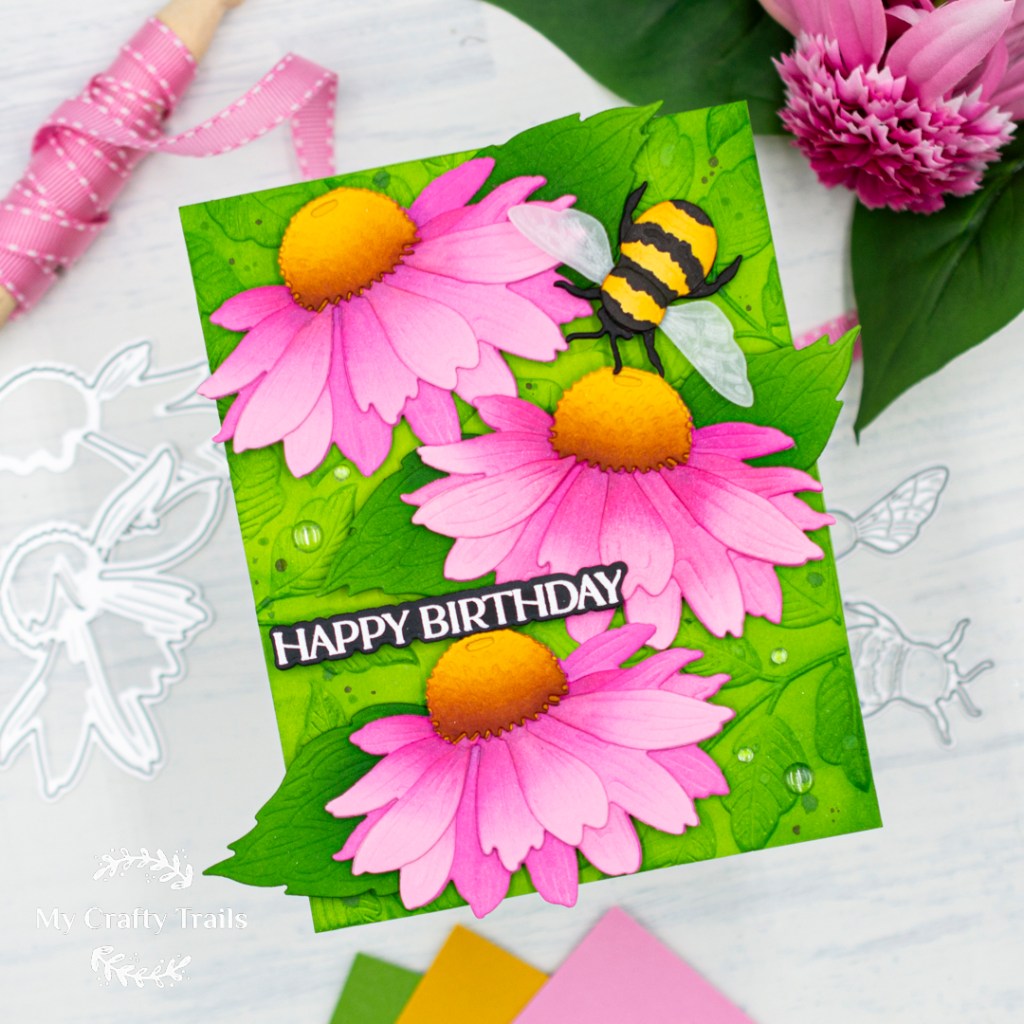
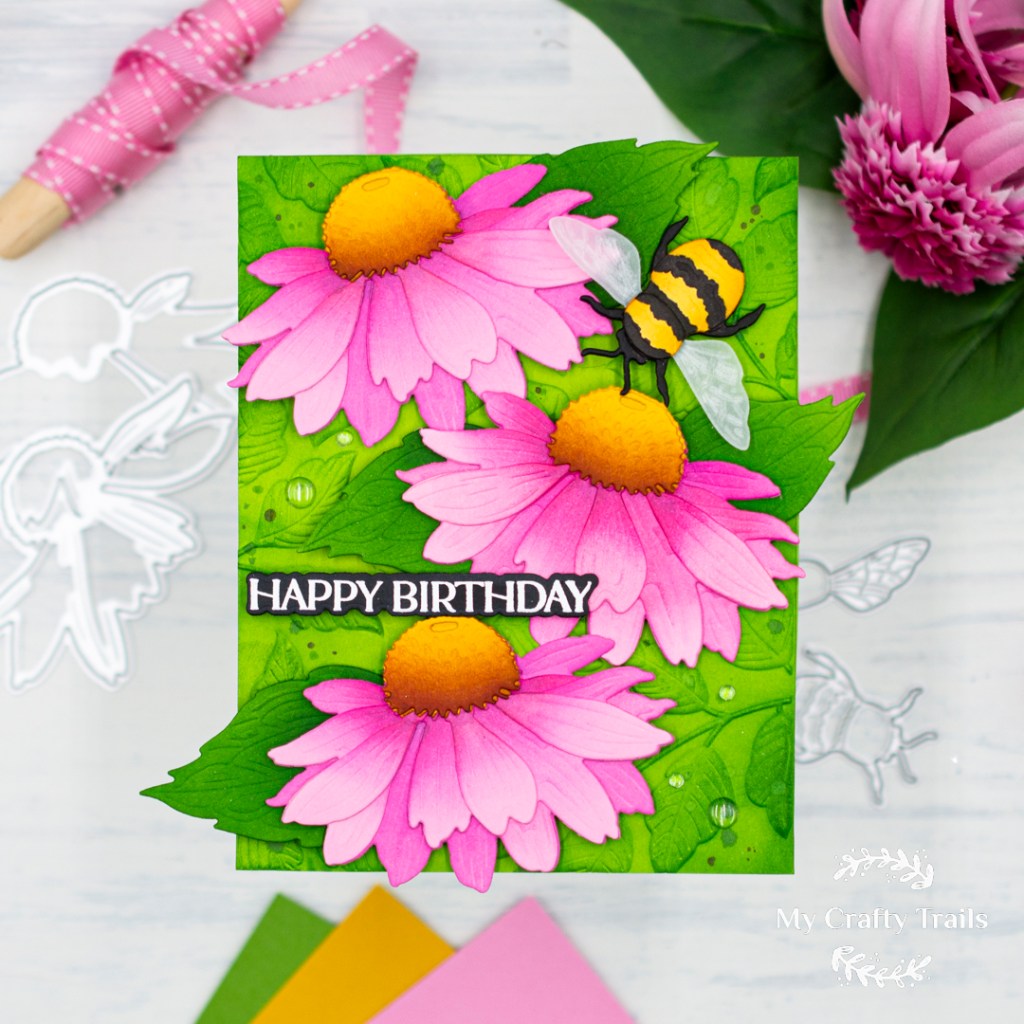
Hello! Thank you for popping in today! Today I’m sharing a vibrant floral card featuring the Lovely Layers: Coneflowers from Honey Bee Stamps. I haven’t created with products from Honey Bee Stamps in quite a while, and I have to say, I’ve missed it! Their Lovely Layers collections are some of my favorite die sets. The dimensional layers and the incredible detail of each layer allow you to create the most realistic images. Let’s take a look at how this card design came together, starting with the supplies I used.
SUPPLIES
Honey Bee Stamps Honey Cuts: Lovely Layers Coneflowers
Honey Bee Stamps Honey Cuts: Lovely Layers Bugs
Honey Bee Stamps To the Wise One Stamp Set – retiring soon
Honey Bee Stamps To the Wise One Honey Cuts Coordinating Dies – retiring soon
SSS Leafy Greens Embossing Folder
Concord & 9th Cardstock: Parsley and Carnation (using up what I have left of this retired color!)
Spellbinders Cardstock: Rainforest, Beeswax and Saffron
SSS Cardstock: So Very Black
Lawn Fawn Cler Vellum
Distress Inks: Mowed Lawn and Rustic Wilderness
SSS Pawsitively Saturated Inks: Sweets, Honey, Nutmeg, and Allspice
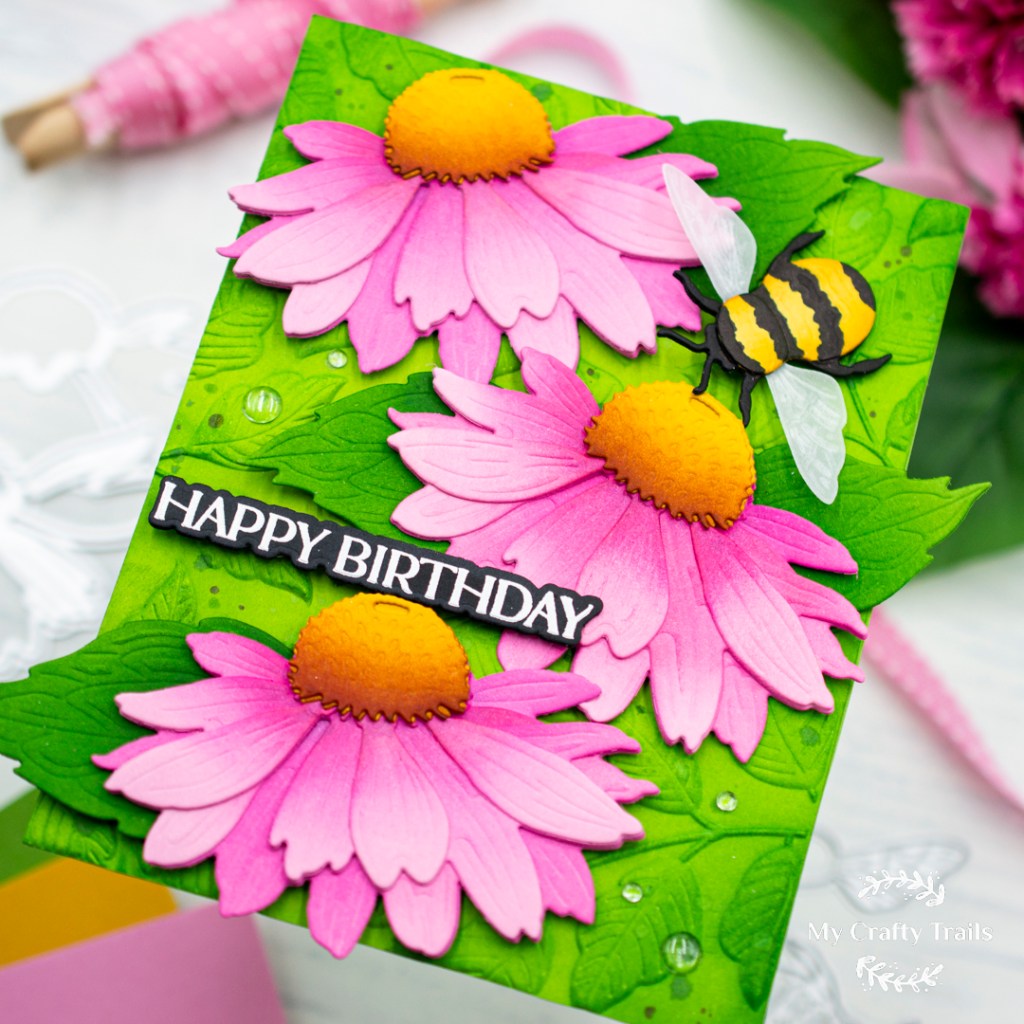
I started with creating the background panel for this card first. I embossed a piece of Rainforest cardstock trimmed to 4.25 x 5.5 inches with the Leafy Greens embossing folder. Then I blended Mowed Lawn and Rustic Wilderness around the edges of the panel and lightly brushed across the embossed leaves so they were a little more prominent than the background color. Lastly, I lightly spattered the panel with green inks and plain water for a little distressing.
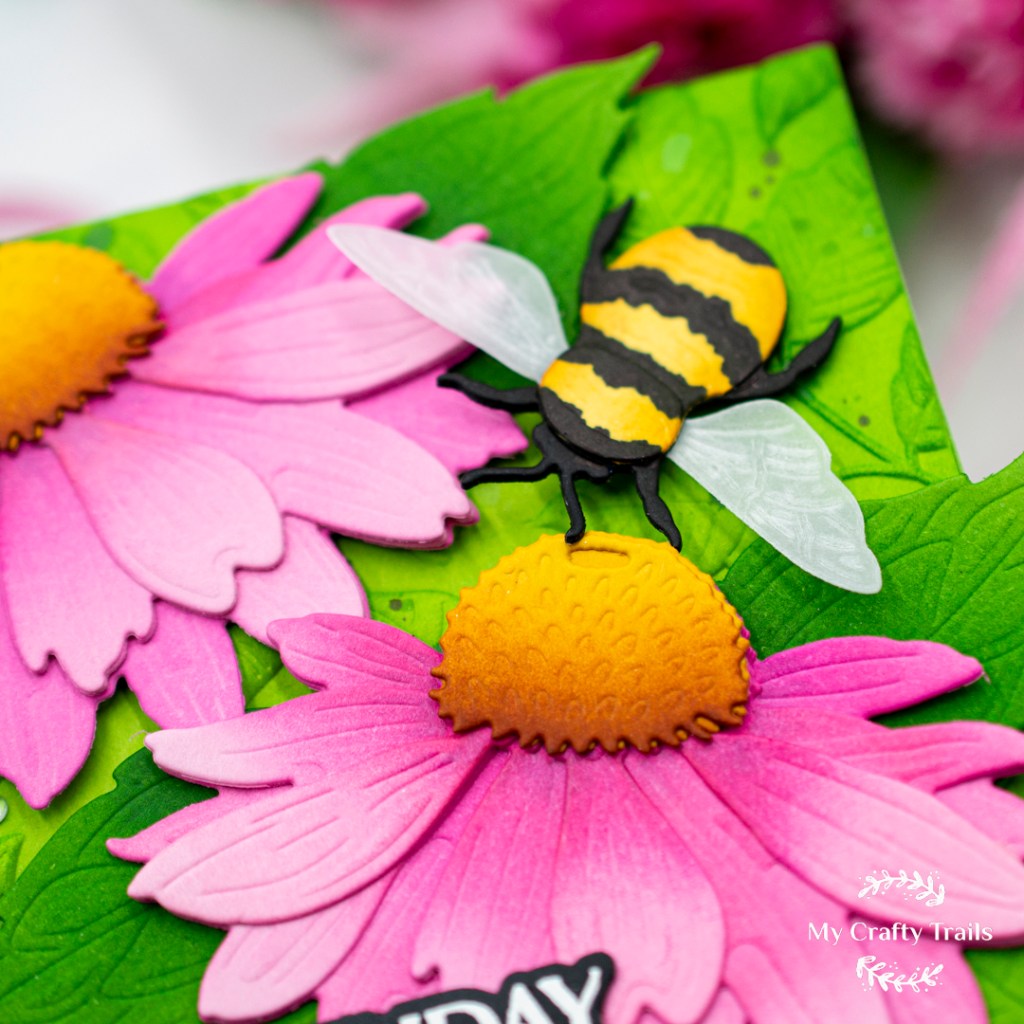
Next, I die-cut all the layers and pieces for the coneflowers and the bee. Other than the vellum I used for the bee’s wings, I started with colored carstock and added shading to each piece with a darker coordinating ink color. Then I assembled the layers and secured them with a liquid adhesive. I considered using thin foam squares between the coneflower layers, but there was already so much dimension I didn’t feel I needed it.
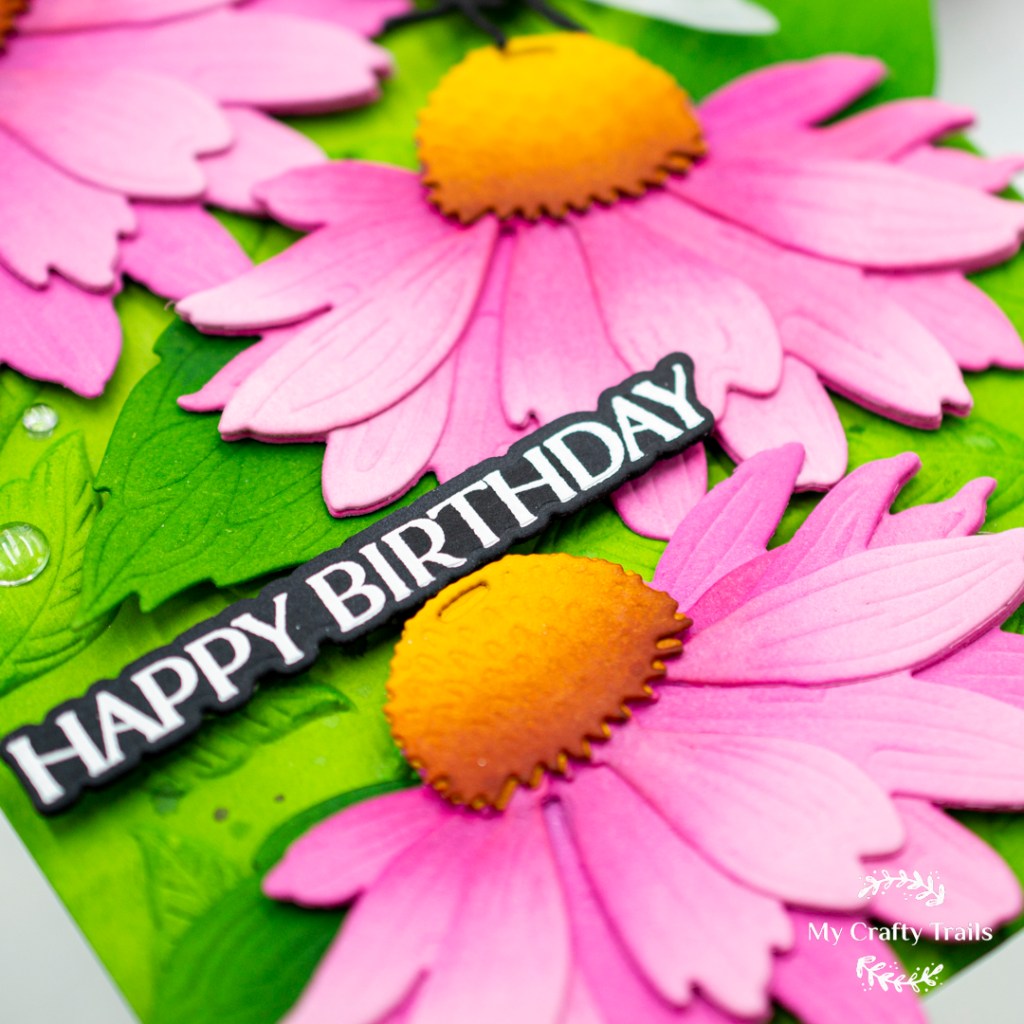
My last steps were to assemble all the elements on my background panel and add a sentiment. To secure the coneflowers, I used foam squares and then tucked in their leaves, securing those with liquid adhesive. I attached the bee with foam squares too, doubling up the squares near the head. Next, I stamped and heat-embossed a sentiment with white embossing powder on black cardstock and die cut with the coordinating die before secring it with more foam squares. Finally, I added a few clear droplets and then secured my card front to a top-fold card base.
Thanks again for stopping by to read about the vibrant floral card I created using the Lovely Layers: Coneflowers from Honey Bee Stamps. Have a great weekend!