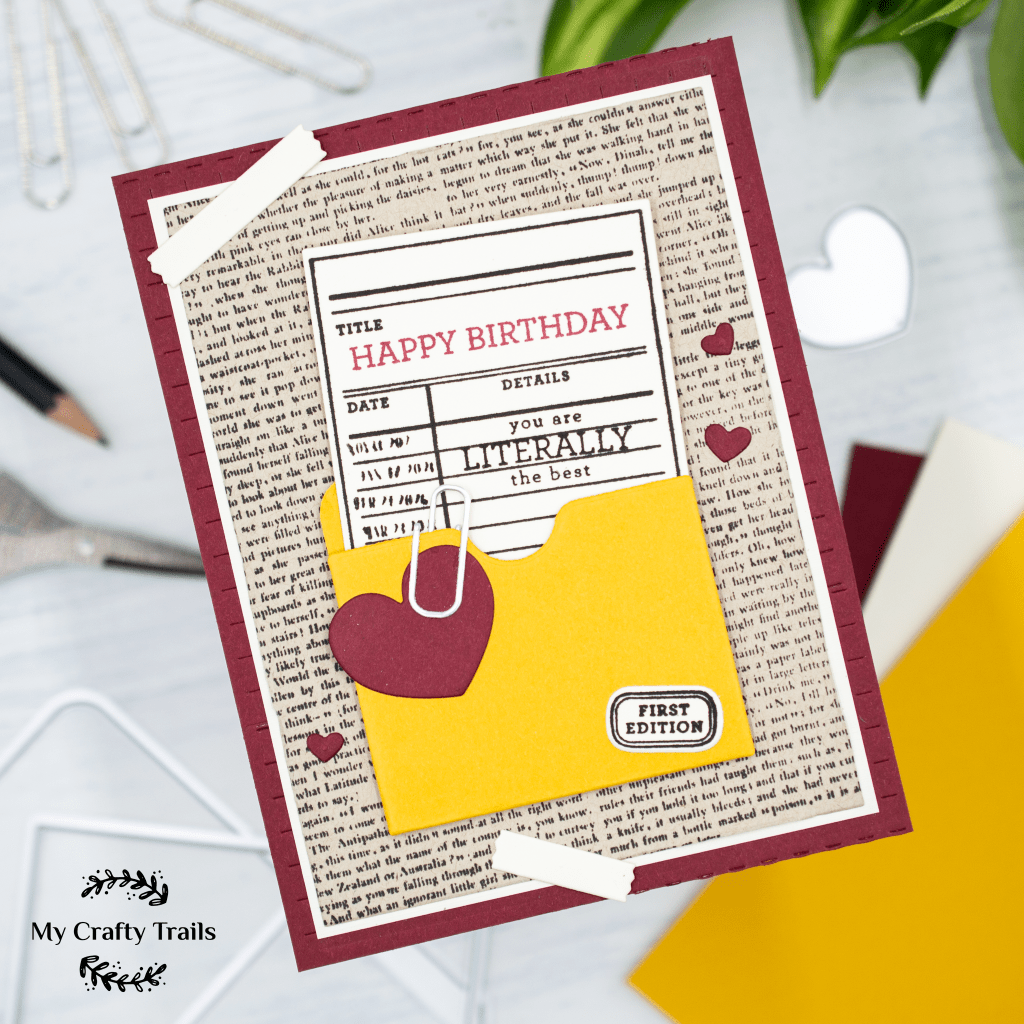
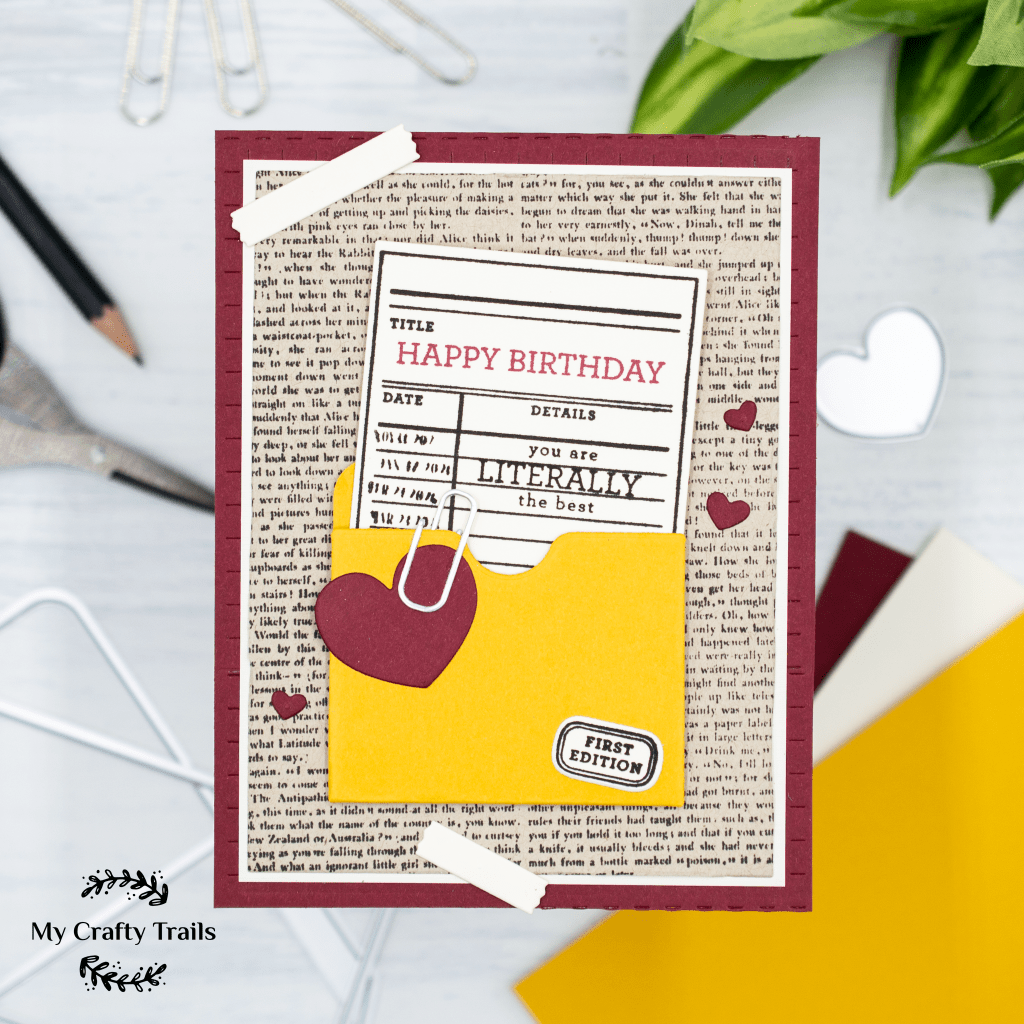
Hello and thank you for stopping by! Today I’m sharing my second card featuring products from this month’s My Monthly Super Hero from Hero Arts. This time I used the Library Card Stamp & Cut along with the coordinating Pocket Die to create a very different card than my first one; you can see it here. My first card was elegant and ornate, while this one has a cleaner design and is a little more whimsical. I can’t wait to tell you about it, but first check out the supplies I used!
SUPPLIES
Hero Arts August 2026 My Monthly Super Hero: Little Library
• Library Card Stamp & Cut
• Library Card Pocket Die Set
Hero Arts January 2026 My Monthly Super Hero
• Mini Notecard Die Set – small hearts
Hero Arts Novel Prose Bold Prints Cling Stamp (I mentioned in my last post that this is no longer on the Hero Arts site 🙁, but any text background would work here)
Waffle Flower Quilting Texture Die
SSS Schoolhouse Red Ink Pad
Neenah Desert Storm Cardstock
Spellbinders Cardstock: Merlot, Alabaster, and Tuscan
Spellbinders Silver Treasured Cardstock: Matte Metallic
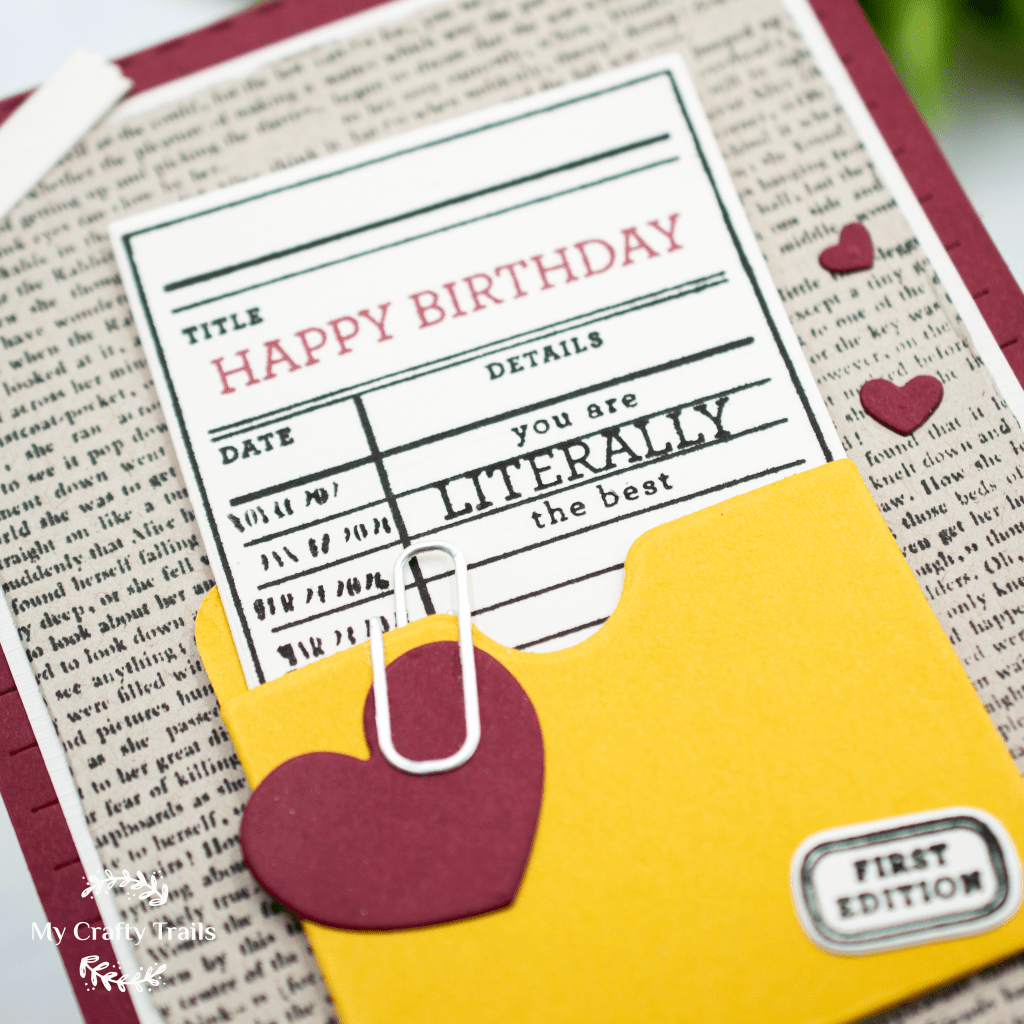
First I created the library card and the coordinating pocket. This little pocket is the cutest, and Tuscan cardstock is the perfect color for this school library-inspired card design. I die-cut the pieces and then assembled the pocket. After die-cutting the library card from Alabaster cardstock, I used the coordinating stamps to add the library card details and the sentiments. To embellish the pocket, I used the dies included with the set to die-cut the larger heart from Merlot cardstock and the tiny paper clip from Matte Silver cardstock. I also stamped and then die-cut with the coordinating die the small “first edition” label to add to the outside of the pocket.
Next I created the background panel. I started with a piece of Merlot cardstock and trimmed it to 4.25 x 5.5 inches. I die-cut it with a texture die and then layered it with two panels, one Alabaster cardstock and the other kraft cardstock stamped with a text background stamp. I trimmed the Alabaster cardstock slightly larger than the stamped panel, which I had trimmed to approximately 3.75 x 5 inches.
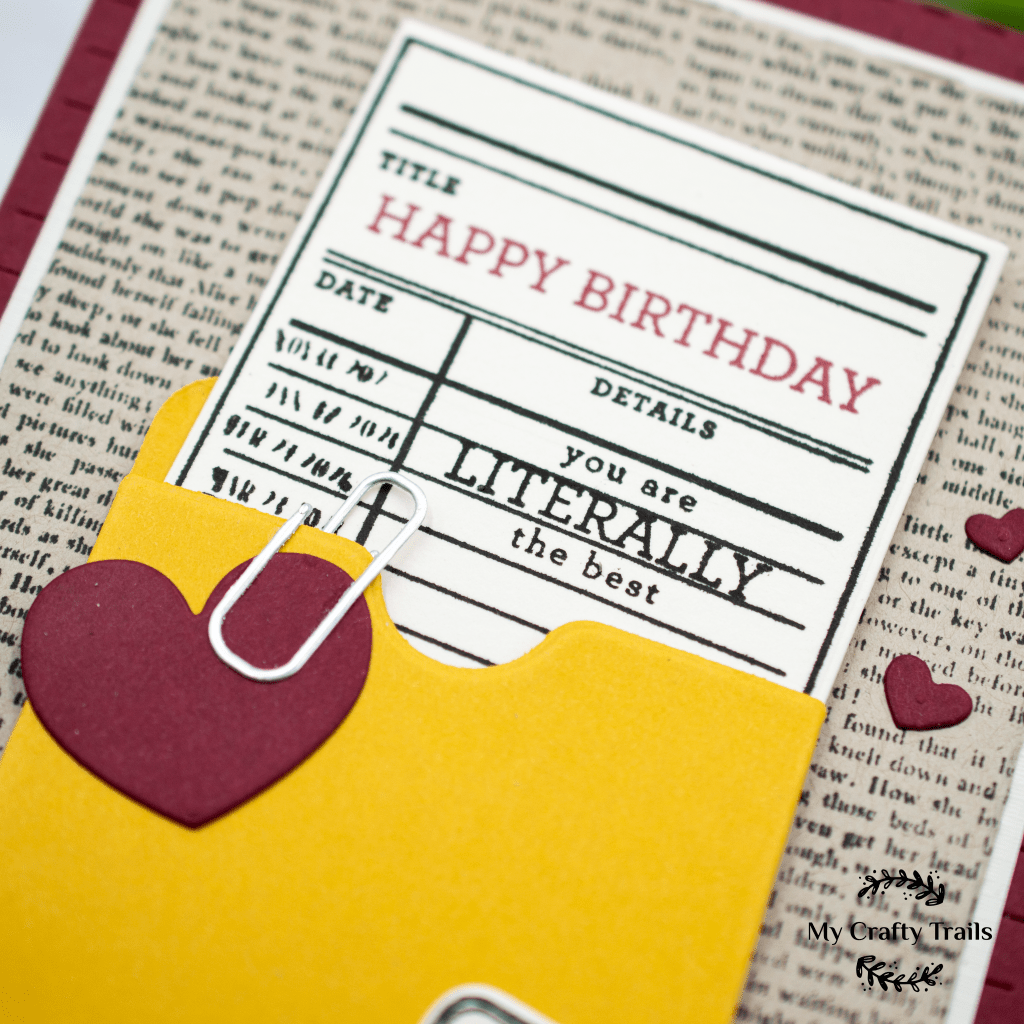
To assemble the card, I attached the pocket with a liquid adhesive and slid in the library card. Then I added a couple of pieces of “tape,” dies included with the set, and a few small hearts to balance out the design. Lastly, I attached the card front to a top-fold card base, and that was it for this school library-themed card!
Thanks again for stopping by! Happy crafting!